How to Install & Uninstall VibeCam
This post tells how to install and uninstall VibeCam for Windows.
How to Install VibeCam
To install VibeCam on your Windows 7/8/10/11, here are the steps to follow.
- Go to the VibeCam home page to download the latest version.

Download VibeCam Desktop Client from fineshare.com
- Run your download .exe file and follow the instructions to install it on your Windows computer.
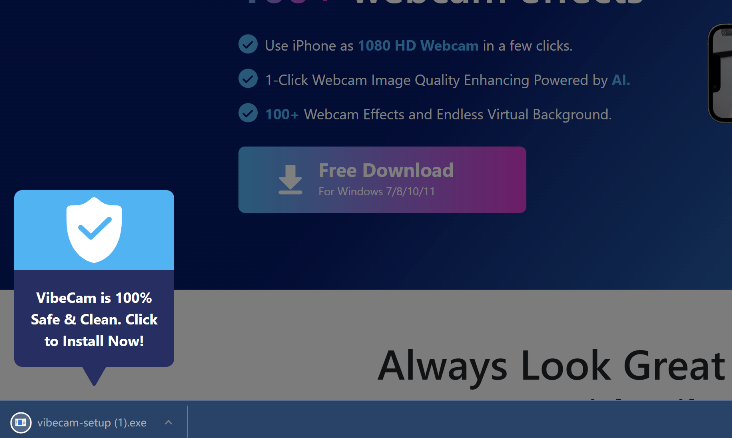
Click the exe file to install VibeCam
- Read the user agreement and select the installation path to install VibeCam.
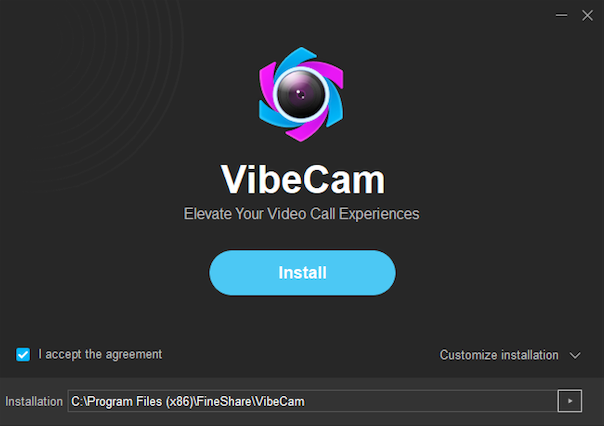
Install VibeCam for Windows
How to Uninstall VibeCam
The uninstall methods vary according to the operating systems.
Windows 10 & Windows 11
- Select Start , then select Settings > Apps > Apps & features. Or just click the shortcut link at the bottom of this article.
- Find and select VibeCam, click it directly in Windows 10 or click the three-dot icon in Windows 11, and then select Uninstall.
Windows 8 & Windows 8.1
- Access the Start Context Menu first:
- Windows 8: Hover the cursor in the bottom-left corner of the screen until a small image of the Start Screen appears, then right-click on the icon to open the Start Context Menu. Select Programs and Features.
- Windows 8.1: Right-click on the Start icon in the lower left-hand corner to open the Start Context Menu. Select Programs and Features.
- Select VibeCam and click Uninstall or Uninstall/Change to uninstall it.
Windows 7
- Select Start (bottom-left corner), then click on Control Panel on the right pane > Uninstall a program (under Programs).
- Click VibeCam from the list and then click Uninstall/Change to uninstall it.
Can't find the answer to your question?
Contact us and we’ll get back to you as soon as we can.