Webcams are great tools invented during the 20th century. When you’re on a PC and want to take a snapshot of yourself, you just need to hook up your favorite webcam software and run it with your PC camera device. Gone are the days when you have to set up your digital cameras to take a snapshot of yourself and then download the images using a USB cable.
As webcams become more integrated into your PC, so does the software that accompanies them. Several popular online and offline webcam software are becoming widely available on the net.
Here, we’ll be discussing popular webcam software for your PC that uses internal or external webcams.
Method 1. Take a Photo with Webcam using the Camera App
After Windows upgraded to a streamlined operating system with Windows 10/11, most of its system functions became app-based. These functions include the ever-so-reliable Windows Camera app. This app can override almost all essential functions of your webcam app/software. Because of this, many users have defaulted their webcam software to use the Windows Camera app instead of their webcam vendor’s app.
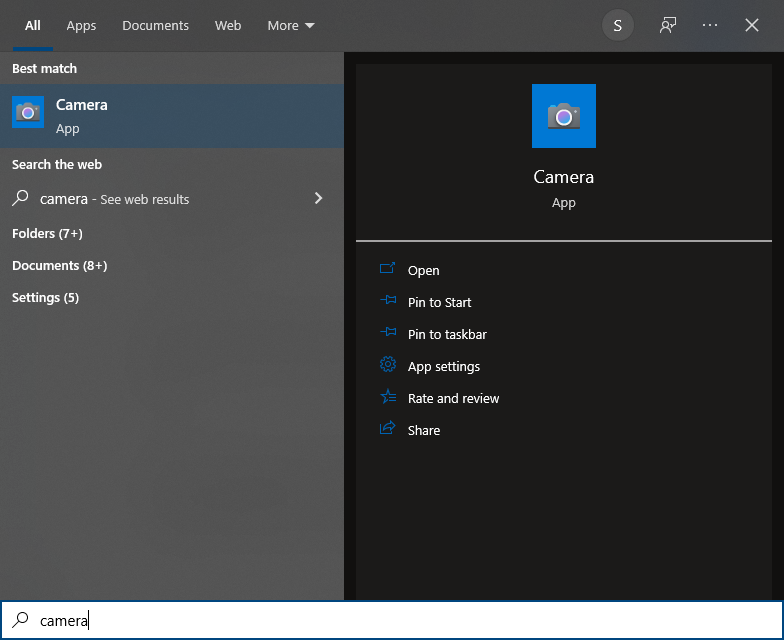
Step 1. On the Windows search bar, type the camera.
Step 2. Next, click the Camera app.
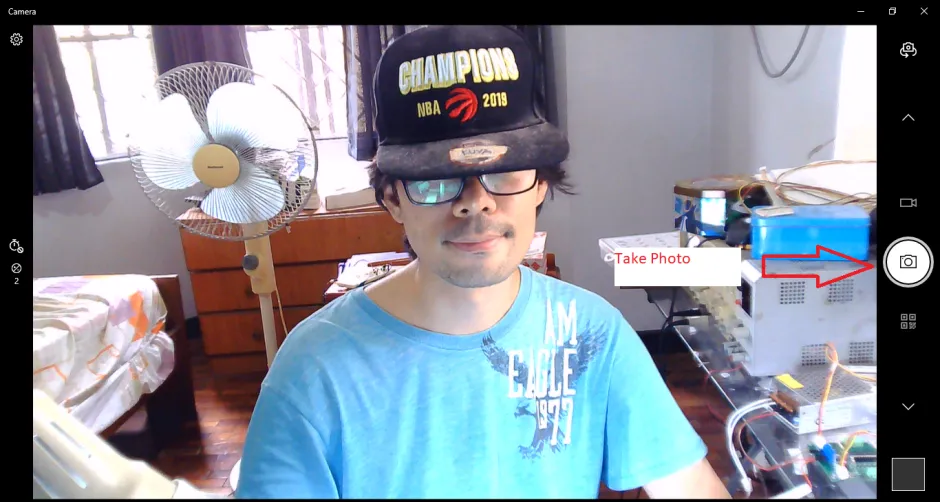
Step 3. If you’ve already hooked up your webcam to your PC, you should already see an image. Otherwise, click the Change Camera button on the upper left to review the different camera sources available on your PC.
Step 4. When you are ready to take a photo, click the take photo button on the middle right side of the screen.
Step 5. If you want to see your captured photos, click the camera roll (with a picture) icon on the lower left. After that, you should be able to scroll through your captured images full-screen using the arrow keys or your mouse wheel.
For a unique experience and to level up your webcam pictures (or videos), use FineCam from FineShare.
FineShare FineCam combines the functionality of webcam software with a plethora of customizations. This tool not only captures photos or videos but can change, remove, or blur the webcam background with or without a green screen, add visual effects, put in AI, and can even use your iPhone/iPad or Andriod as a webcam for your video broadcasting and conferences.
Step 1. To begin with, download and install their award-winning FineShare FineCam software.
Step 2. Run FineCam. And select the camera you want to take a photo with.
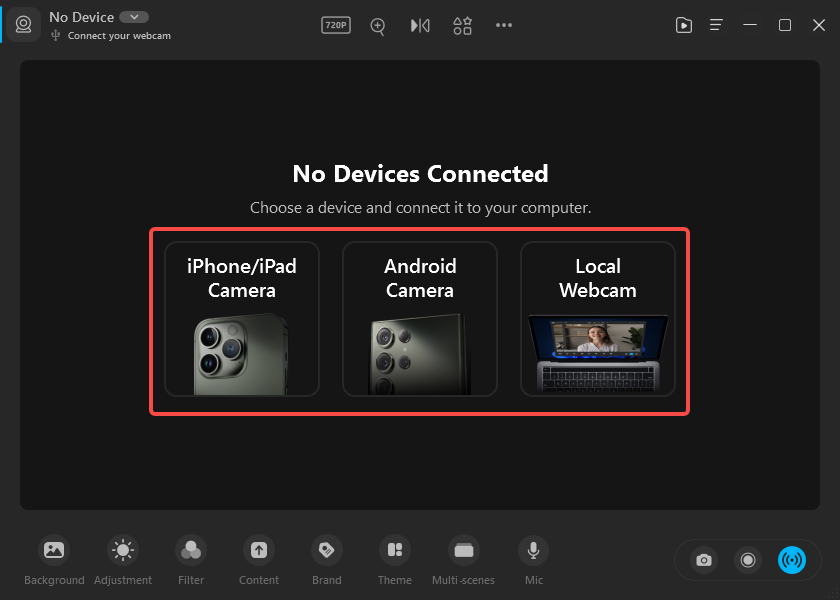
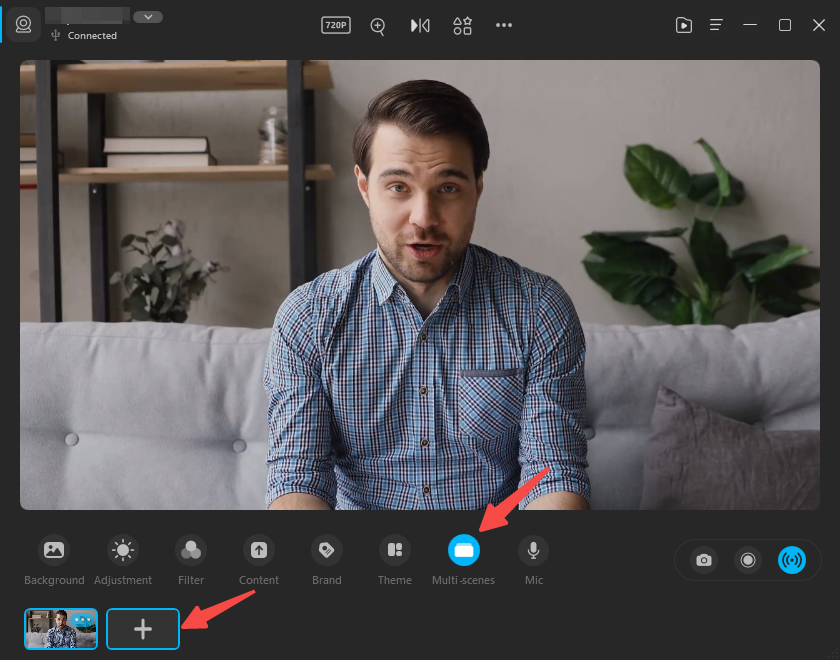
Step 3. If everything goes well, you should see your image. You can use the multi-scenes feature to add various camera sources by clicking the plus sign below.
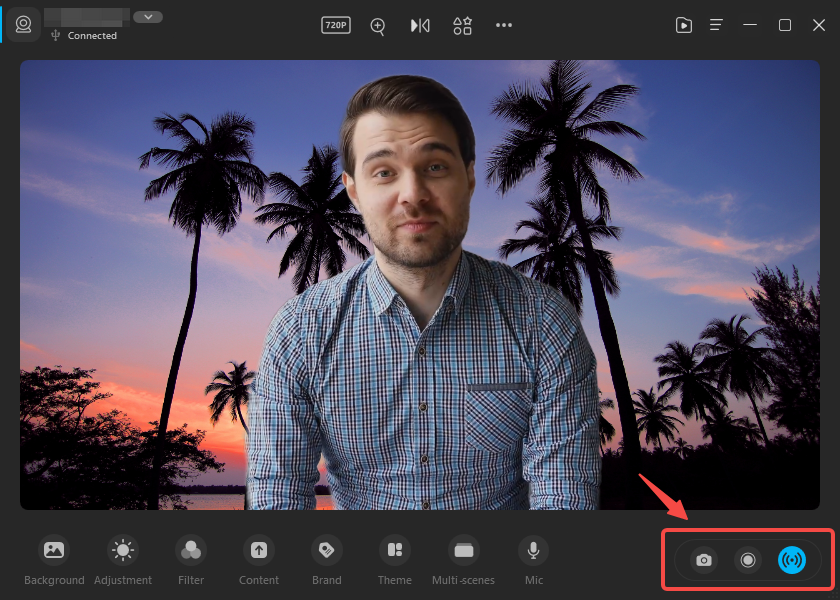
Step 4. You can optionally choose different backgrounds, adjust your image, add a filter, add content sharing, etc.
Step 5. When you’re ready to take a picture, click the snapshot camera icon below. You can also record videos with this software.
Method 3. Take a Photo using Webcam through Webcam Toy
Webcam Toy is a fun and easy-to-use online webcam selfie software.
If you’re in the mood to take random, funny, or wacky photos of yourself or your friends, Webcam toy is the perfect online app. Browse through their different camera effects such as mirrored, ghost, filmstrip, shuffle, and the like. If your friends haven’t gone on a laugh trip in a while, try this out!
Step 1. Go to the Webcam Toy website at https://webcamtoy.com/
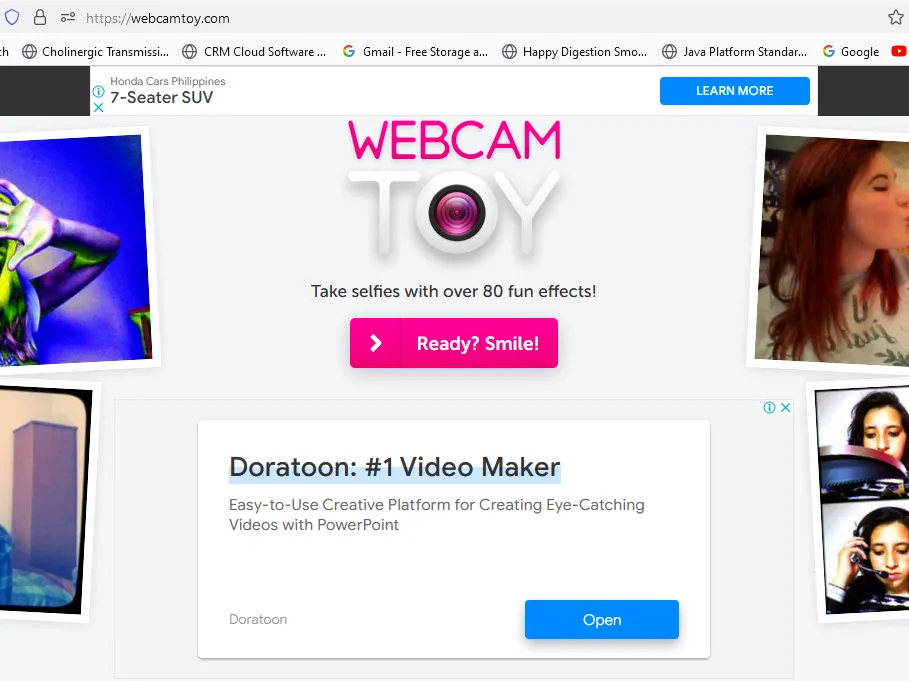
Step 2. Click on the Ready? Smile! Selfie button to start.
Step 3. Make sure to allow the Webcam toy to use your camera.
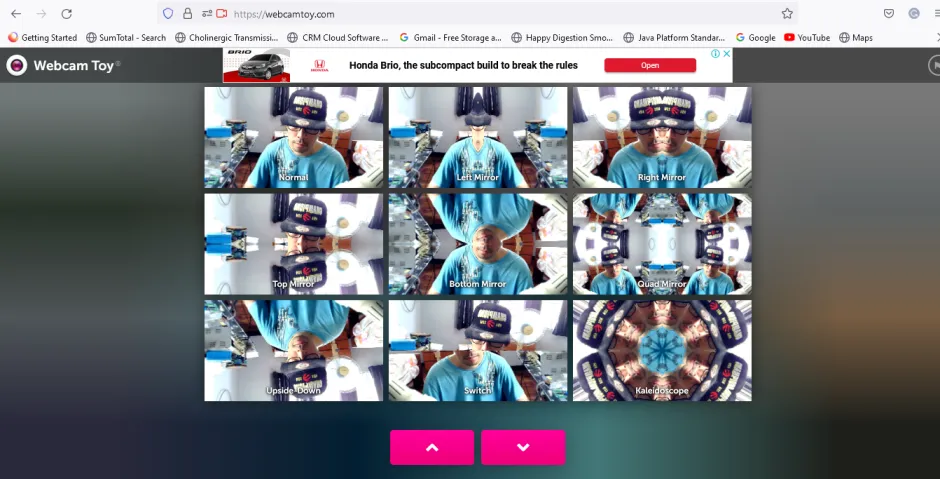
Step 4. Once you’re in, click on the left and right arrow keys to scroll through each effect. Click the effect icon to load and preview different effects in an array. You’re sure to have a laugh trip with your friends.
Step 5. Click the take a photo icon on the right, and the app will surprise you with the share icons for Twitter, Google Photos, and Tumblr.
Step 6. If you want to save the photos on your desktop, click Save on the lower right.
Step 7. If you want to change camera sources, click the gear icon on the lower left.
Method 4. Take a Photo with Webcam using Pixect
Pixect is a versatile online webcam photo editor with various functions. It has tools for adding effects to your videos and editing your photos. What’s cool about this software is that it integrates both a webcam tool and a photo editor in one program.
Add effects to your webcam shots or do a photo collage. Set a timer for your friends to prepare before making a shot. Edit your photos by blurring out unwanted images or pixelating them. You can even use their spot remover to remove pimples from your face in your pictures!
Step 1. Go to Pixect.com and click Get Started now!
Step 2. Make sure to allow your camera as a source to be used for the first time.
Step 3. Next, choose if you want to use a Camera or a Photo.
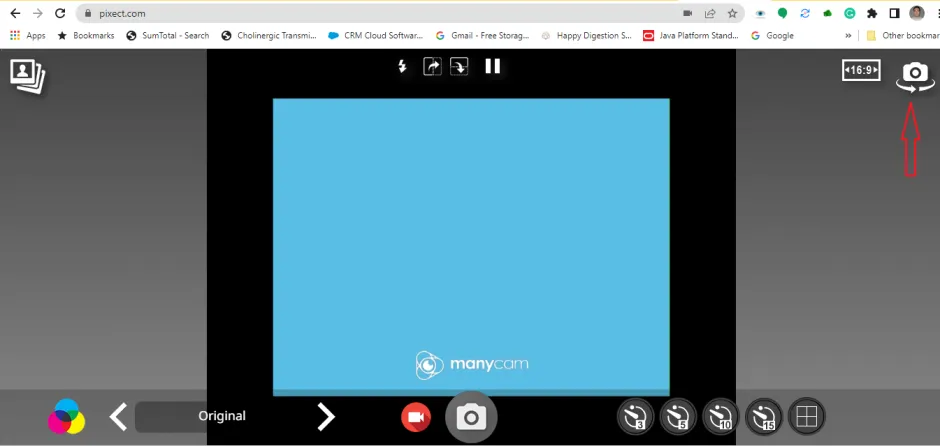
Step 4. You can now start with your selfies or photo editing! On using your webcam, please choose your proper camera source by clicking the change camera icon on the upper right.
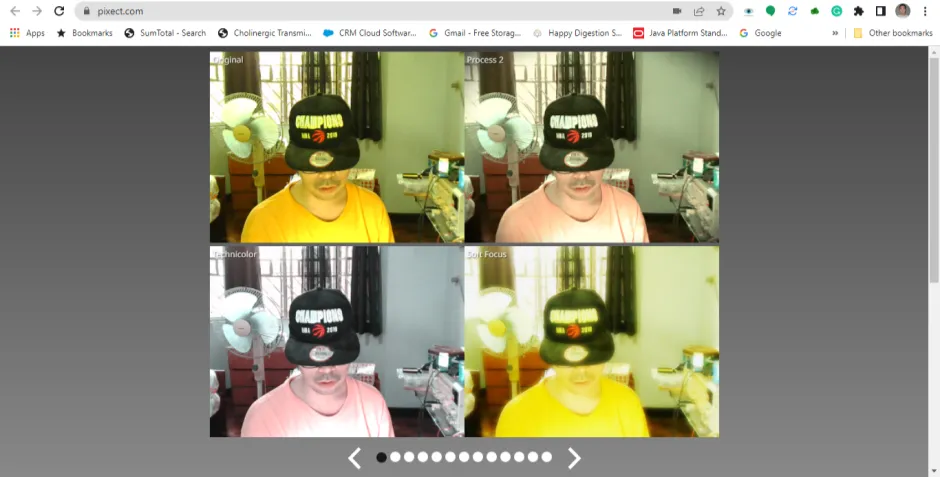
Step 5. Go through all the available effects on the lower left. You can also choose a timer and do a photo collage on the lower right.
Next, click the camera icon to take a photo or the video icon to record a video with your chosen effects.
Step 6. On the right, choose an editing function to enhance your images. Save it or share it on your social network if you like.
Method 5. Take a Photo with Webcam using Webcam.io
If you’re looking for a simple webcam photoshoot, then Webcam.io is the perfect tool. Coming from 123Apps, this online tool will capture, record, and save all the shots you’ve taken from your webcam. Once finished, you can use the other photo or video editing software offered by 123Apps.
Step 1. Open your browser and go to https://webcamera.io/.
Step 2. Ensure access to your camera during this time because the test capture will start automatically.
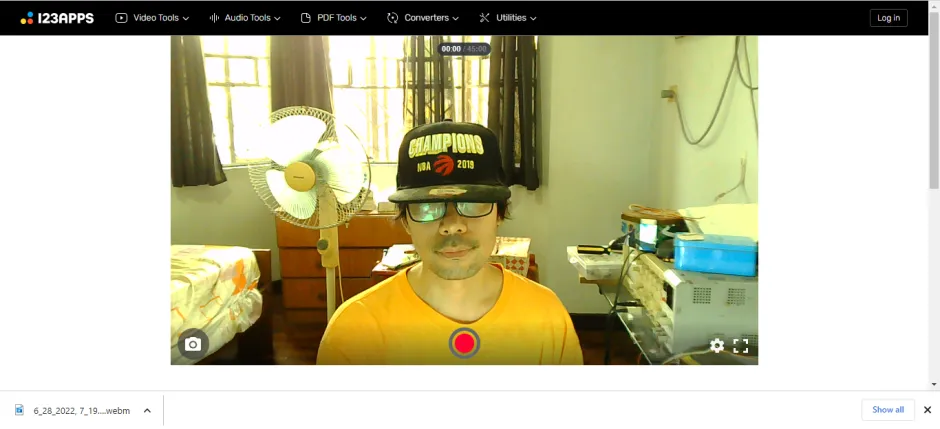
Step 3. You are now ready to capture photos or videos from your webcam. Click the camera icon on the left for photo capture or the record button in the middle for video capture.
Step 4. If you’d like to change camera sources or resolutions, click the gear icon on the lower left.
Conclusion
These are the five quick ways to take a photo with a webcam on your Windows 10 system. Once you get familiarized with them, you’ll instantly be the get-to-guy when anyone wants to use their webcams for photoshoots.