Recording audio on Windows 11 can be an easy thing.
This guide introduces you to 2 simple ways to record audio on Windows 11. You can capture audio using the built-in voice recorder in Windows 11, or using third-party software like FineVoice to record sound from computer, iPhone, apps, browsers, and more. Let’s dive into this post now.
Record Audio on Windows 11 with Windows Sound Recorder
Window’s built-in voice recorder is simple to use, which allows you to record sound and voice quickly. Now, Windows 11 updates the app and adds some new features. It supports MP3, M4A, WAV, etc., and it adds a new feature to change the playback speed.
Go ahead and try to use it now. Take the steps below to record audio on Windows 11:
Step 1. Press the Windows key and type “sound recorder” into the search box. And then click it.
Step 2. If it does not appear on the screen, you should go to Microsoft Store and download Windows Voice Recorder.
Install and launch the app, you need to allow it permission to use your system’s microphone.
Step 3. Record voice. Click the red Record button to start recording your voice. Click the Pause button to pause the recording. Press the Stop button to stop recording.
Step 4. The file will be saved in the folder: User profile>Documents>Sound recordings. You can rename your file and share it with your friends.
Related article: 4 Free Ways to Use Phone as Microphone for Windows & Mac
Record Audio on Windows 11 with FineVoice
Windows 11 Voice Recorder not working is a common problem. The quick way to fix it is to use another voice recorder.
FineVoice is highly recommended here. It’s a simple yet powerful voice recorder for Windows 11/10. You can use it to record all kinds of sounds from your computer, iPhone, streaming sites, videos, and more.
Main features:
- Capture sound from microphones, computers, iPhone, and apps like Zoom, Skype, and TikTok.
- Record audio without losing quality.
- Save your recording project settings.
- It also offers a variety of audio effects and voice effects.
Here’s how to use FineVoice to record audio in Windows 11:
Step 1. Download, install and launch FineVoice.
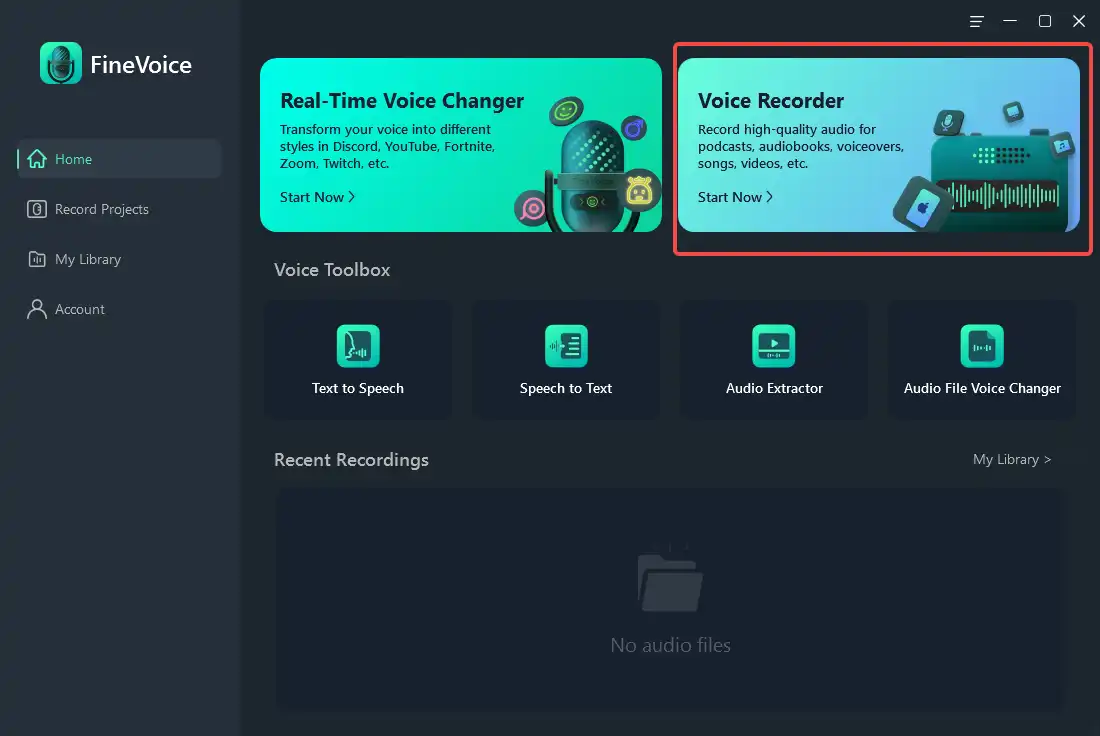
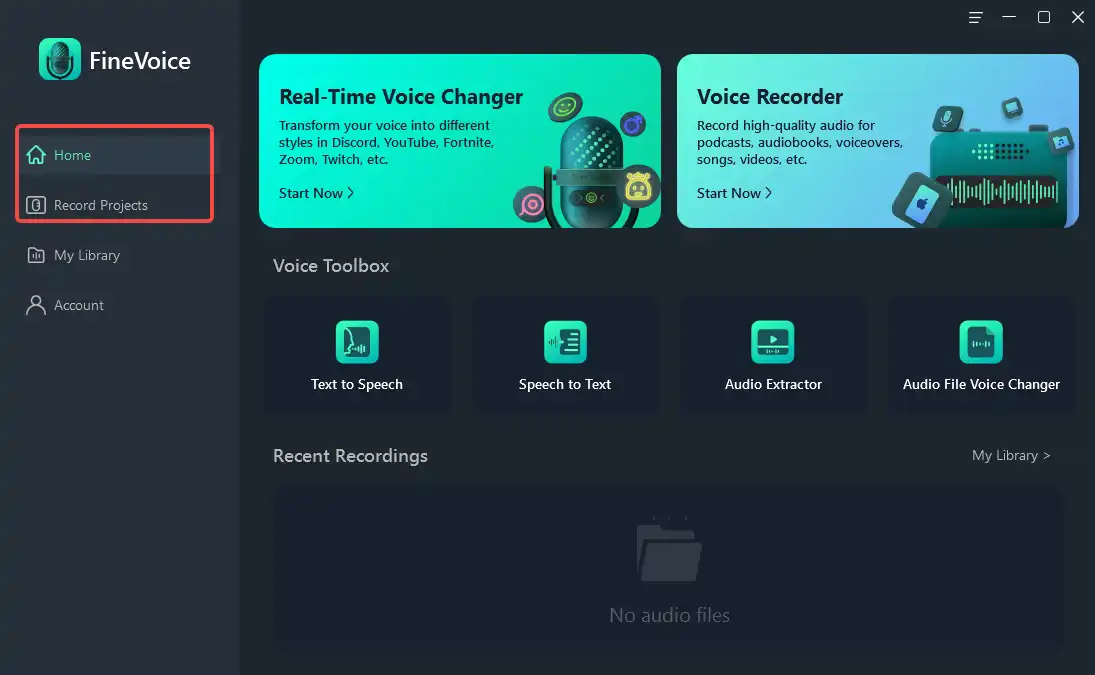
Step 2. Click Voice Recorder.
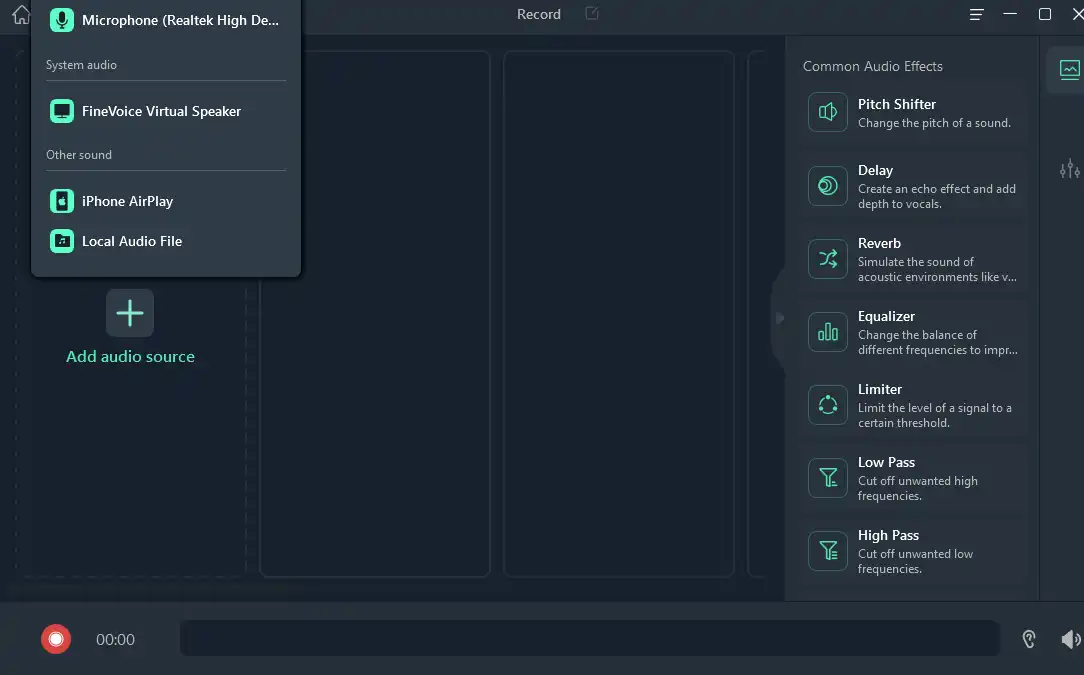
Step 3. Click Add audio source to choose the microphone you want to use.
Step 4. Click the red button to start recording your voice. Click the Pause button to pause recording or click the Stop button to stop recording.

Step 5. Click the Folders icon located at the bottom right of the Window, you can find your recordings here, and then rename them or share them with your friends.
By clicking Home or Record Projects, you can also find your recording files.
Conclusion
In this post, we’ve mentioned 2 simple ways to ways to record audio on Windows 11. For those who just want to record voice memos, Windows 11 voice recorder is the best choice. For those who want to capture sound from multiple sources, FineVoice is suitable for them.