Today, microphones are essential PC accessories required in day-to-day activities, such as sound recording, online meetings, remote working, speech recognition, and many more important activities.
In such a case microphone failing to work can cause a lot of inconveniences, and you will need a quick fix, such as updating the microphone driver to solve the issue.
Part 1. How to Download & Install Microphone Driver?
Downloading the microphone driver for Windows may sound like a hard thing. With this guide, you will learn how to effectively download and install Realtek microphone and Blue Yeti drivers for Windows.
1. Download and Install Realtek Microphone Driver?
Most Windows 10 PCs work best with a Realtek Microphone, and you will likely find the Realtek drivers preinstalled on your PC. However, if this is not the case, you will need to download and install it manually.
Besides, Realtek offers drivers for the ICs, but they can be used on all other motherboards via the universal driver. Although this driver may not perform with all enhancements by the manufacturer, it will still work as expected.
To download and install the Realtek microphone driver, follow the steps below:
Step 1: Depending on the architecture of your Windows PC, you can download either the Realtek microphone driver for a 32-bit or 64-bit Windows operating system.
Step 2: Wait for the download to complete and double-click on the downloaded executable file.
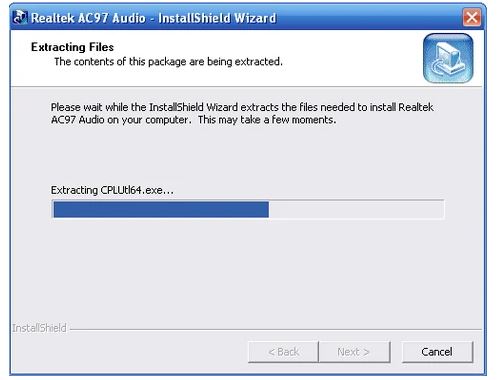
Installing Realtek Microphone Driver
Step 3: Install the driver on your computer by following the on-screen instructions.
Step 4: Restart your computer to finish the installation process.
Step 5: Check if the driver has been installed properly on the Device Manager tab.
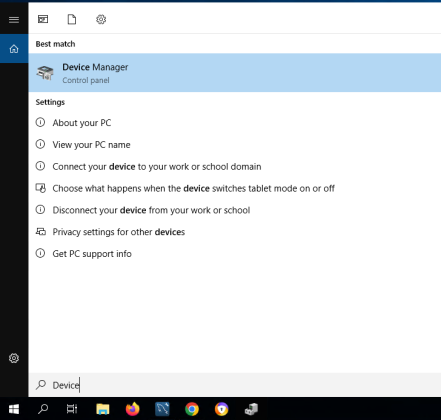
Device Manager
Step 7: Scroll downwards and double click on Sound, video, and game controllers to check if Realtek HD Drivers are listed.
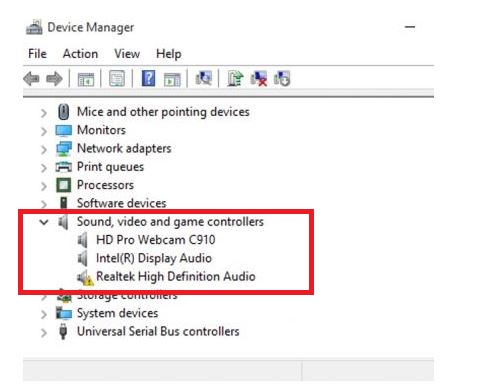
Checking Realtek HD Drivers installed
Step 8: Right-click on the microphone icon on the taskbar and select Sounds to enable the drivers.
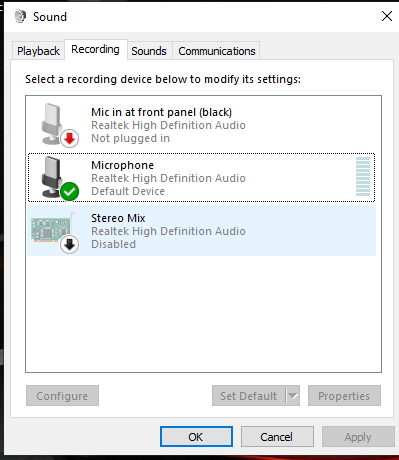
Enabling Realtek HD Audio
Step 9: Click on Recording on top of the window and right-click on the Realtek HD Audio Device option.
Step 10: Click Enable and select Apply.
Step 11: Lastly, click the Ok button to apply your changes.
Bingo! You’ve now installed and enabled the Realtek microphone driver for your PC.
2: Download and Install Blue Yeti driver for Windows?
The Blue Yeti microphone is a Plug and Play USB microphone, installing Blue Yeti drivers for Windows may not be necessary. You only need to connect the Yeti to your computer using a USB, and Windows will recognize and automatically install the Yeti driver as a USB audio input device.
To set up the Blue Yeti microphone as your default audio input device, perform the steps below:
Step 1. Use a USB cable to connect Yeti to your computer.
Step 2. Open the Windows Start menu and select Settings.
Step 3. Navigate to Control Panel and click on Hardware and Sound.
Windows Control Panel
Step 4. Click on Sounds.
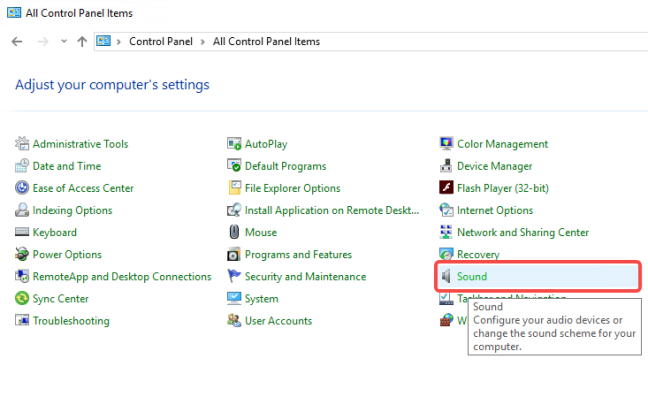
Windows Sounds Settings
Step 5. Click the Playback tab, click Yeti Stereo Microphone, and set it as the Set Default option.
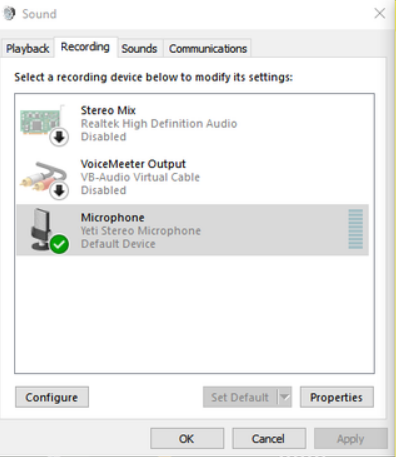
Set Blue Yeti as Default Microphone
Step 6. Click on Recording on top of the window, select Yeti Stereo Microphone and click the Set Default option.
Step 7. Press Ok.
Part 2. How to Update Microphone Driver on PC?
You can update the microphone driver using the steps below:
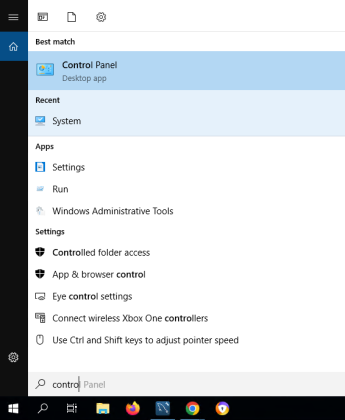
Step 1. Click on the Search icon and type Device Manager in the search box.
Device Manager
Step 2. Navigate downwards and expand the Sound, video, and game controller’s options.
Step 3. Right-click on the microphone and select the option for updating the driver.
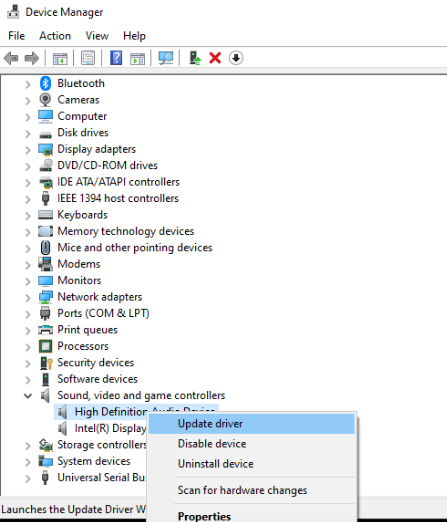
Update the High-Definition Audio Device
Step 4. Select the Browse my computer for drivers option in the popup wizard.
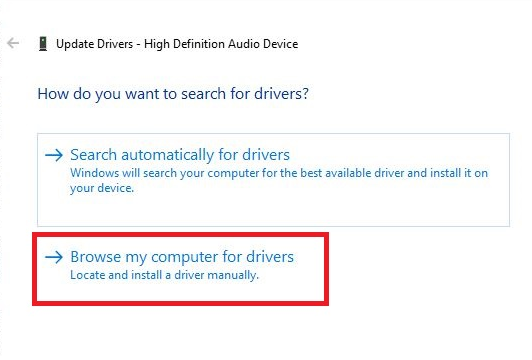
Browse for Update Driver
Step 5. Select the option for Let me pick from a list of available drivers on my computer.
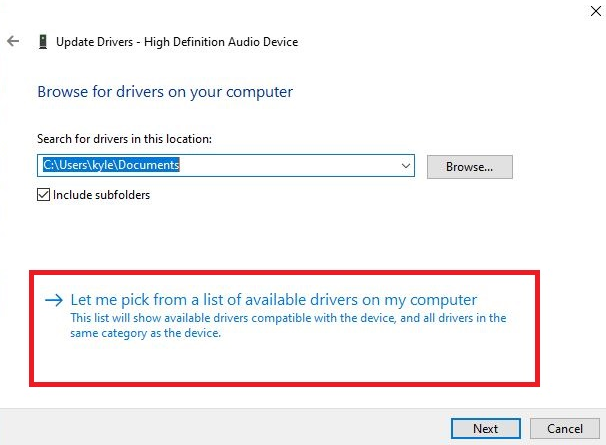
Pick Available Microsoft Driver
Step 6. In the next screen, a list of the compatible hardware will display.
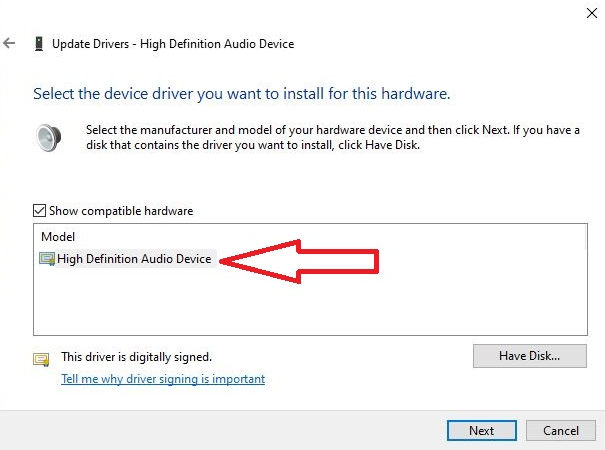
Select High-Definition Audio Device
Step 7. Select High Definition Audio Device and install them.
Your microphone driver for Windows is now updated.
Conclusion
A microphone can help you achieve great things, such that when it is now working, you may find it necessary to download the microphone driver for Windows or update them to continue with your operations.
This guide has enlightened you on the quick ways of installing Realtek drivers for Windows and Blue Yeti. Moreover, it has explained simple and fast steps for updating the in-built Windows microphone.