HomeResource How to Add Webcam Overlay & Border for Video Calls/Stream
How to Add Webcam Overlay & Border for Video Calls/Stream
Do you feel that your live streams or video feeds look plain and boring? Would you like to add some background elements to your webcam image to make it more appealing? This tutorial will teach you just that, and this is how to add a webcam overlay.
Every live stream or video presentation intends to engage its audience. One such technique is adding color and variety to your presentations using background overlays. These overlays apply to different video capture sources, including your webcam.
You probably had to learn photo editing using Photoshop or Adobe Premier in the early days to accomplish this task. Fortunately, in this tutorial, you’ll learn how to easily add webcam borders and overlays by importing them using advanced webcam software such as StreamLabs, OBS Studio, and FineCam.
Method 1. How to Add Webcam Overlay & Border using OBS
OBS Studio is probably one of the most popular live stream or video recording tools today. The best thing about this software is that it’s free. Once you get accustomed to its features, you’ll be able to present your video presentations like a pro.
An added value in presenting your webcam image is to add a neat border around it. This process creates a clear separation between your webcam image and your presentation. Here we’ll provide the concrete steps in doing this through OBS Studio.
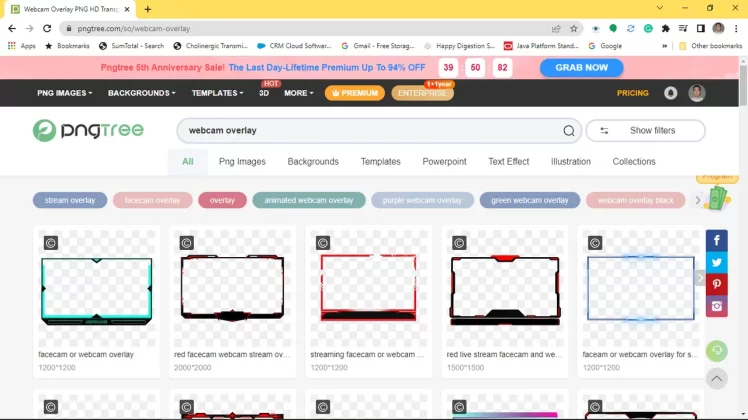
Before adding a webcam border or overlay, we need to download this overlay from the websites that create them. PNGTree is one such website. This site has thousands of templates for various purposes, and webcam borders are one of them.
Type webcam overlay on the PNGTree search bar.
Search Webcam Border and Overlay on PNGTree
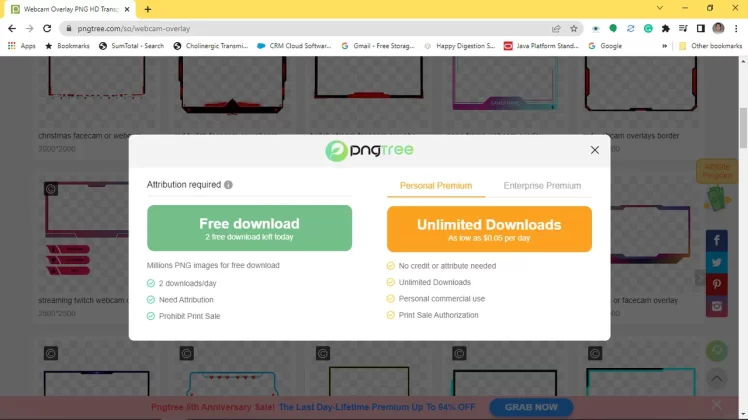
Pick a webcam overlay that suits you. Download it as a PNG file and store it in a folder. You can freely download two overlays in a day. If you want unlimited downloads, you can go for a premium account.
Download Webcam Border from PNGTree
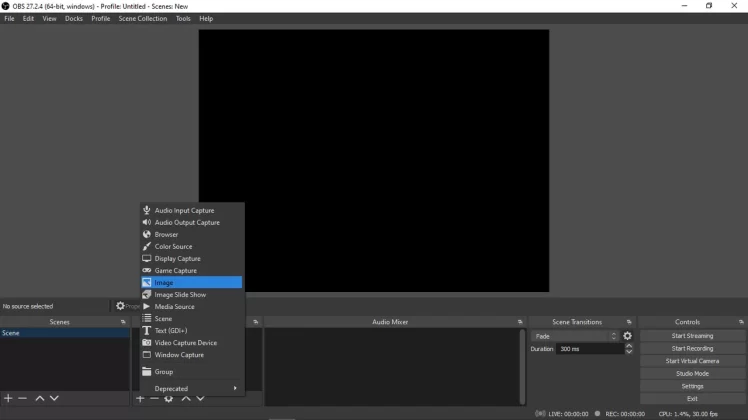
Now go to OBS Studio to edit your Scene. Go to Sources and click +. Go ahead and click Image. Name this image according to your liking (e.g., webcam overlay). Click OK.
Add Image Source on OBS Studio
Browse for the downloaded image file from PNGTree and select it. Click OK.
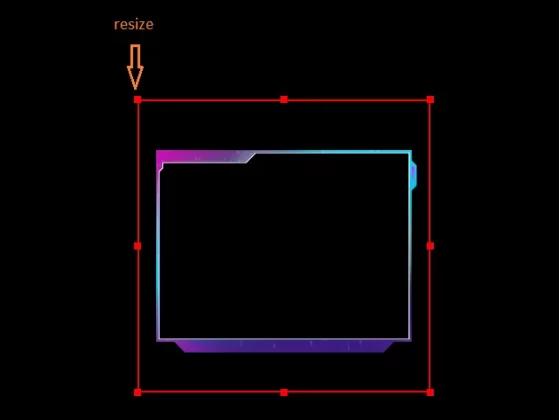
You should see your webcam overlay/border like below. Resize its handles to your liking.
Resize Webcam Border on OBS Studio
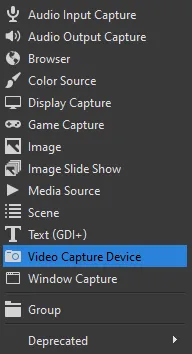
Now, add another source by clicking +. Add a Video Capture Device and choose your webcam.
Add Video Capture Device on OBS Studio
Adjust the handles of your webcam image so that it fits the borders of the webcam overlay. Additionally, press and hold the Alt key while dragging the handles if you want to crop the image.
Adjust Your Webcam and Overlay
Select these sources (webcam image and webcam overlay) and drag them to where you like to put them on your scene.
Method 2. How to Add Webcam Overlay & Border using StreamLabs Desktop
StreamLabs is very popular among gamers, and they use it for live streaming their gaming sessions to share them with others. As with any other live streaming event, a webcam image makes you present at that moment. This procedure makes your profile popular in the gaming community. Additionally, StreamLabs not only found its way among gaming platforms but with live streaming platforms as well.
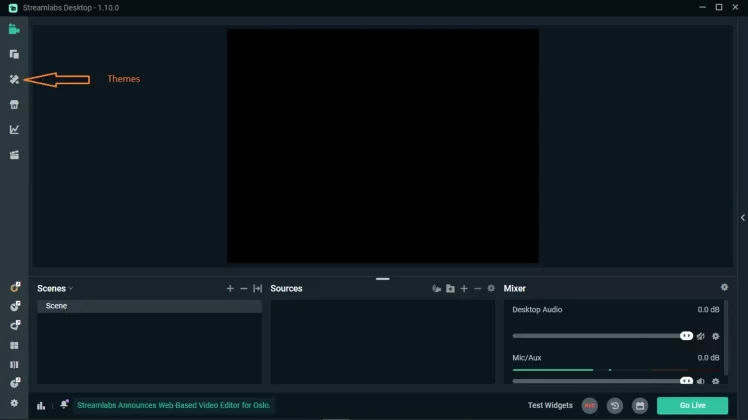
Once you’ve opened StreamLabs Desktop, choose Themes on the left-hand menu shortcuts.
Go to Streamlabs Themes
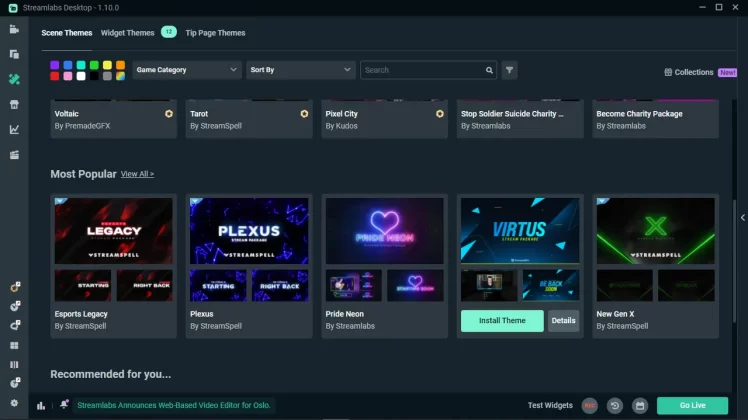
On the Scene Themes tab, choose and select a particular theme that suits your taste. Then click Install Theme.
Install Streamlabs Themes to Get Webcam Overlay
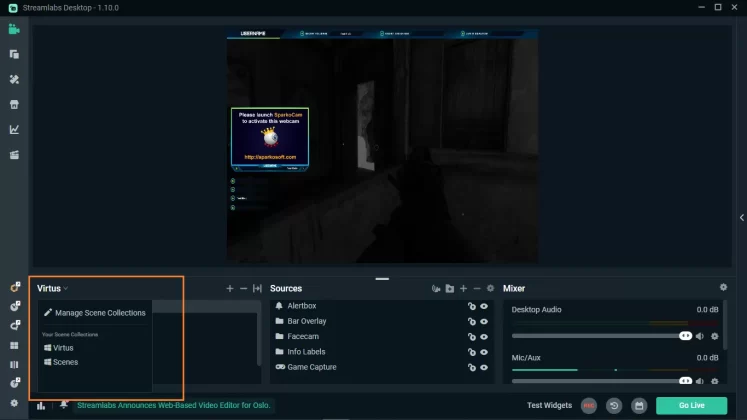
Your Theme installs as a Scene. You can check your Scene Collections by clicking the arrow on the Scene selector window.
Get Webcam Overlay and Border from Scenes
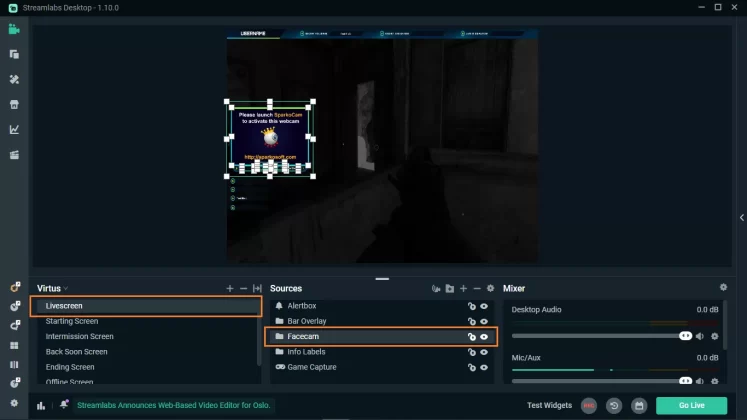
There are different scenes available for your downloaded Theme. For example, choose the Livescreen scene on the Virtus scene collection. Next, you’ll see a Facecam group folder in the Sources selector window. This folder is where both your webcam and webcam overlay resides.
Streamlabs Vitrus Facecam
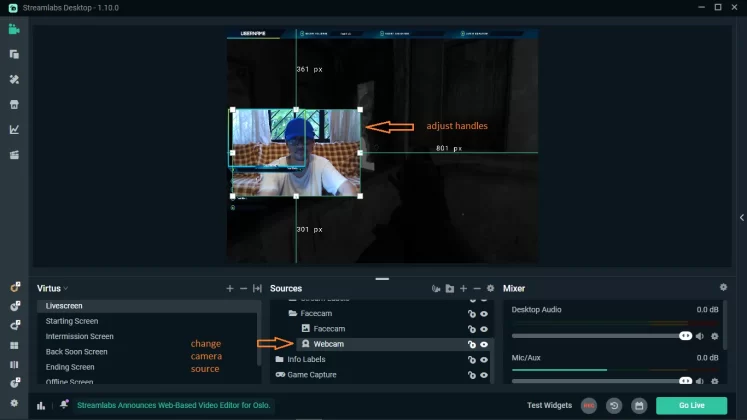
Click continuously on the Facecam group in the editor. You’ll be able to alternately select both the webcam video source and the Facecam image. Double-click on Webcam in the Sources selector window under the Facecam group if you want to change webcam sources.
Adjust Handle on Streamlabs
Adjust the handles of both the Facecam image and the Webcam video source according to your liking. Then place them anywhere on the scene.
Method 3. 1 Click Add Brand Overlay using FineCam
FineCam is AI-powered virtual webcam software that supports removing and blurring webcam backgrounds. You can use to create a stunning live video for your meeting, education, presentation, and recording on your computer.
With the latest edition of FineCam 1.5, you can enjoy a new feature to easily add a brand overlay, including a logo image and a title for your business presentation. Besides, this edition also introduced some new features like adding multiple files such as PowerPoint slides, webpages, and YouTube videos as virtual backgrounds, which brings a lot of fun.
To add a brand overlay using FineCam, just follow the steps below.
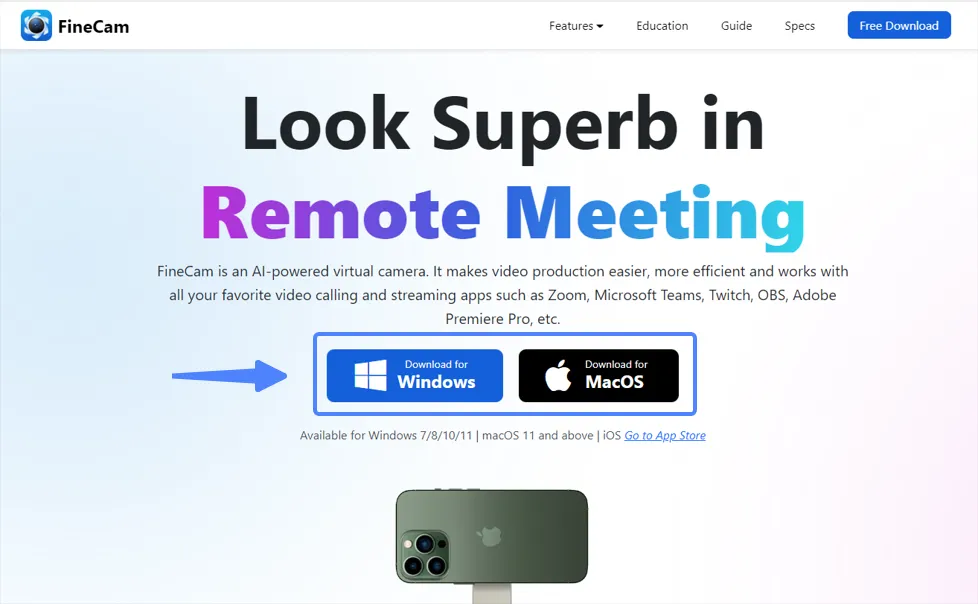
Download, install and run FineCam on your Windows or Mac computer.
Download FineCam Desktop Client
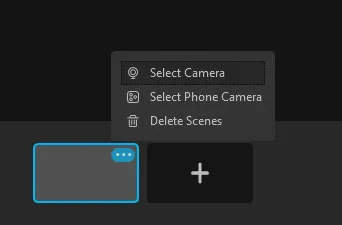
FineCam will detect your default webcam. If not, just add a webcam to the scene.
Select Webcam – FineCam
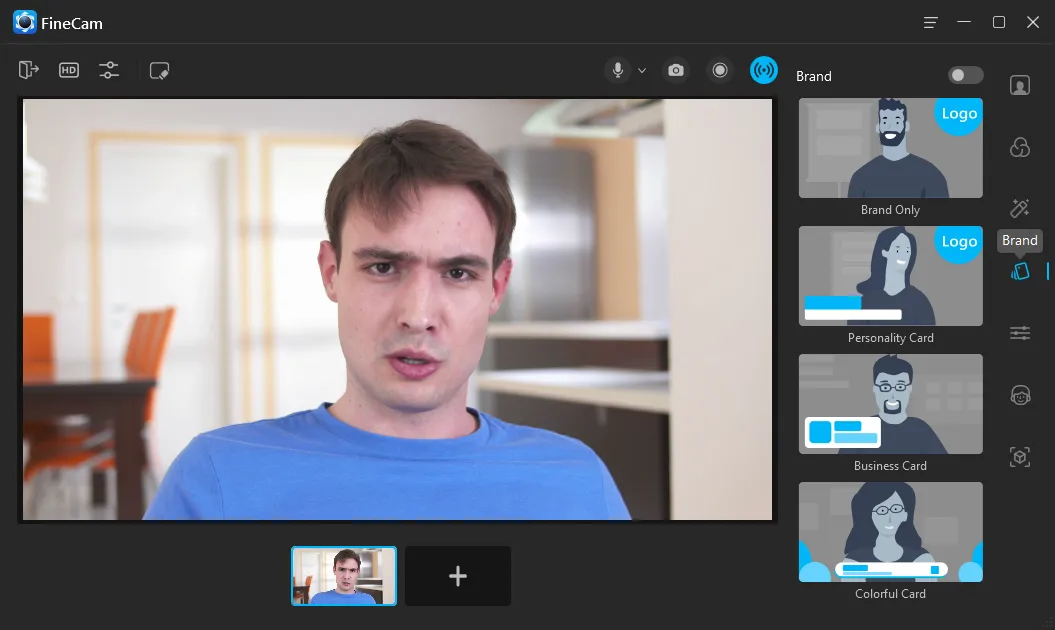
On the sidebar, select the Brand section.
Add brand overlay – FineCam
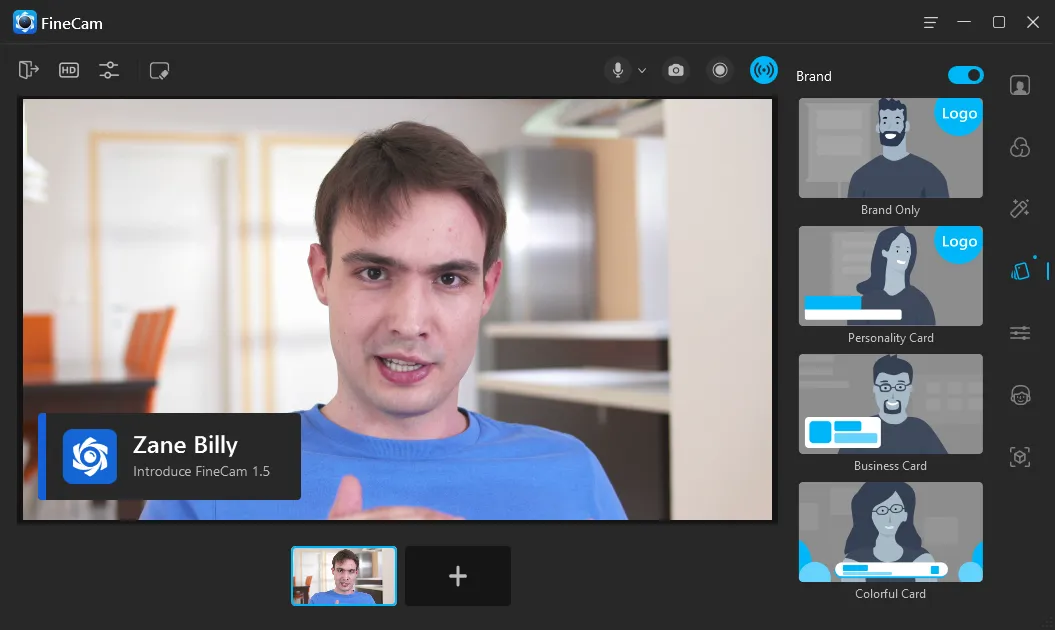
Toggle to enable Brand Overlay and select one overlay template.
Enable brand overlay – FineCam
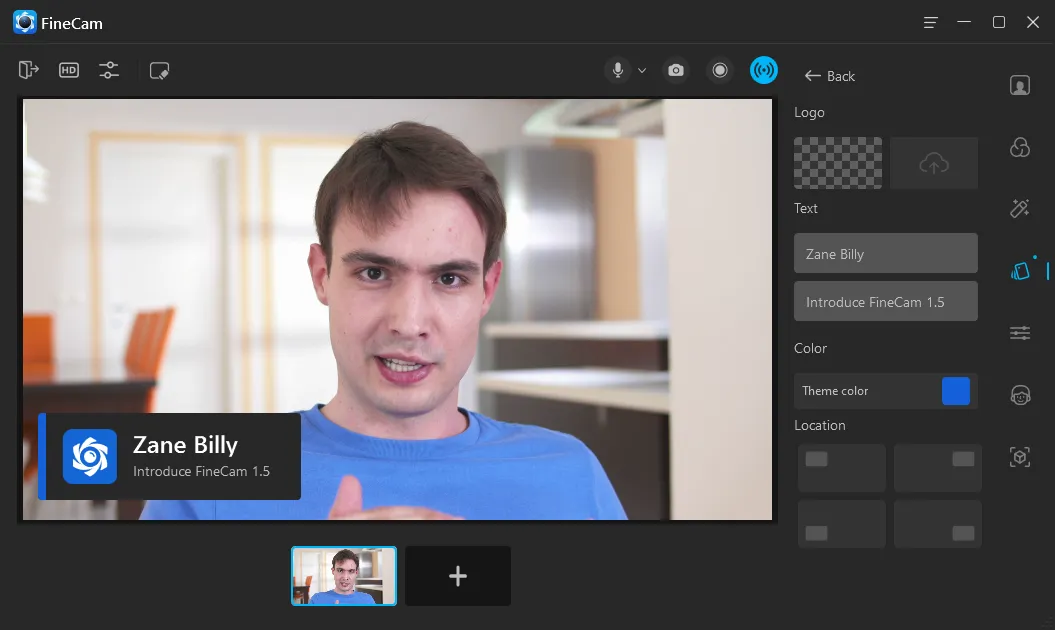
You can edit the overlay by uploading your own brand logo and inputting your title.
Edit brand overlay – finecam
Conclusion
These steps help add a webcam overlay or border on your video calls or streams. The process relayed is for OBS Studio and StreamLabs Desktop. Once you’ve gone through these steps, you can add webcam overlays to make your video presentations more presentable. You can also use webcam overlays to separate your presentation from your webcam video source to make them easily distinguishable from each other.
This article is originally published on July 28, 2022, and updated on May 22, 2024
Technical writer and electronics engineer who has worked with several multinational companies. He's done remote work during the pandemic, realizing the importance of having high-quality webcam.