Minecraft has been a very popular game since its first release in 2011. This great game provides players with infinite possibilities and fun in that charming square-shaped world.
You can explore the wild, survive the monsters, and build a new home in Minecraft. There is always interesting stuff in this game for you to find out, plus the great and ever-growing player community, you can find plenty of add-ons made by the players and use them to make this game better and better.
Nowadays, Minecraft has become one of the most famous video games worldwide, and millions of players are still enjoying this game even though it’s already over years old. And many players love to record their experiences and adventures in the game, maybe you have seen those Minecraft videos on platforms like YouTube.
How about recording your own Minecraft videos? Whether you want to share your joy with friends or want to upload them to YouTube to attract more viewers, it’s always a good thing to keep those times preserved.
However, although Minecraft allows you to do anything you want in its game world, recording your journey as videos aren’t included. You will need other software to record your Minecraft.
How to record Minecraft you may ask, don’t worry, here we will show you the 8 easy ways to do that and something important you should know before choosing any screen recorder.
Related Article: The 5 Best Voice Changers for Minecraft to Sound Like Anyone
What’s Important When Choosing Screen Recorder for Minecraft
Before we start, there are a few things you need to consider when choosing the screen recorder that suits you best.
No lag
All the players would agree that lag is one of the most annoying issues in any game genre. Whether you play a fast-paced shooter game or a casual simulator game, lag will always have a huge negative impact on your normal gameplay. If the screen recorder causes your Minecraft to lag, then you better choose another app.
No FPS loss
A stable and high FPS(frames per second) status usually brings smooth gameplay. 60 FPS is a common standard for most video games. And 30 FPS is the bottom line, if the game FPS is lower than 30, you will sense obvious unnatural movement in the game, which is as annoying as lag. A poorly optimized screen recorder may cause FPS loss and make your game become unplayable.
High-quality recording
No doubt that everyone prefers to watch a High-definition video than a low one. No matter how interesting the content might be, the low definition can hardly attract any viewer to watch. Minecraft isn’t famous for its graphics, you can even call the graphics mosaic level. But still, it’s important to make sure your video recordings have enough definition for others to enjoy.
FineShare FineCam is an AI-powered webcam software integrated with a screen recording function. For Minecraft players, it can record your gameplay without any lag or FPS loss and supports a recording resolution from 720p to 4K at most.
It’s free to use and pretty easy to handle, you can start and stop recording with simple keybindings, and even a beginner can understand how to operate it in a few minutes. For users who wonder how to record Minecraft on Mac, FineCam is also the perfect tool you could use because it supports both Windows and MacOS.
FineCam also supports recording your webcam and screen at the same time, if don’t have a webcam, an iPhone or Android phone can also be used as a webcam.
To record Minecraft, you need to set the game app window as background in FineCam first, and then start recording. Here are the steps on how you can do it.
Step 1. Download and install FineCam.
Step 2. Launch the Minecraft game.
Step 3. Enter FineCam, select Add Background > App Window, and choose the Minecraft game window as the background.
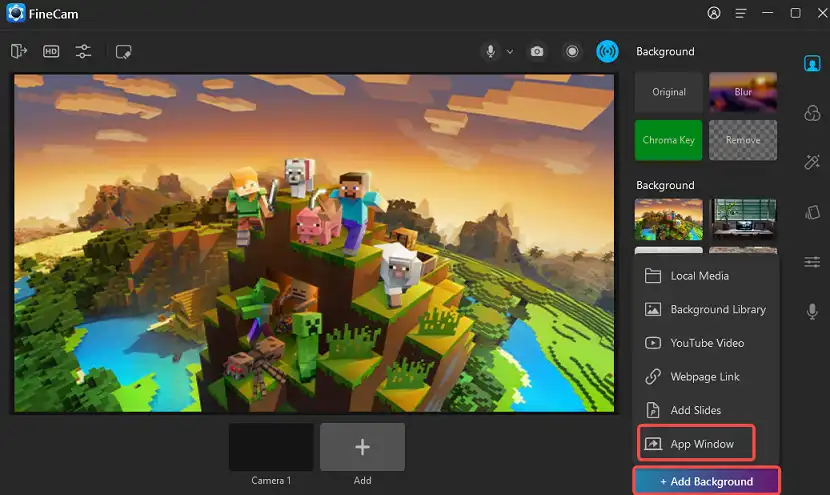
Step 4. Click the Record button to start recording. It also supports the shortcut, press Ctrl + R to start, and Ctrl + W to stop.
Recommended Reading: How to Change Minecraft Narrator Voice: Everything Should Know
How to Record Minecraft with Xbox Game Bar
This method is currently only available for Windows 10 or Windows 11 users because the Xbox Game Bar is a built-in recording software of these two systems. As the name suggests, Xbox Game Bar is designed to record any gameplay, and Minecraft is perfectly compatible with it since you can find Minecraft in the Microsoft store.
This software is completely free to use, and it supports an in-game overlay function for you to operate recording progress without leaving your game.
After that, let’s see the steps on how to record Minecraft on PC with Xbox Game Bar.
Step 1. Launch your Minecraft game.
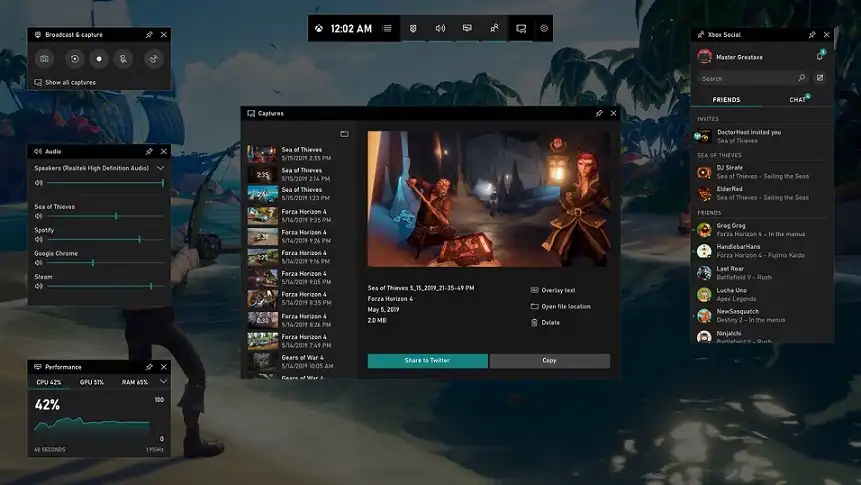
Step 2. Press Windows Key + G to call out the Xbox Game Bar in the game.
Step 3. Click the Capture option at the top of your screen to open the recording toolbar.
Step 4. Click the red button to start recording, you can use the shortcut Windows Key + Alt + R to do this too.
How to Record Minecraft with OBS
OBS is a professional open-source screen recording software, and it has been one of the most famous recording tools for gamers and streamers all over recent years. OBS has a lot of powerful functions such as color correction and image masking filters. It’s also completely free, but beginners better not start with OBS since it’s a professional-level tool, you may need to spend quite some time learning how to use it before actually using it to record Minecraft.
Step 1. Launch OBS.
Step 2. Check the top toolbar, select Files > Settings > Hotkeys, and set the hotkeys you want to use in recording.
Step 3. Launch the Minecraft game.
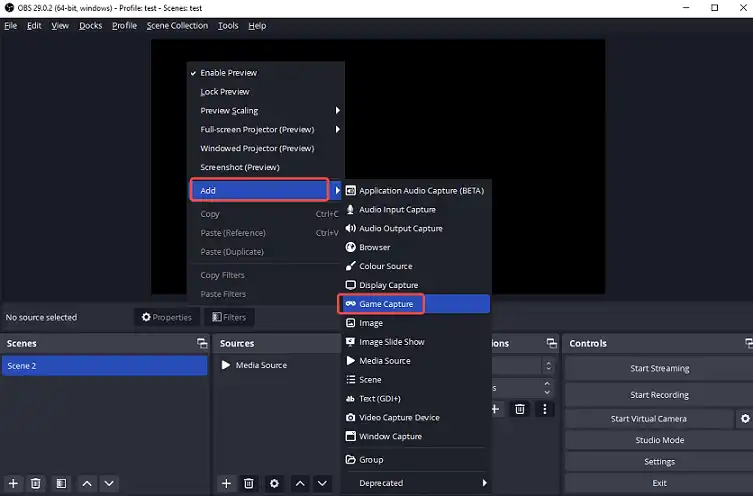
Step 4. Switch back to OBS, right-click on the main screen, choose Add > Game Capture, and select the Minecraft app.
Step 5. Use your hotkeys to start recording.
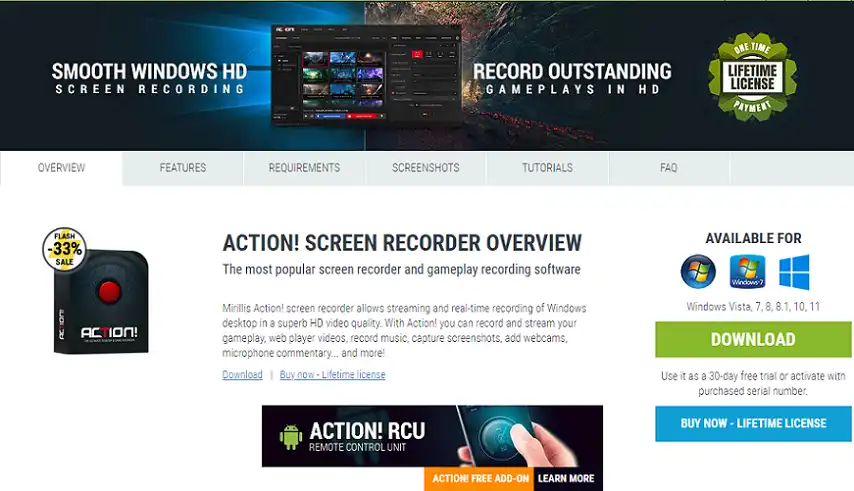
How to Record Minecraft with Action! Screen Recorder
Action! is another screen recording software dedicated to recording video games. It provides an intuitive and stylish user interface, anyone can handle this software very soon. Action! provides a 30-day free trial to anyone, and it’s only available on Windows systems, from Windows Vista to Windows 11.
If you wonder how to record Minecraft for YouTube, Action! can save you some time by providing a quick way to stream your recordings to social media like Facebook or YouTube. It also provides you with a smooth recording which has a high FPS of up to 120. But on the other hand, recording video with such a high FPS means it takes up more memory to record, and your PC performance will be influenced for sure.
Step 1. Open Action! and set the settings in the Video Recording interface.
Step 2. Launch the Minecraft game.
Step 3. Click the red button to start recording.
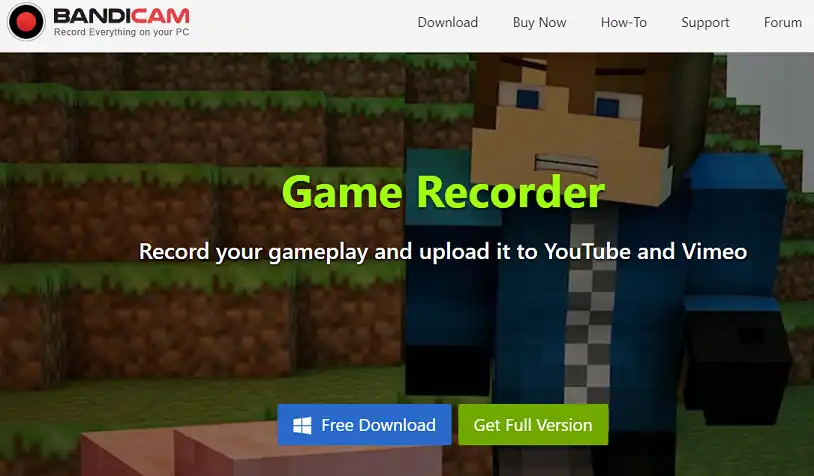
How to Record Minecraft with Bandicam
Bandicam is lightweight screen recording software that works perfectly on Windows systems. It supports various recording situations and has a dedicated game recording function for Minecraft gamers to use.
Users have full control of recording FPS with Bandicam, and an in-game overlay shows the current FPS so you can see whether the recording is going well or not.
But players who want to record long video need to notice that the free version of Bandicam only allows you to record 10 minutes at most for each recording, your recordings will also be watermarked.
Step 1. Open Bandicam and choose Game Recording mode.
Step 2. Launch Minecraft and a green-colored FPS number will be shown inside the game.
Step 3. Press the Record button or use the hotkey F12 to start the record. The FPS number will turn to red color during the recording.
How to Record Minecraft with Icecream Screen Recorder
Icecream Screen Recorder provides you with a standalone Game Capture mode to record Minecraft effortlessly. If you are making videos for your channel on YouTube, you can use this software to add your logo to the recordings to ensure people know who made those Minecraft videos.
Meanwhile, Icecream Screen Recorder has a recording duration limit for free users, you can only record for 5 minutes at most. And some of its functions are only available on Windows systems.
Step 1. Open Icecream Screen Recorder.
Step 2. Launch Minecraft in full-screen mode.
Step 3. Press F6 to start recording in the game, and press it again to stop.
Step 4. Switch to Icecream Screen Recorder, and click the Save button to save the recorded videos on your PC.

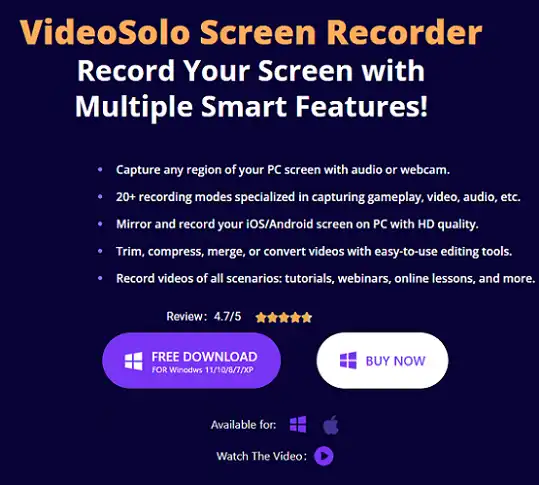
How to Record Minecraft with VideoSolo Screen Recorder
VideoSolo Screen Recorder is a screen recorder that allows you to record your Minecraft gameplay with no lag, and no watermark.
It supports the adjustable resolution and frame rate and has a built-in video trimmer which can help you do some simple and quick edits to the videos. And the automatic recording function can start and stop recording according to the preset timing or video length without further operations.
Step 1. Open VideoSolo Screen Recorder.
Step 2. Select the Game Recorder function on its main interface.
Step 3. Select Minecraft, then set the following audio settings for the microphone and system sounds.
Step 4. Launch the Minecraft game.
Step 5. Switch back to VideoSolo Screen Recorder and press the record button to start recording.
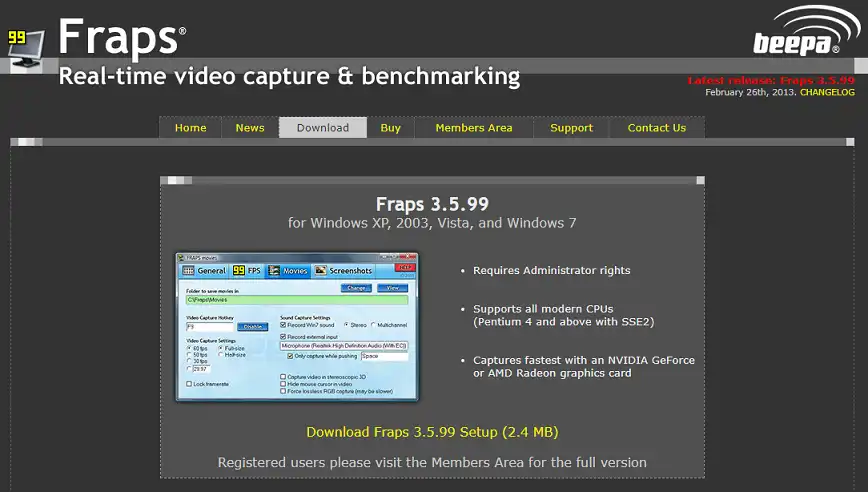
How to Record Minecraft with Fraps
You might have heard about Fraps before since it’s a screen recorder with years of history. Fraps is pretty old indeed, but it’s still a good choice if you are looking for a Minecraft screen recorder.
This software provides an extremely simple recording function that doesn’t interrupt your gameplay at all, and you can also use it to display real-time FPS status in the game.
However, unregistered Fraps only supports recordings of 30 seconds, which is not enough for most players. And another issue with this software is that the sizes of recording files tend to be large, you will need a lot of disk space when using Fraps.
Step 1. Open Fraps, and choose Movie on the top.
Step 2. Set the save folder and Video Capture Hotkey.
Step 3. Launch the Minecraft game.
Step 4. Press the hotkey inside the game to start recording.
Conclusion
Recording videos in Minecraft could be a very tiring thing to do, but with a handy tool, you can save lots of effort. We hope this article can help you with that, and among all the listed software above, our top recommendation would be FineShare FineCam.