More and more people are using webcam recording software to get their work done. Teachers today teach students in a hybrid environment. Professionals do presentations to simulate and even replace live meetings that take up too much of their time. Students record presentations about their project or thesis with an additional webcam widget to compensate for their presence. Either way, they seem to have one thing in common: they want to record their screen and webcam simultaneously.
Don’t Miss: How to Record Yourself Presenting A PowerPoint
Way 1. Record Screen and Webcam using Loom
Loom is probably the most popular way to record your screen and webcam simultaneously. What’s good about this service is that it can operate by using only your web browser. With this, installing a desktop application is optional (although it provides additional benefits).
Here are the steps to make Loom work:
- Go to Loom.com. Sign-up and follow their instructions.
- You can record your first loom video using a web browser or a desktop app.
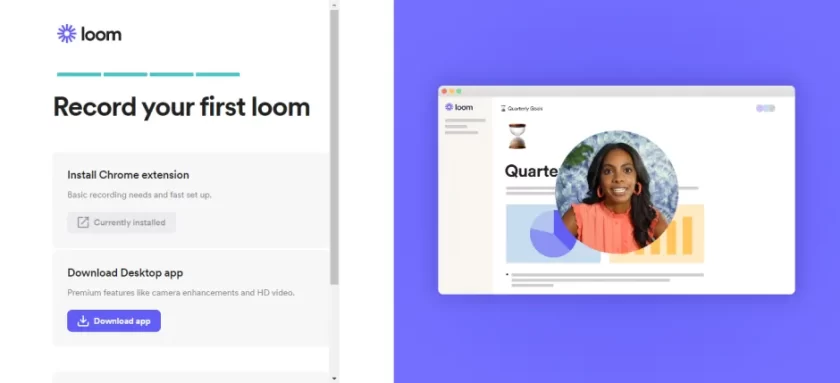
Record Your First Loom
- You’ll also have a personal workspace for your videos.
- To use the Loom chrome extension, click the Extensions button on your browser, then allow it to use both your camera and mic.
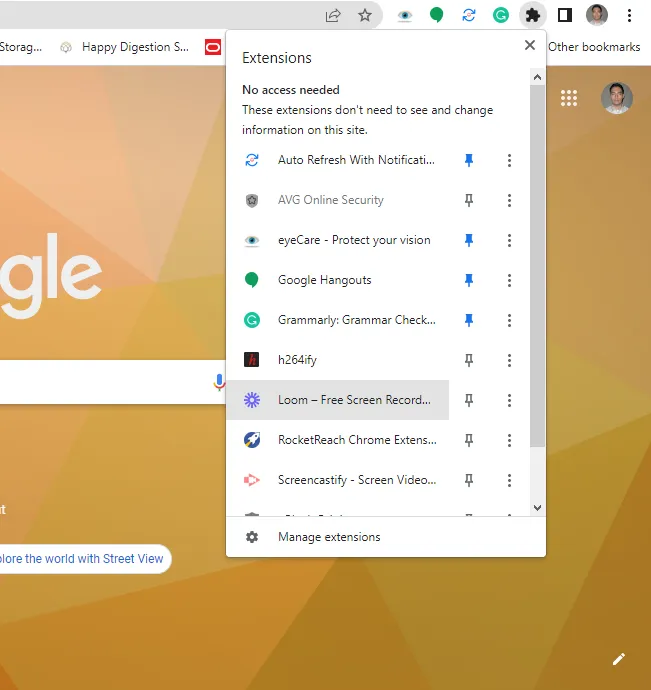
Loom Chrome Extension
- You’re now ready to start recording. Press Start Recording to continue.
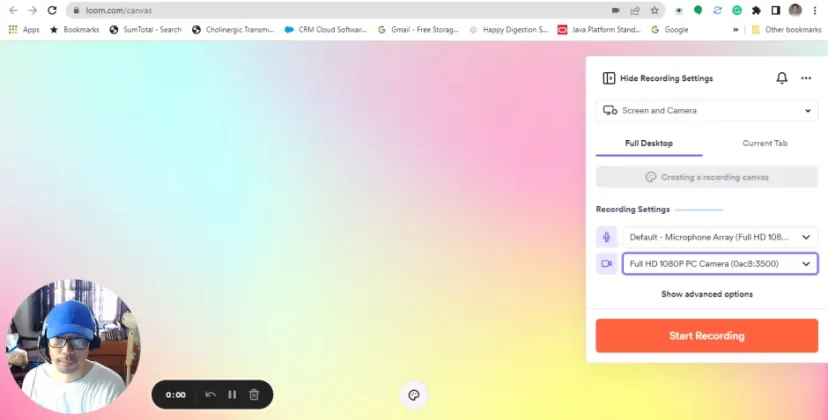
Record Screen and Webcam using Loom
- You can choose which screen you’d like to share. Thanks to a count-down timer, you’ll have enough time to prepare. You’ll be re-directed to your workspace when you’re finished recording. Here, you have the option to edit and share your videos.
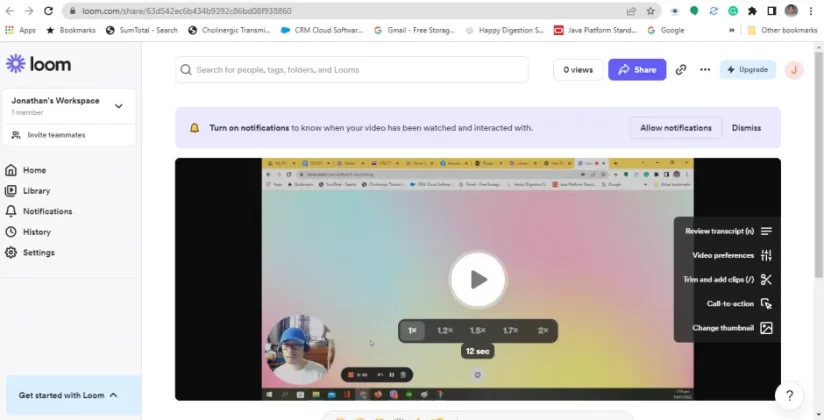
Loom Workspace
- Another great feature of Loom is that it’s integrated with many Google apps like Drive, Docs, and Slides, among others. Just click the purple camera icon below to get started.
Way 2. Record Screen and Webcam using OBS
OBS studio is a popular open-source tool among YouTube video live streamers. But don’t you know you could also use it as a screen and webcam recorder for your presentations? With its advanced features, you can create stunning visuals. Pair this along using its vast amount of plug-ins that are readily available to use.
- Download OBS Studio from https://obsproject.com/
- Open the OBS Studio software after installing it.
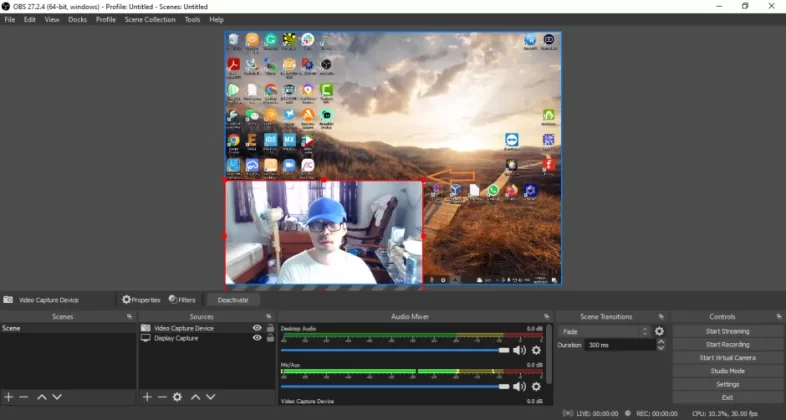
- Next, having one “scene” on the scenes window, you’ll have to add different “sources” on the Sources window.
- Click + to add a Display capture (your screen) and a Video Capture device (your webcam). Virtual webcams are allowed.
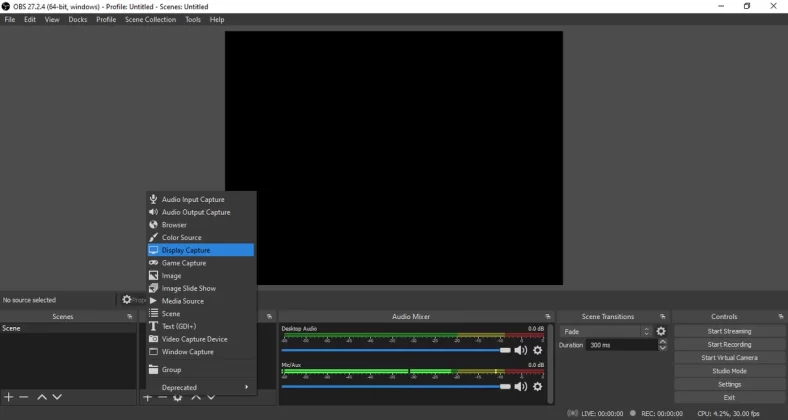
Add Display Capture Source – OBS Studio
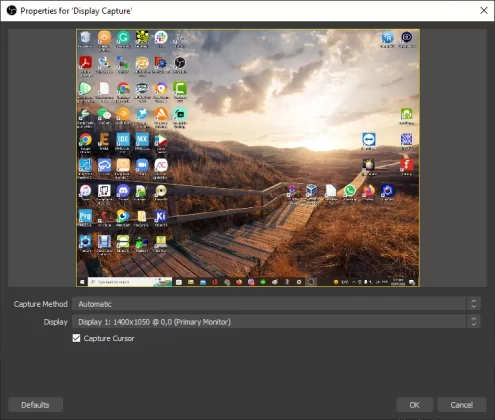
Select Desktop Screen ad Source
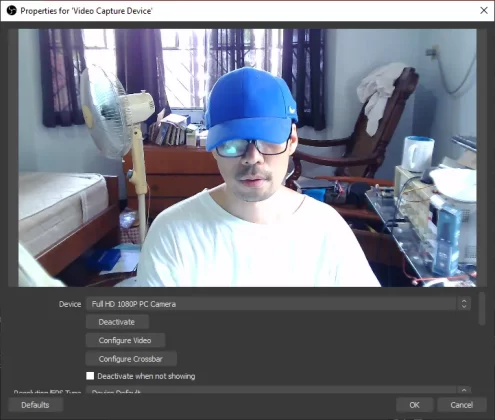
Add Video Capture and Select Your Webcam – OBS Studio
- Note that you’ll be able to resize the window of each device. Go ahead and resize your video capture device window.
Resieze Video Capture Window – OBS Studio
- You can change audio sources by going to the Audio Mixer Window. Click the gear icon, then choose Properties for each source.
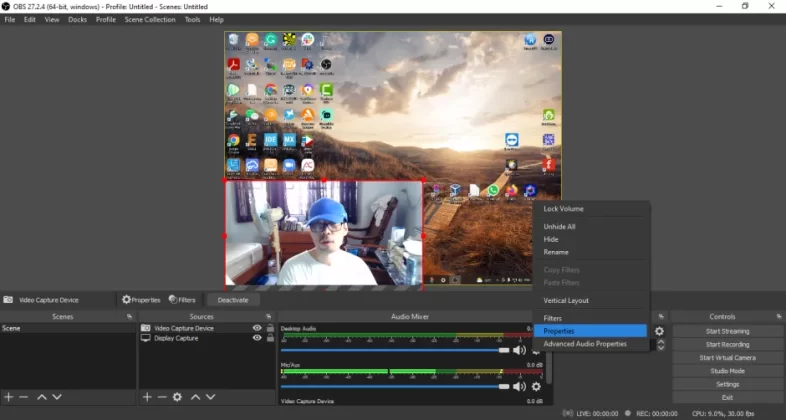
Audio Mixer Properties – OBS Studio
- Press Start Recording at the Controls Window when you’re ready.
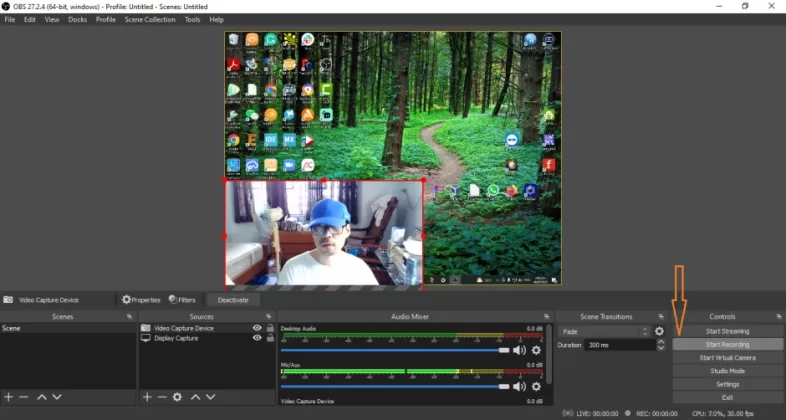
Record Screen and Webcam At The Same Time using OBS
Way 3. Record Screen and Webcam using Camtasia
Camtasia is a screen recorder and video editing software by TechSmith. It’s so easy to use with its intuitive interface. Once you’ve used Camtasia, you’ll probably stop looking for other video recording software. The only downside to this is that after its 30-day free trial, it will continue with a yearly license fee. However, many users report that it’s worth the money spent. Besides, you’ll get the privilege of having free software upgrades on their subsequent software releases.
- Download and install Camtasia software at https://www.techsmith.com/
- Open the software, then click New Recording.
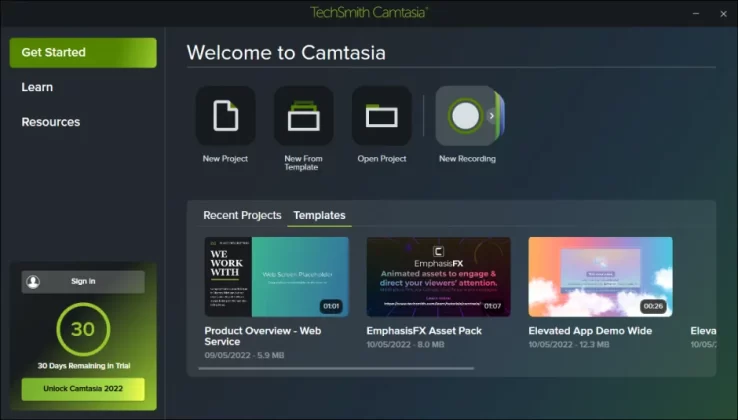
Get Started – Camtasia
- It’s easy to pick video and audio sources with Camtasia. At the beginning of your session, you can choose these sources. Choose your screen and webcam source from the recorder window. Press rec to begin.
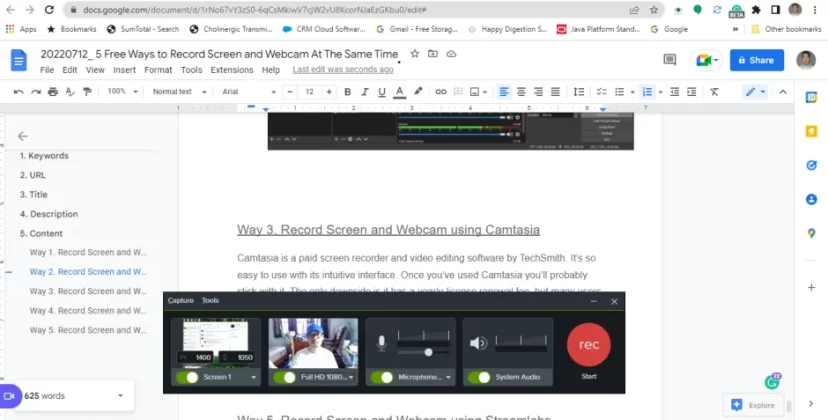
Record Screen and Webcam – Camtasia
- While recording, you can pop out your camera window to see what’s happening. Note that your webcam video will be recorded and edited as a picture-in-picture screen.
- After finishing, Camtasia will bring you to your Projects window. Here you can do video editing. Resize or reposition your screen or webcam videos to your liking.
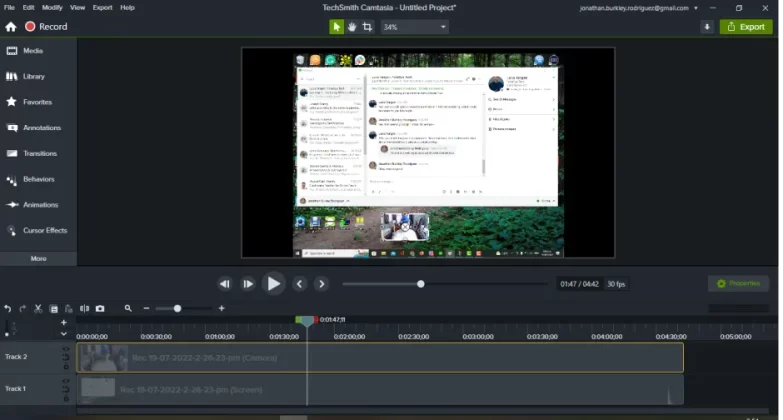
Project Adjust – Camtasia
- When you’re happy with everything, click the Export button to save or share it in your favorite video format.
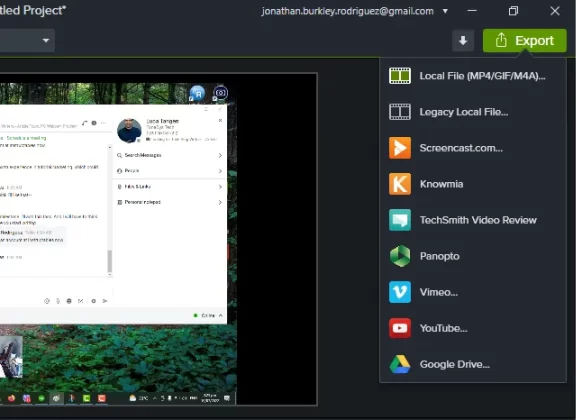
Video Export – Camtasia
Way 4. Record Screen and Webcam using ScreenCastify
ScreenCastify is a screen recorder added as a Chrome extension for your web browser. Although it does not have a dedicated app, it’s an all-in-one solution for your video recording needs. It can help you record, edit, and submit your recorded videos effortlessly with only using your web browser. As they say today, this is the teacher’s best companion.
Here are the steps to use ScreenCastify:
- Go to https://www.screencastify.com/ and add ScreenCastify as a Chrome extension.
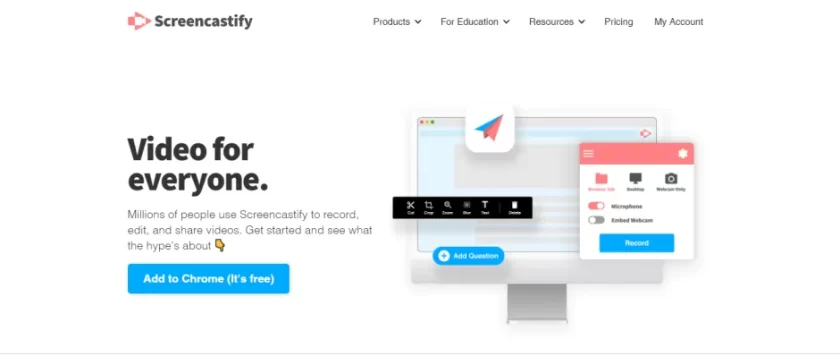
ScreenCastify
- Follow the on-screen procedure and allow it to use your webcam and microphone.
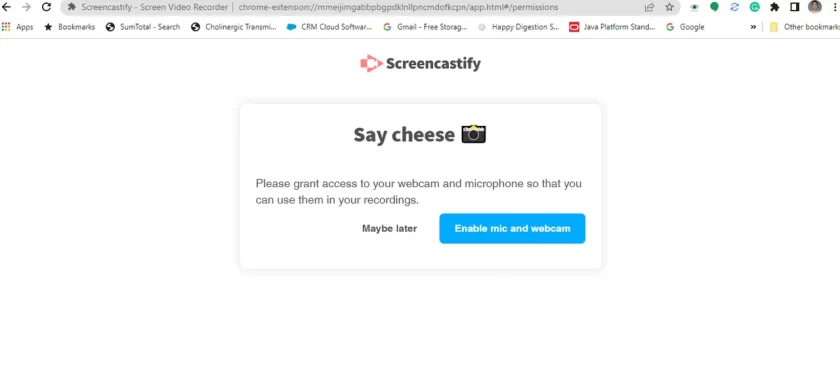
Allow ScreenCastify to Use Your Webcam and Voice
- Enable annotations to be able to insert webcam videos into your recordings.

Enable Anootations – ScreenCastify
- To run ScreenCastify, click the Extensions icon in your Chrome toolbar and choose ScreenCastify.
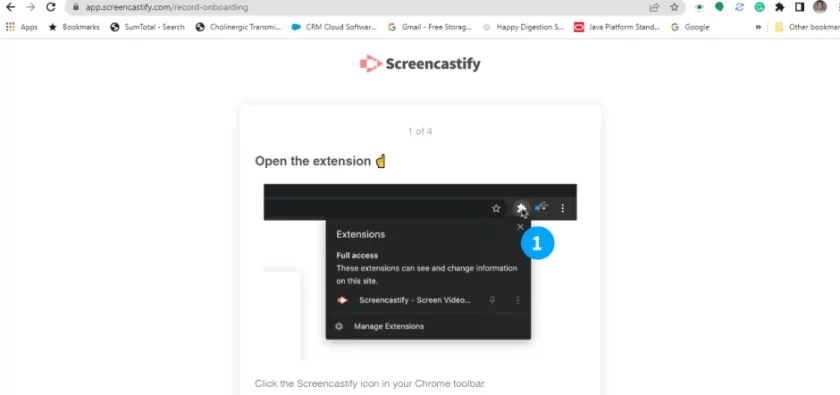
ScreenCastify Extention
- Enable your microphone and webcam in your recordings.
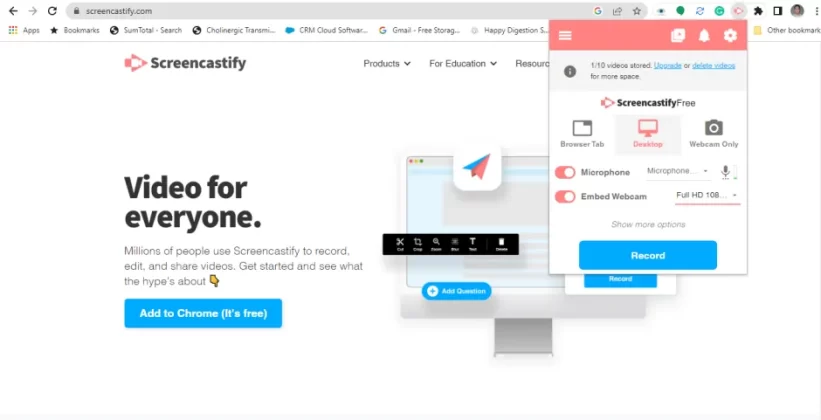
Enable Webcam – ScreenCastify
- Choose your screen and method for the capture. After that, while capturing, you’ll be able to doodle on your ScreenCastify sessions with various drawing tools.
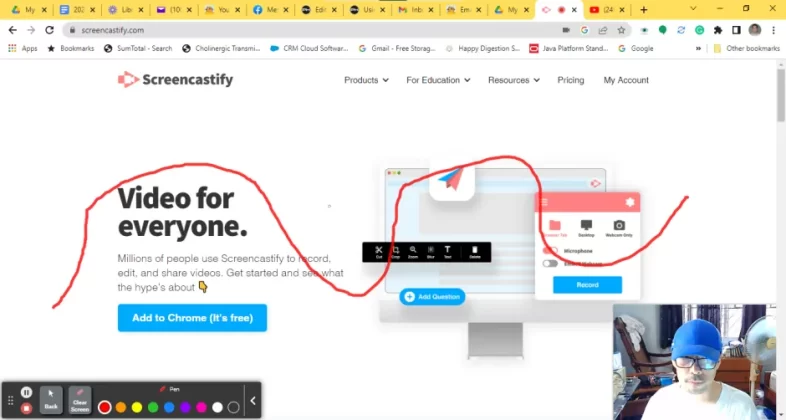
Doodle – ScreenCastify
- Click stop to stop recording. Next, you’ll be re-directed to ScreenCastify’s video management page. You can edit your video, share it, and interact with your audience.
Way 5. Record Screen and Webcam using Streamlabs
Streamlabs is an all-in-one video streaming and recording app. Kids of this generation who are constantly engaged in online games and live video streaming sessions love this app.
Many users will find Streamlabs useful for most video recording applications. The reason for that is its complete feature set for live broadcasting, which includes capturing your webcam and screen simultaneously.
Here are the steps to use Stremalabs.
- Go to https://streamlabs.com/ and download Streamlabs Deskop app.
- Open the software and choose what kind of application. This data will streamline the installation of Streamlabs. Choose Recording if you plan to do so.
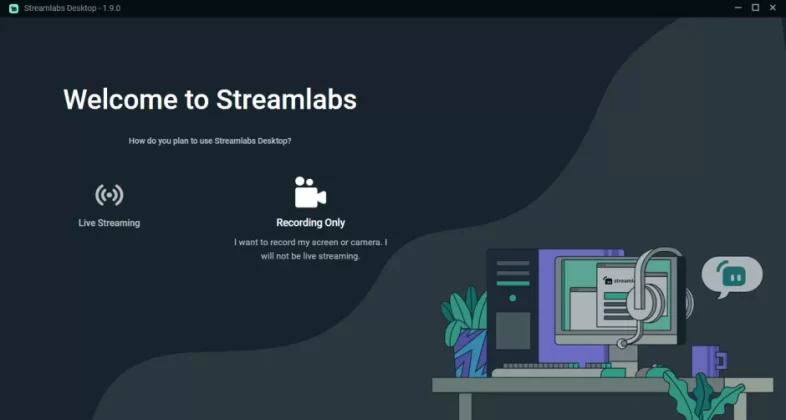
Streamlabs
- Next, set up your webcam and mic accordingly.
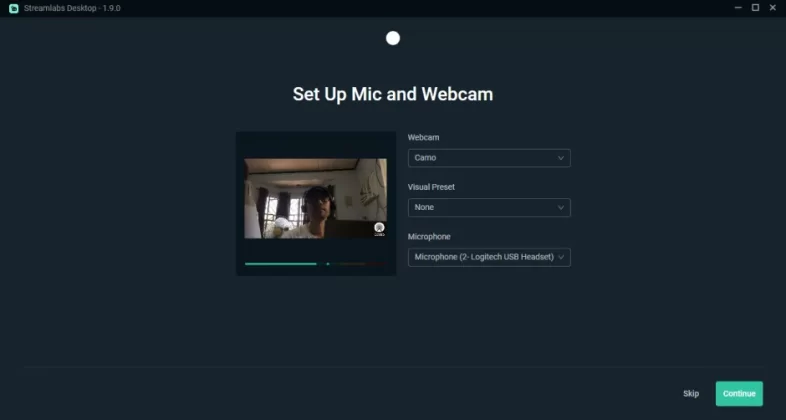
Set up Webcam – Streamlabs
- You can change the properties of your webcam or screen capture device by double-clicking on these items in the sources window.
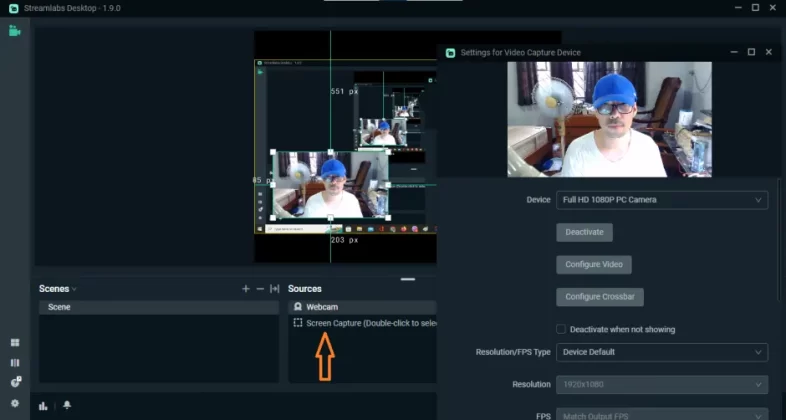
Sources – Streamlabs
- You can freely move your capture device sources, such as your webcam, anywhere on your screen.
- When you’re ready to record, hit the record button. When you want to stop recording, hit the same button. Your videos should be saved in your My Videos folder automatically.
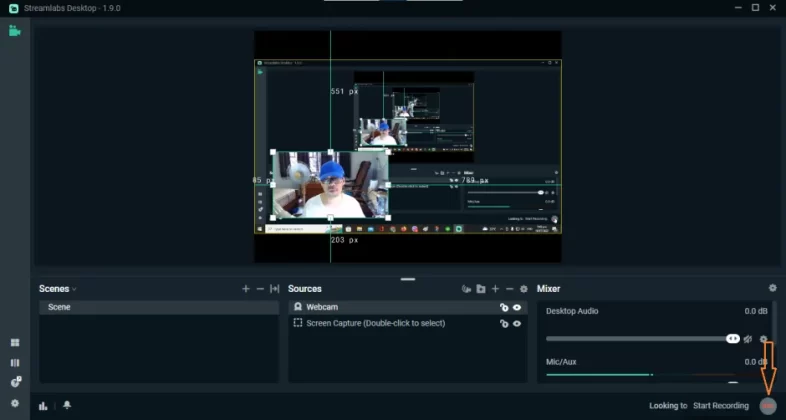
Record Screen and Webcam using Streamlabs
Conclusion
These are the five ways to record your screen and webcam at the same time when doing your presentations. As you can see, there are several approaches to do this. There are app-based as well as chrome extension-based approaches. Your choice depends entirely on your application and the environment you are comfortable doing your video recordings. After going through this tutorial, you’ll now be the go-to guy when somebody needs to record their screen and webcam simultaneously.