If you are a content creator, YouTuber, or business person, you may like to use a USB camera, DLSR, or iPhone as a webcam to shoot videos on your PC. But sometimes, this third-party webcam may be overlooked by your computer system, which makes changing the webcam troublesome.
Related article: How to Set Up Default Camera on Google Chrome
In this post, we will cover everything to help you change the default camera on each Windows platform that you might be running, regardless of Windows 10/11, Windows 7, or Windows 8. So, without waiting, let’s start!
Part 1. Change Default Camera on Windows 10?
Windows 10 is the most popular Windows desktop operating system currently, accounting for over 80 percent of the market share as of December 2021 according to Statista. And changing the default camera on Windows 10 is an easy task. Follow the steps below to do it in less than 5 minutes:
Step 1. Connect your PC to the external webcam with the help of USB or Bluetooth.
Step 2. Now, press the Windows Key and S to open the search bar.
Step 3. Type Control Panel and run the application.
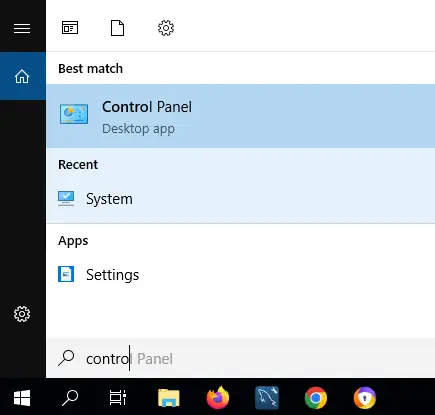
Control Panel – Windows
Step 4. Find and choose Hardware and Sound > Devices and Printers.
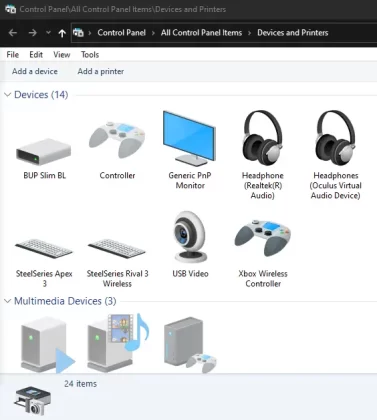
Devices and Printers – Windows
Step 5. See if your external webcam is listed there or not. If it is there, right-click on the webcam, and click on the Set as Default Device.
If you don’t find your integrated external webcam, follow the alternative method below:
- Right-click on the Start button in the bottom left corner.
- Choose Device Manager. Or you can directly access it using Windows Search.
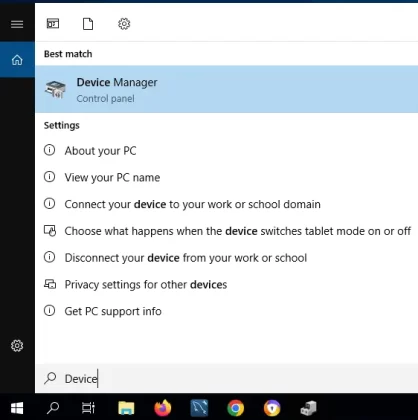
Device Manager – Windows
- Click on the down arrow next to Cameras, and right-click on the Integrated Webcam.
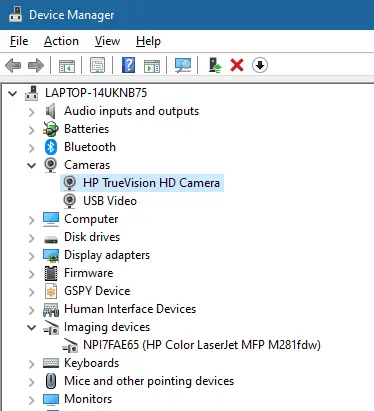
Cameras – Device Manager
- Select Enable Device.
If there are some cameras that you won’t use, you can choose to uninstall them from the camera list. Check how to uninstall the webcam driver on a Windows computer.
Part 2. Change The Default Camera on Windows 7?
There are two methods to do it on Windows 7. Follow the steps below:
Method 1: Setting the Default Camera
This is very simple to set up the default webcam for your PC on Windows 7 system.
- Press Windows Key and W simultaneously.
- Type Devices and Printers and select it.
- If you see the secondary webcam, right-click on it.
- Click on Set this Device as Default.
But if you don’t see your secondary camera, try method 2
Method 2: Disabling the Default Webcam
This one is a clever method and works best if you have only 2 cameras attached at a time. Here, we will disable the current one so that the PC will detect and use the other one as the only available option. Here’s the procedure:
- Press Windows Key and X simultaneously.
- Click Device Manager > Imaging Devices.
- Right-click on your default webcam that you don’t want to use.
- Select Disable.
Part 3. Set the Default Camera on Windows 8?
Changing the default webcam on Windows 8 is almost similar to Windows 7. It only has one twist. You make the changes from the Control Panel. Follow the steps below to do it:
- Press Windows Key and W, and type Control Panel.
- Open the Control Panel and select Hardware and Sound > View Devices and Printers.
- If you see your secondary webcam listed there, right-click on it, and then select Set this device as Default.
If you don’t see it there, disable your current one from Device Manager > Imaging devices > right-click on your current > Disable.
Part 4. Change the Default Camera on Windows 11?
Right now, you can’t change the default camera on Windows 11. So, for Windows 11, we choose the disabling method. Here’s how to do it:
- Right-click on the Start and select Device Manager.
- Open the down arrow of the Camera and right-click on the current one.
- Select Disable Device.
If your desired camera is connected as a webcam, you can also change its settings in Windows 11.
Part 5. Frequently Asked Questions
1. How to Change Default Camera on Google Chrome?
Apart from your Windows, browsers like Google Chrome work on their separate settings. If you wish to change the default webcam separately on Chrome, follow the steps below:
Step 1. Open Google Chrome, and click on the three dots present on the right of the URL bar.
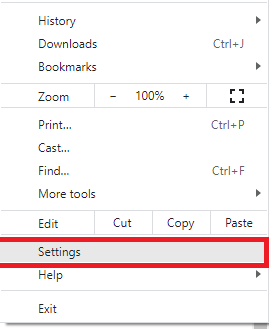
Google Chrome Settings
Step 2. Select Settings and search for Privacy and Security.
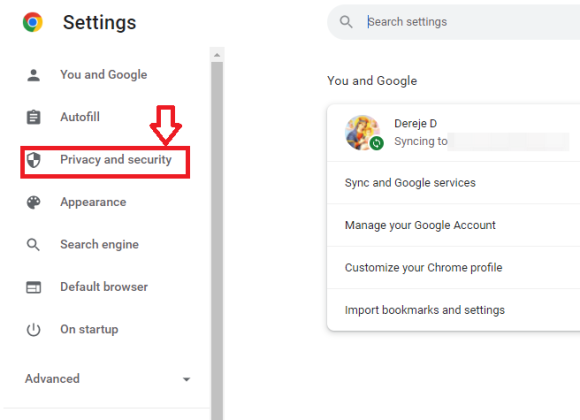
Privacy and security
Step 3. There, click on the Site Settings.
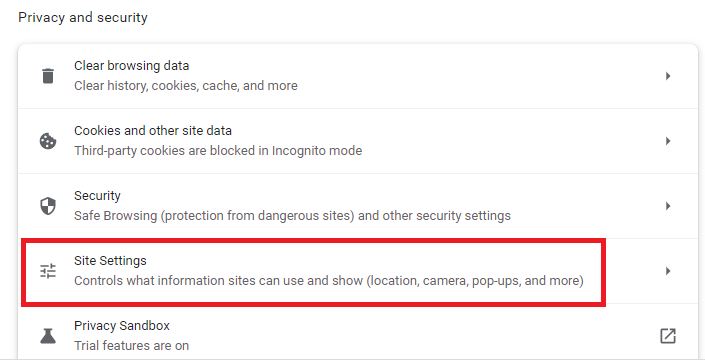
Site Settings – Google Chrome
Step 4. Now, search the Camera and select it.
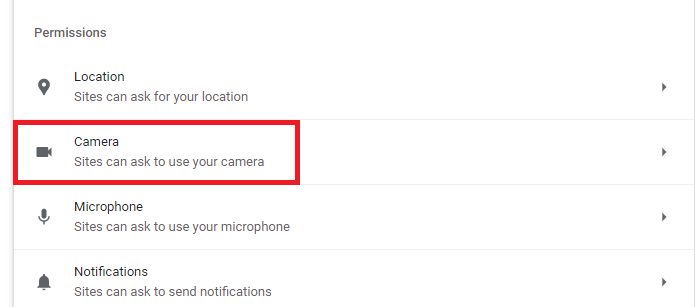
Camera Settings – Google Chrome
The menu will allow you to select your preferred webcam device. Select the one that you desire and click confirm the settings
2. How to Change the Default Camera for Zoom?
Before starting a meeting on Zoom, you may like to test and set up your webcam, follow the steps below.
Step 1. Run the Zoom app on your computer.
Step 2. On the top right corner, go to Settings.
Zoom Settings Icon
Step 3. In the section Video, you will find an option named Camera, which allows you to set up, and adjust your webcam.
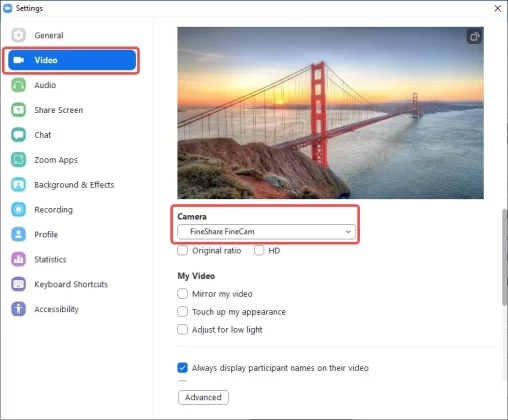
Set Default Camera for Zoom Meeting
3. Why do You Need to Change Your Default Camera?
When you have multiple webcams connected to a single PC, your system considers one of the Alpha and connects you to it every time. It is set as the default one back in the settings. The problem arises when it doesn’t have the crisp quality that you need.
On the contrary, the other one may seem a better option. But you always need to switch to it to record yourself in higher quality. It also becomes compulsory when your current one malfunctions. So, to save yourself from the hassle, you can make the better one your default. Let’s explore each of them:
Bonus Tip: How to Quickly Preview & Switch Cameras on Windows PC
If you have more than 1 webcam, you may like to preview what is shown on each of your webcams, and then switch across them. In this case, you can use one virtual camera software to do it.
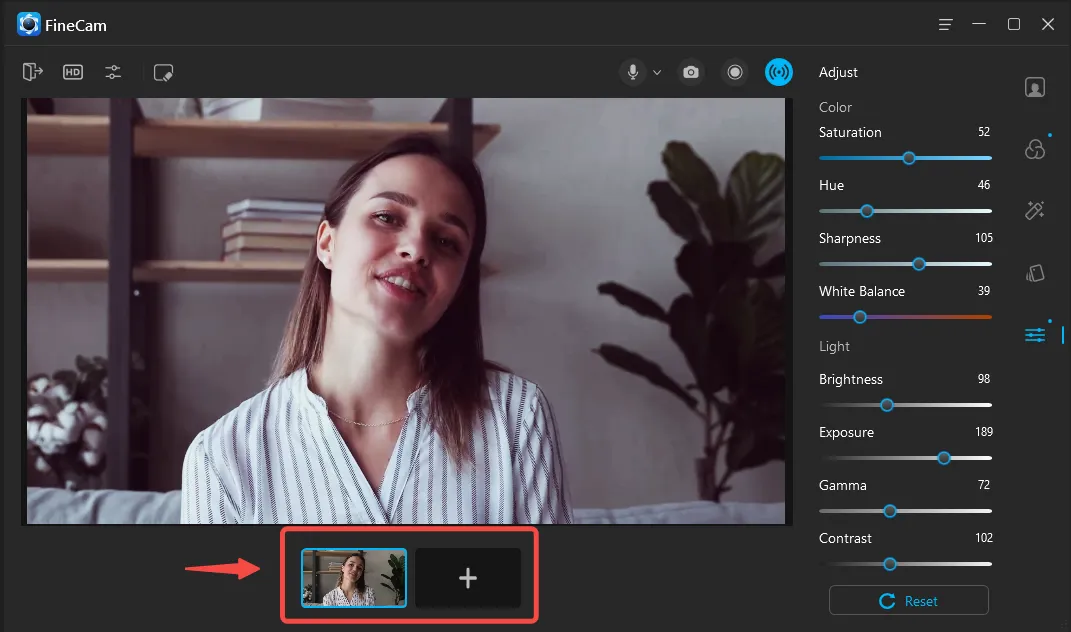
Add Multi-Scenes & Multi-Cameras – FineCam
You can use the laptop’s built-in camera as a face webcam and set a USB webcam as a second camera to capture your document or product. Even, you can connect your iPhone camera as a video source to get the third angle. All these works can be done in minutes by using the multi-scenes of FineCam.
Conclusion
Changing your default camera becomes necessary if your current one is not functioning well or providing quality results. And changing them on every Windows platform is more or less the same. You either change or make the other one default from the control panel or disable the current from the device manager. In the end, we hope each of the above methods may help you solve your problem.
After setting up your default camera, you can try to adjust other webcam settings to create the best look on your webcam. Of course, there are also ways to hide your messy room or office and then replace it with a tiny room. At last, adding some funny filters and effects may be helpful for you to attract your audience.