Quick Start with FineVoice
FineVoice is a powerful online AI voiceover generator designed to help users easily generate high-quality audio content. This article will guide you through four simple steps to quickly get started with FineVoice and begin converting text to speech using this tool.
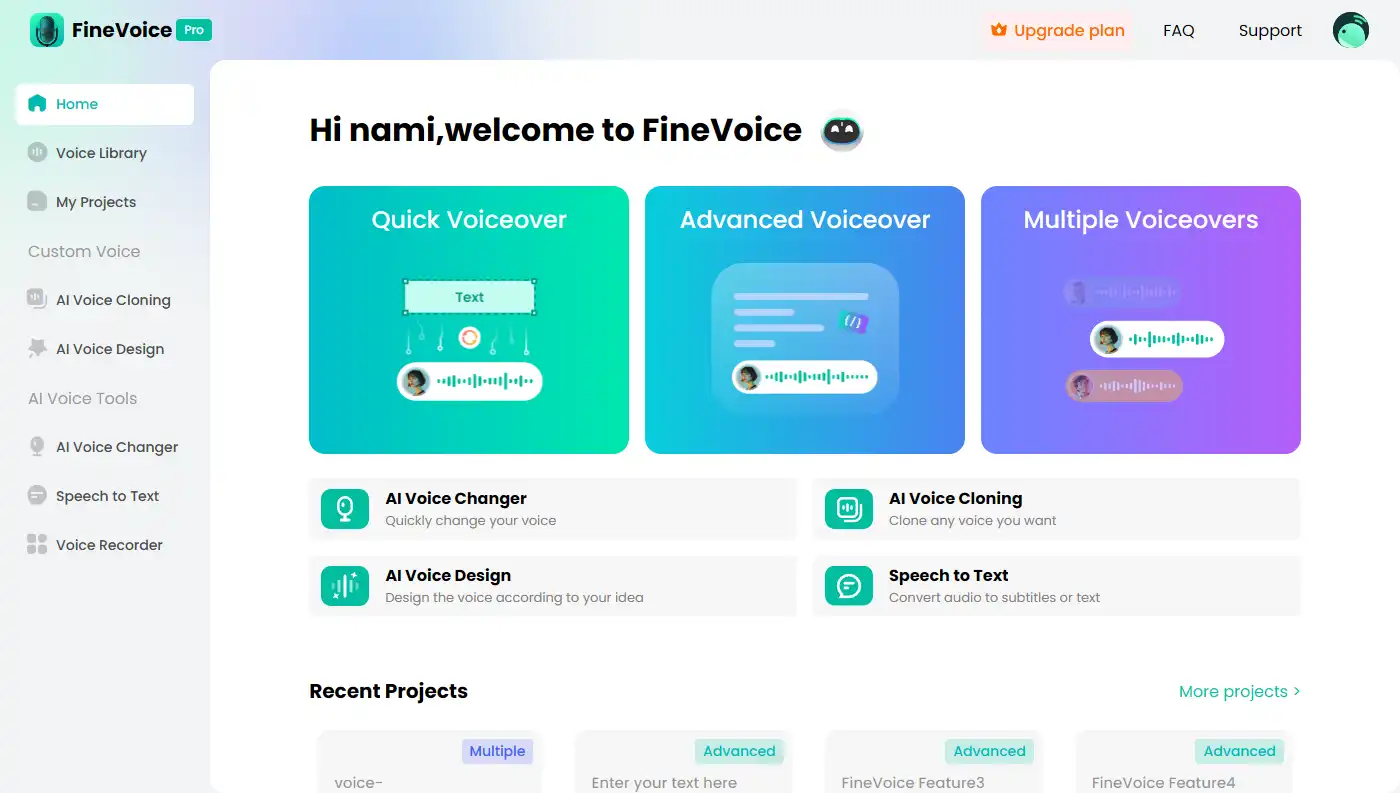
Step 1: Import Your Script
On the FineVoice Home page, choose any voiceover method to enter and import the script you want to convert to voice. There are three ways to import your script:
1. Copy and Paste
Copying and pasting is an effective method for quickly and easily importing scripts. If you want to use content from a webpage, PDF, or any other document, you can easily copy the text and paste it into the text box.
2. Import Script
If you have a pre-written script saved as .txt, .docx, or .srt, click the “Import Script” function and upload the script. FineVoice will analyze your script and automatically divide it into different blocks for quick conversion to speech.
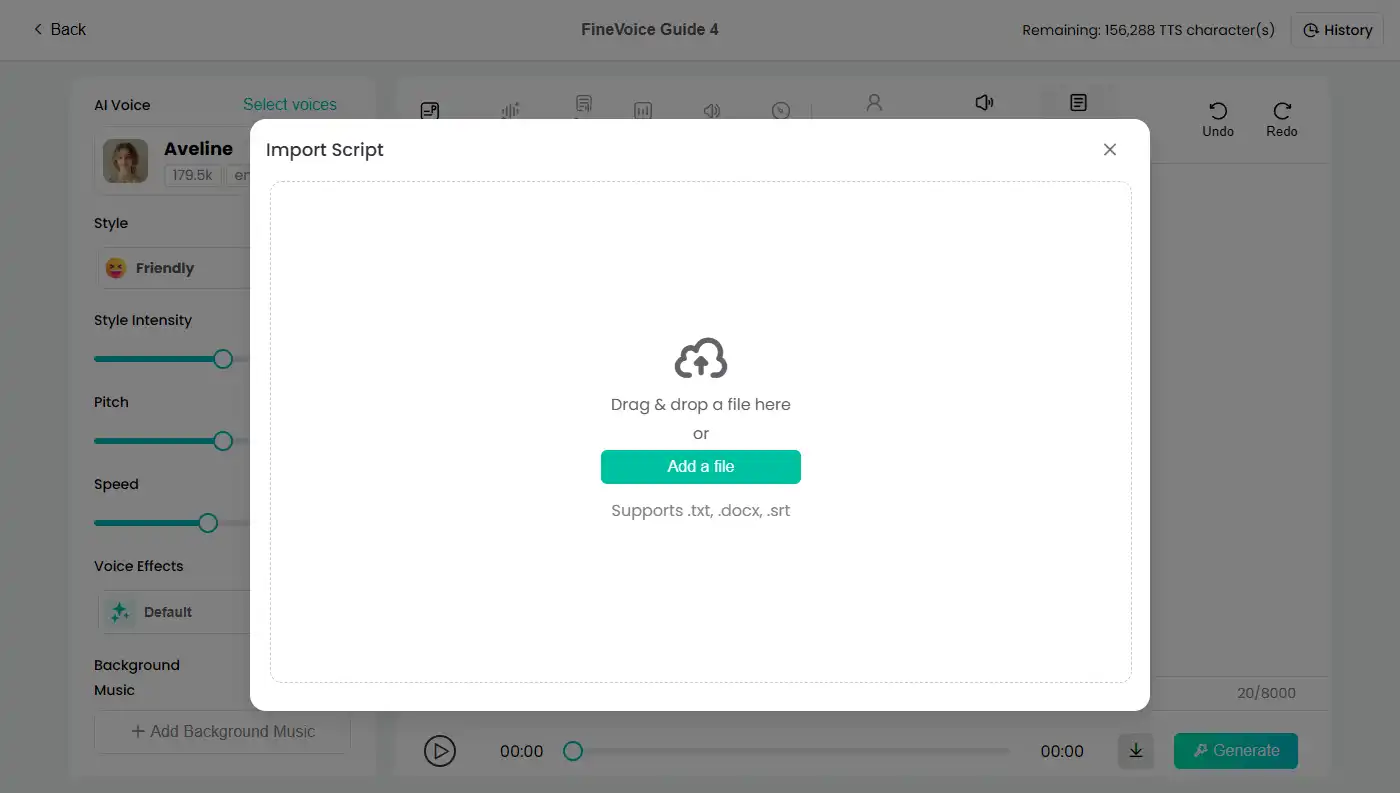
Note: The import script function is only applicable in the Advanced Voiceover or Multiple Voiceovers feature.
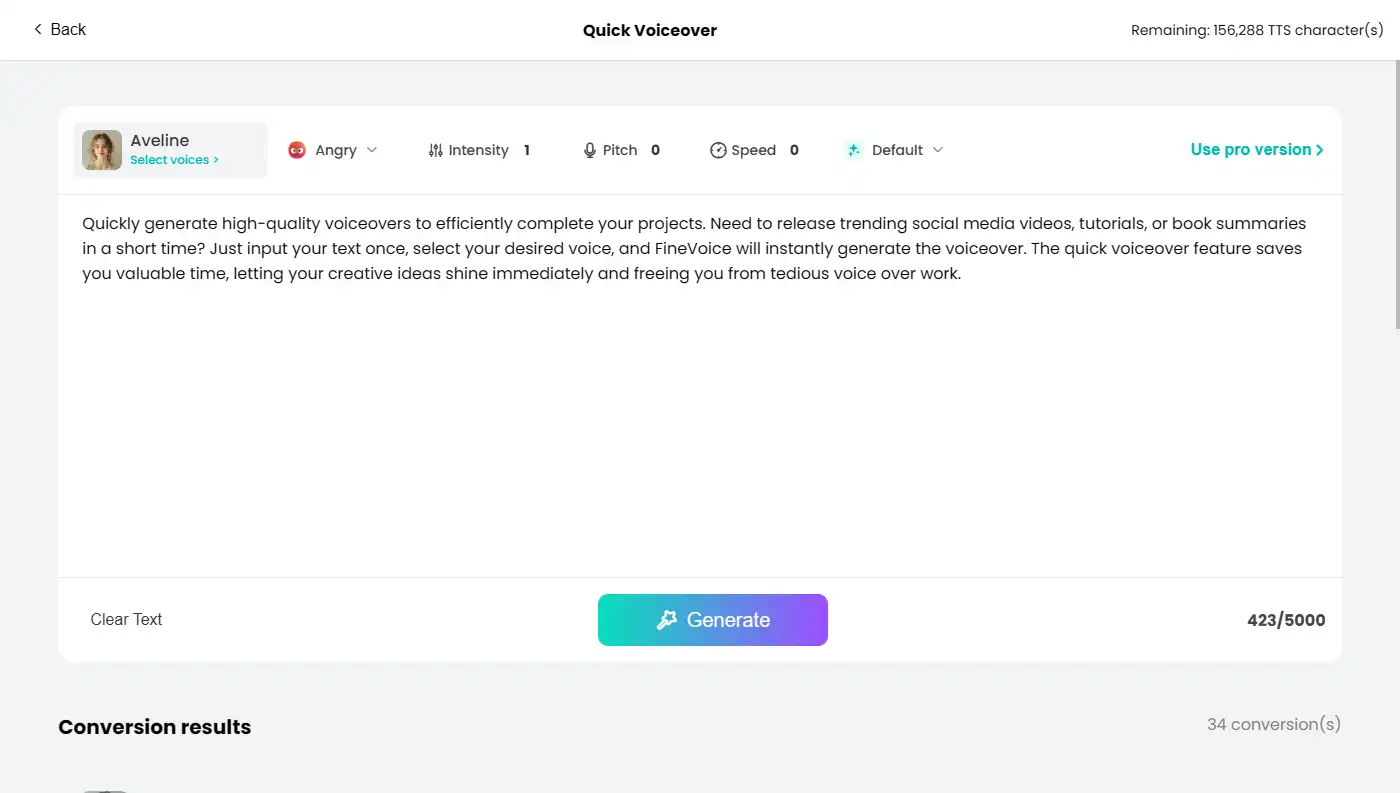
3. Enter Script
If you don’t have a prepared script, the most straightforward way is to directly type the text into the text box. It’s just like editing in Word, allowing you to input the text you need to convert to audio.
Step 2: Select a Voice Model
After importing the script, the next step is to select a suitable voice model to generate the speech.
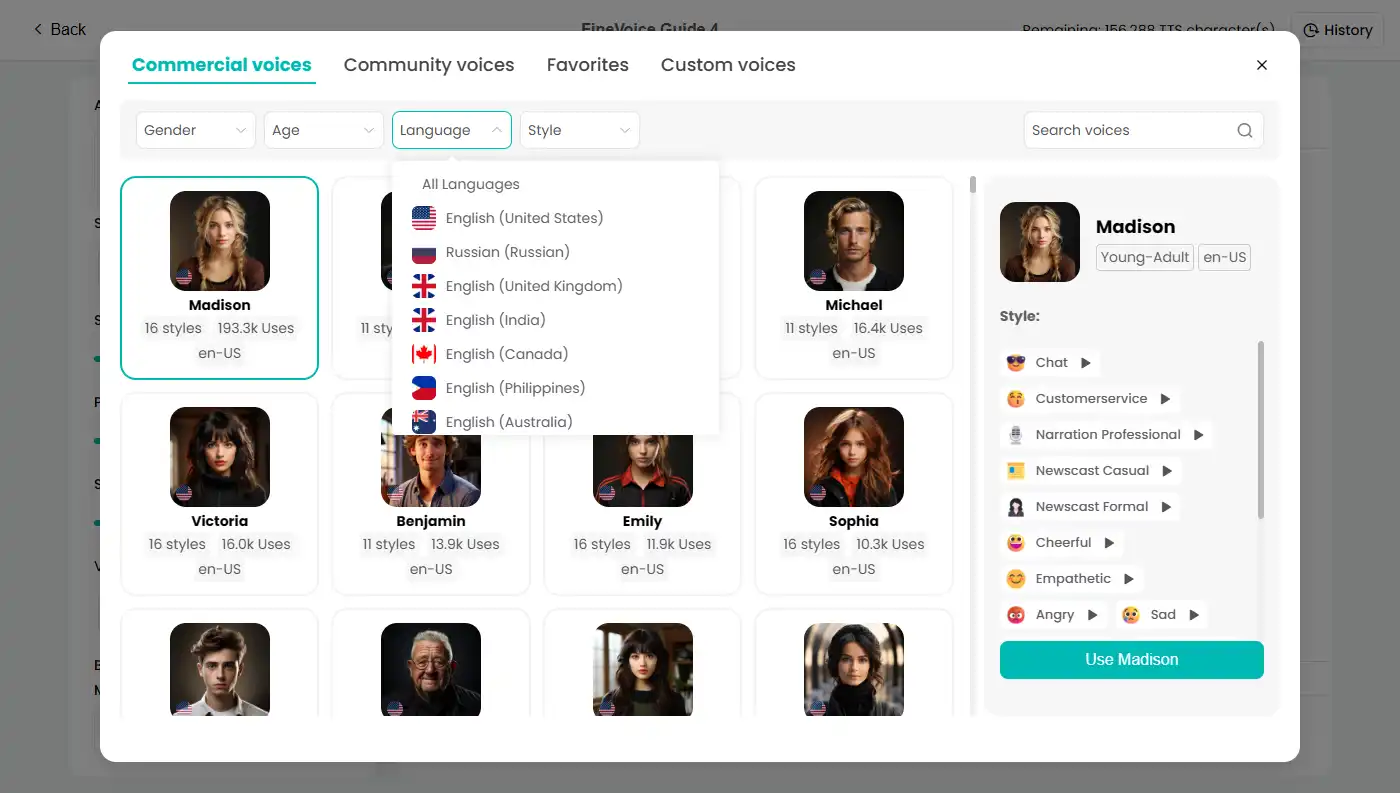
1. Browse Voice Library
Click on the avatar to open the voice library and browse through the various voice models provided by FineVoice. You can filter based on different genders, ages, and voice styles.
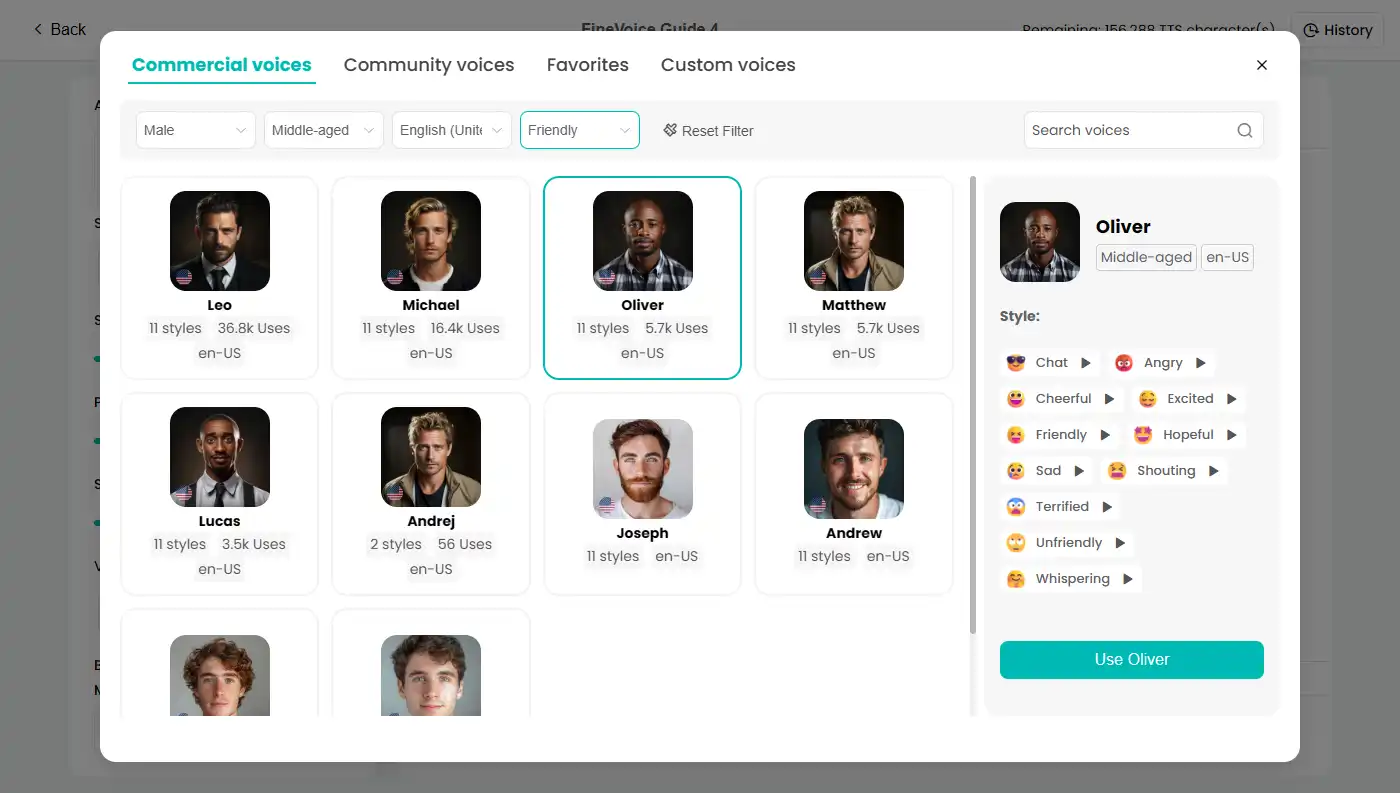
2. Preview Voice Models
- Click the preview button next to each voice model to listen to sample generated by that model.
- Select the voice model that best fits your project requirements.
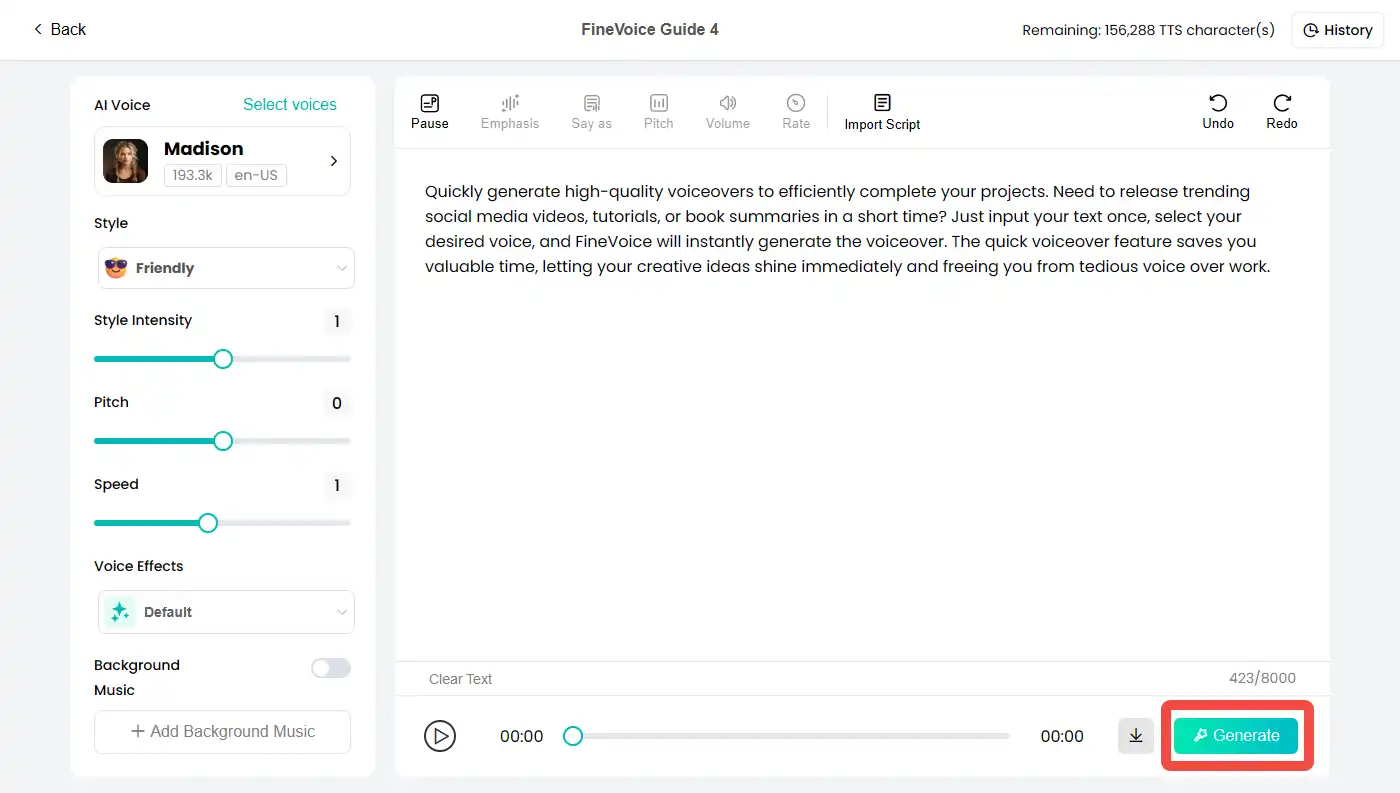
Step 3: Click Generate
Once you’ve chosen a suitable voice model, you can preview the speech conversion to ensure the generated voice meets your expectations.
1. Click “Generate” Button
The system will use your selected voice model to generate the speech for the text and automatically play it.
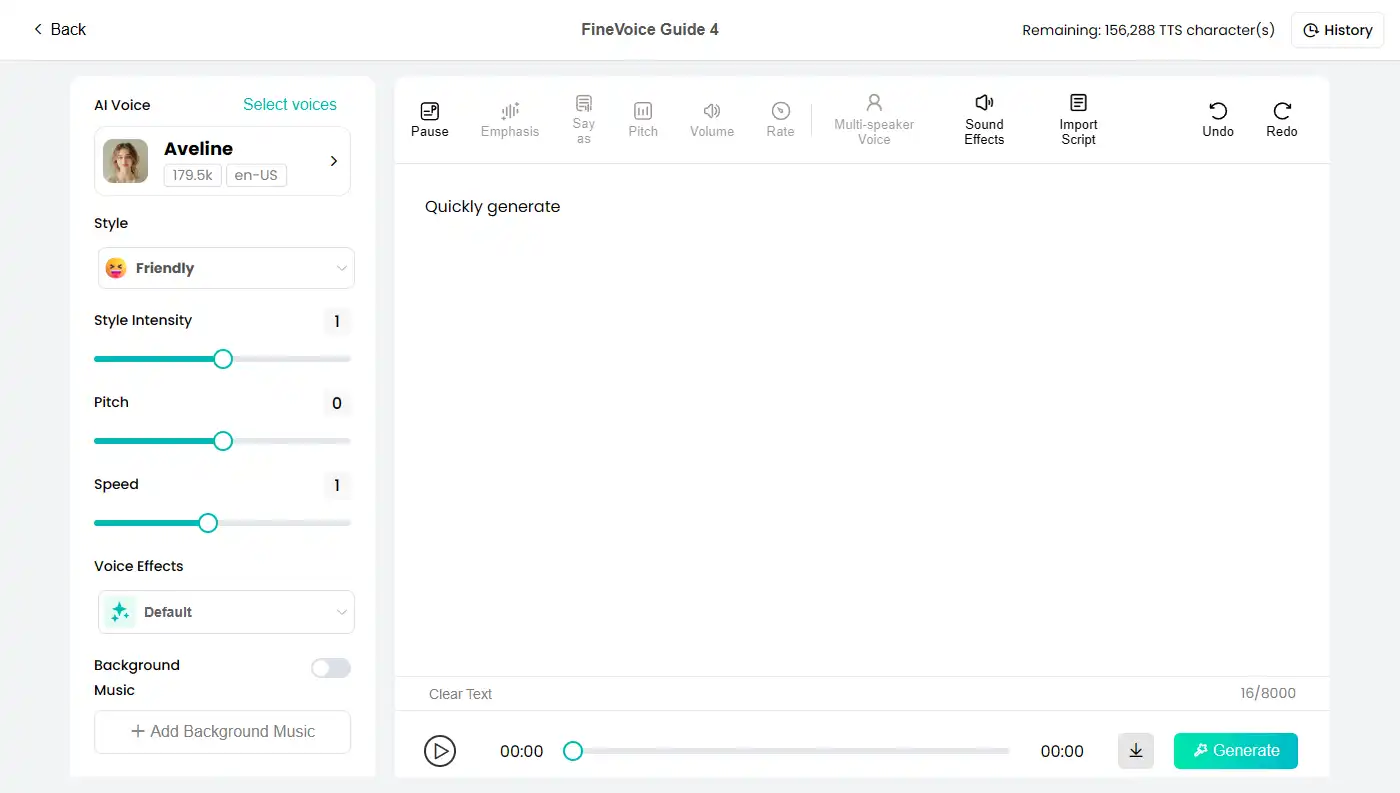
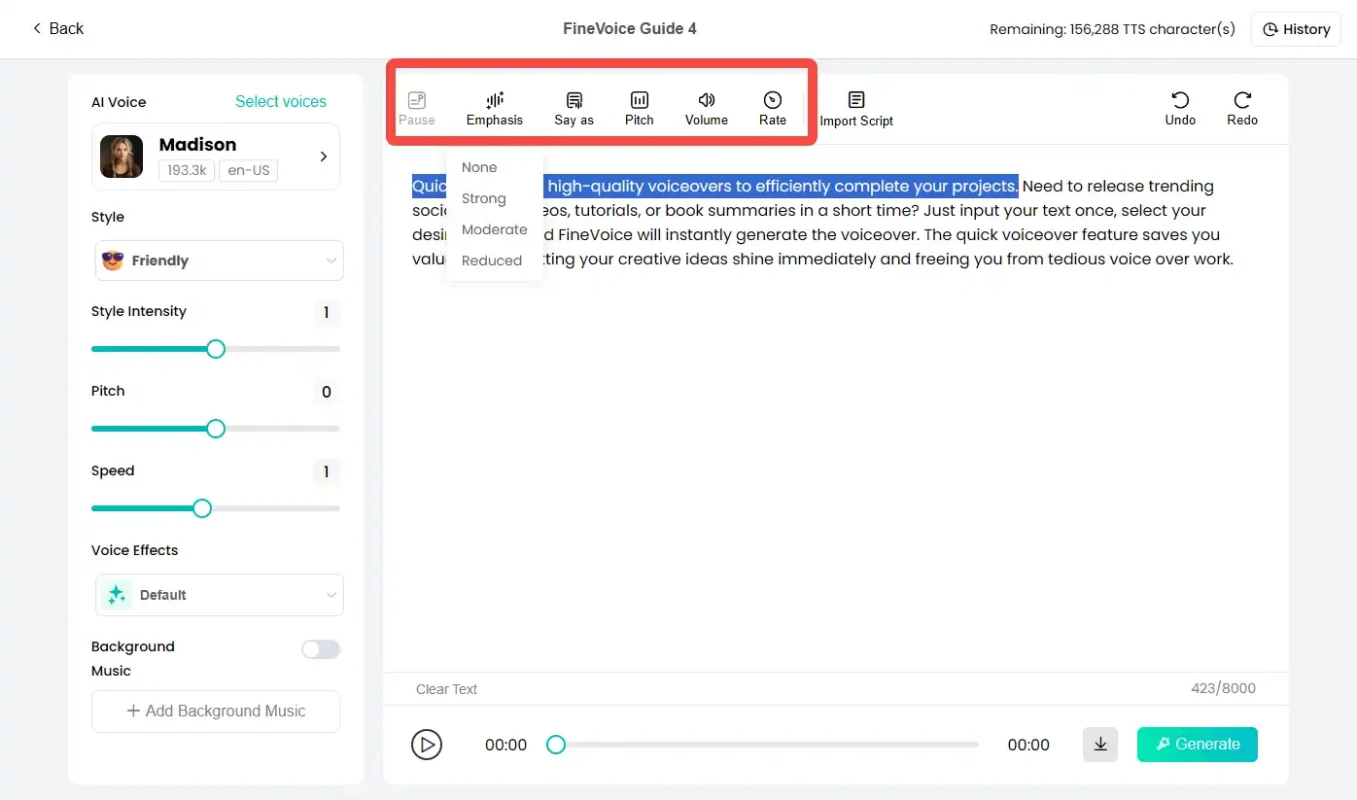
2. Adjust and Optimize
- If you are not satisfied with the preview result, you can adjust the text content or choose a different voice model.
- FineVoice also offers advanced settings where you can adjust parameters such as speed, pitch, and volume to achieve better results.
Step 4: Click Download (with Subtitles)
When you are satisfied with the preview, you can generate the final voice file and download it.
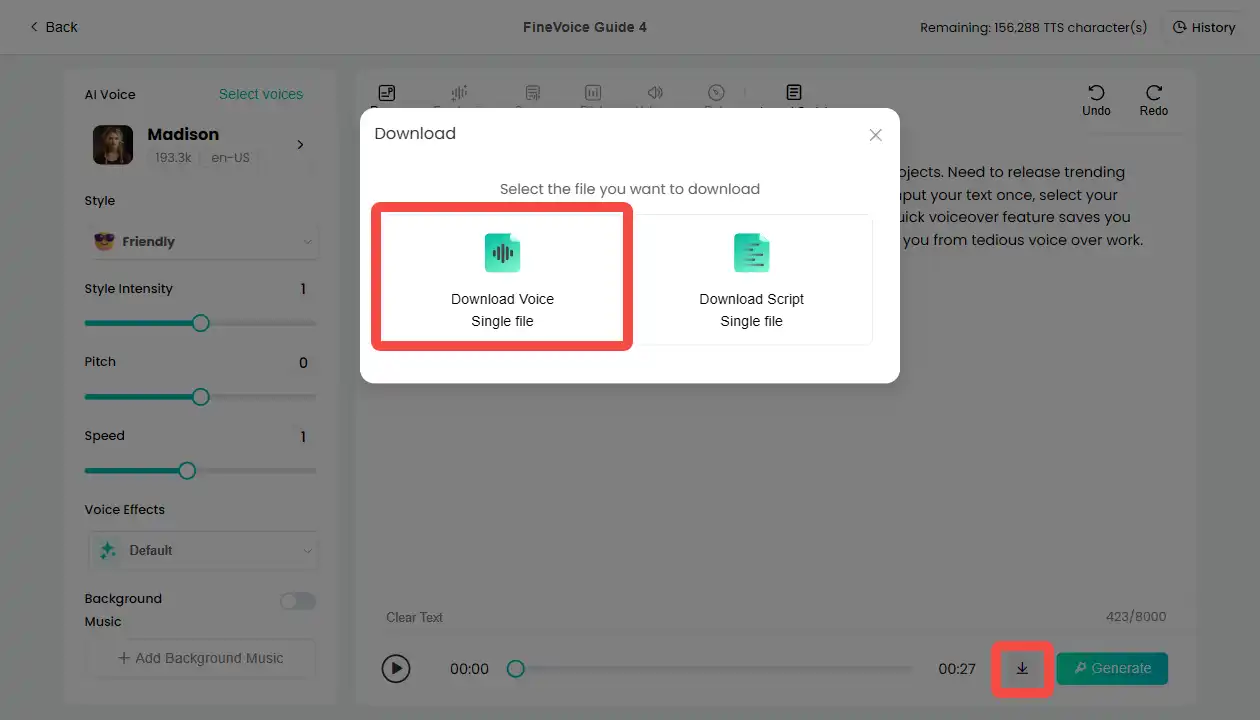
1. Download Voice File
- Ensure all text has been correctly converted and previewed.
- Click the “Download Voice” button, and the system will begin downloading the complete audio file.
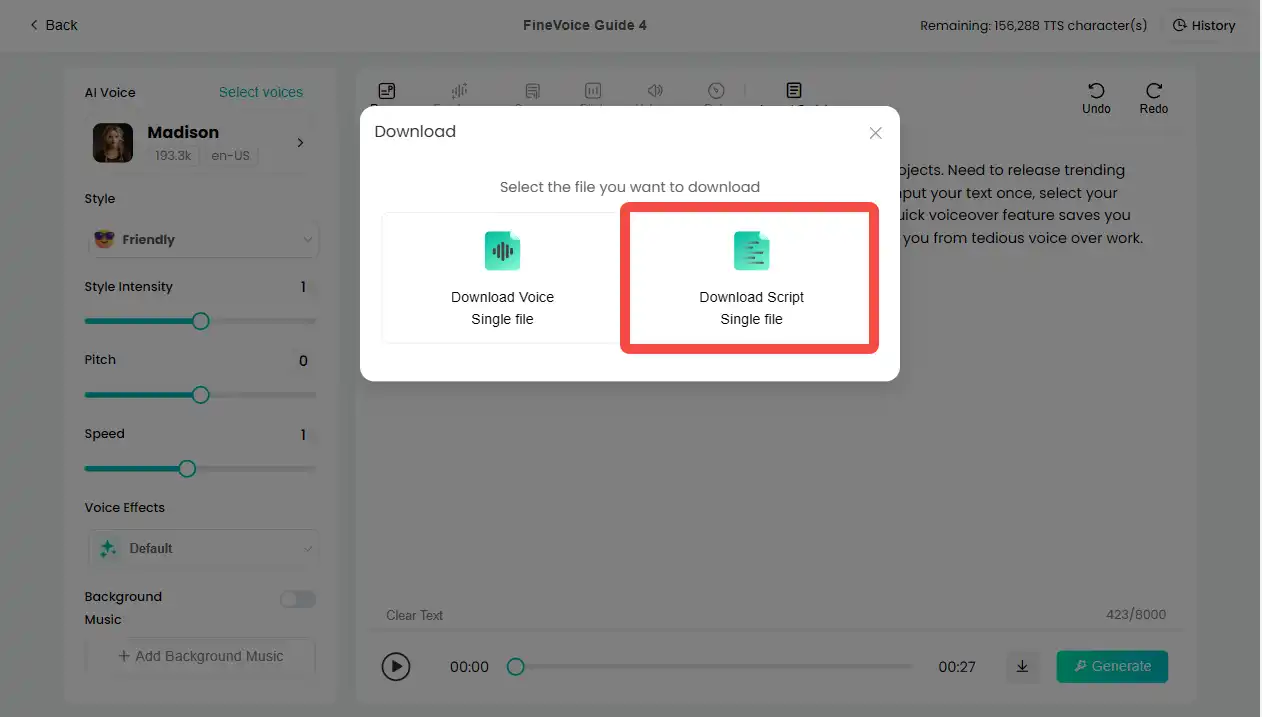
2. Download Subtitles
Click the “Download Script” button, and FineVoice will start downloading the subtitle file.
3. Save File
Save the downloaded files to your local computer for future use.
1. The export audio format is: WAV or MP3.
2. The export subtitle file format is: SRT.
By following these four simple steps, you can quickly get started with FineVoice and generate high-quality voice content. If you encounter any issues during use, please refer to the FineVoice help documentation, contact customer support, or join our Discord community for assistance.
Can't find the answer to your question?
Contact us and we’ll get back to you as soon as we can.