FineVoice AI Voice Cloning Guide
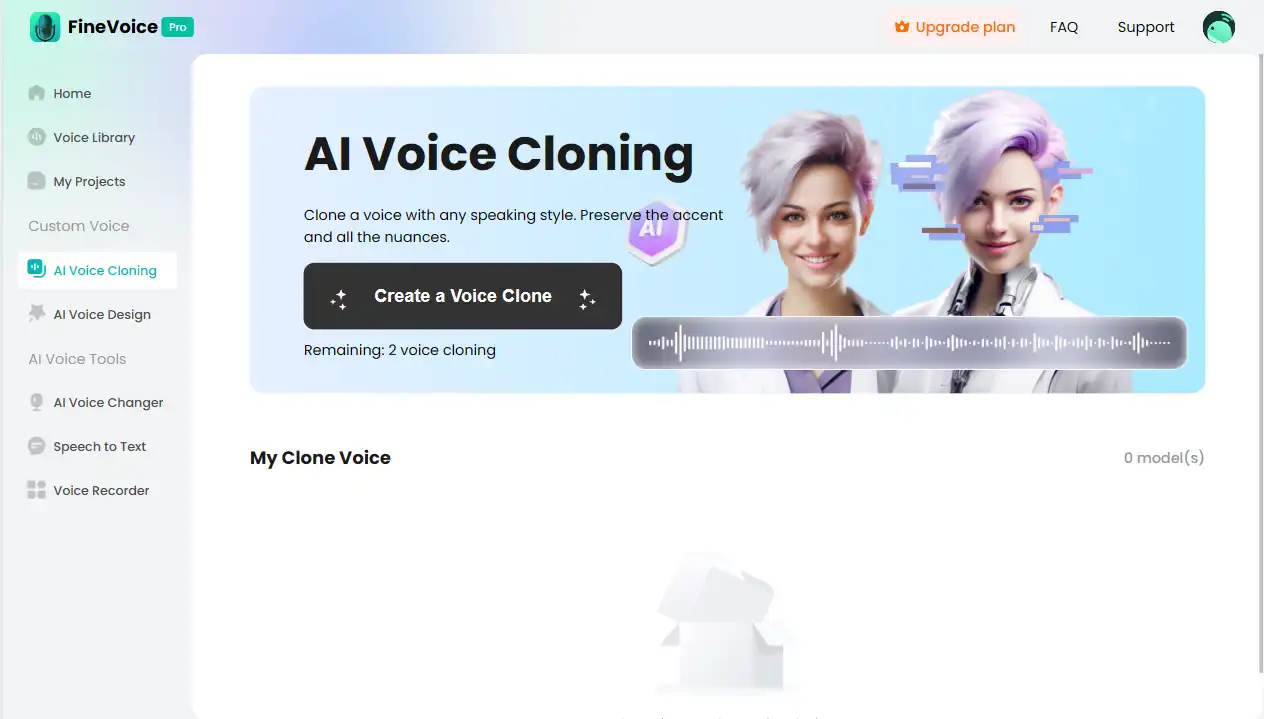
FineVoice’s AI Voice Cloning feature allows users to create personalized voice models by uploading audio files. This feature enables you to clone specific voices and use them with TTS voiceovers (Quick Voiceover, Advanced Voiceover, Multiple Voiceovers) and the AI Voice Changer. This guide will illustrate how to use FineVoice’s AI Voice Cloning feature.
Overview
FineVoice’s AI Voice Cloning feature creates personalized voice models through the following steps: upload audio → AI training → receive notification → apply model.
Follow the Below Steps to Clone a Voice
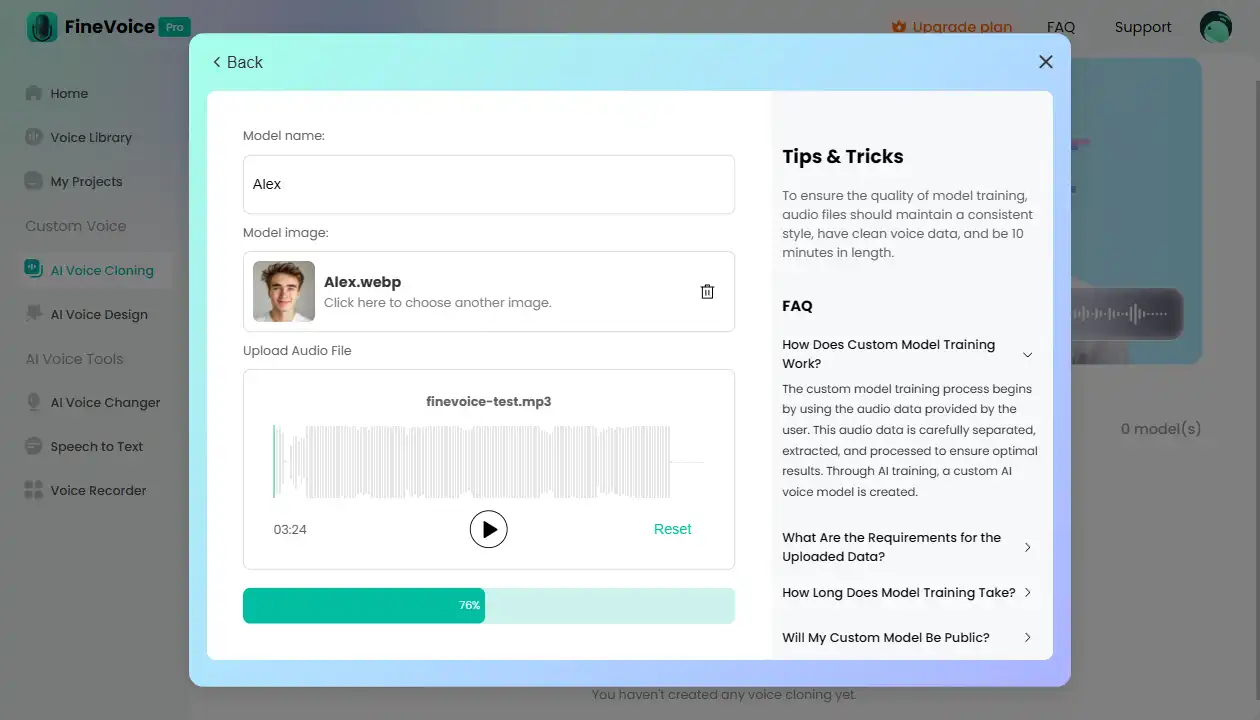
Step 1: Upload Audio
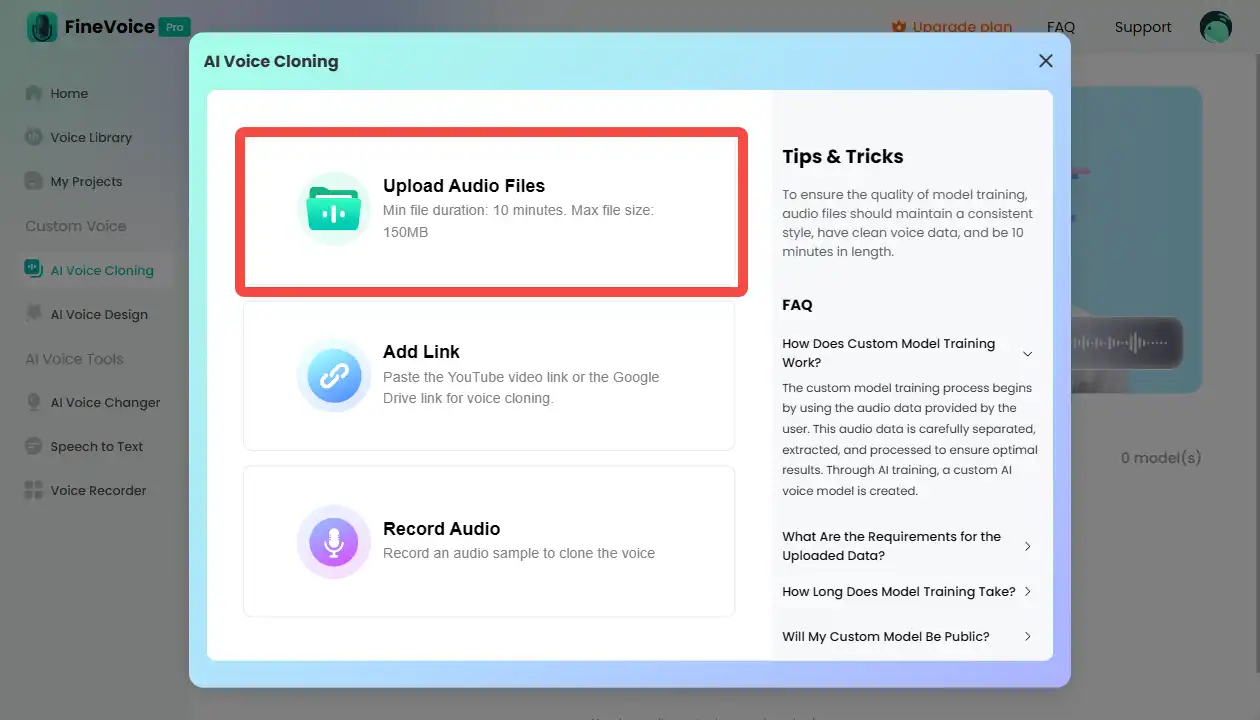
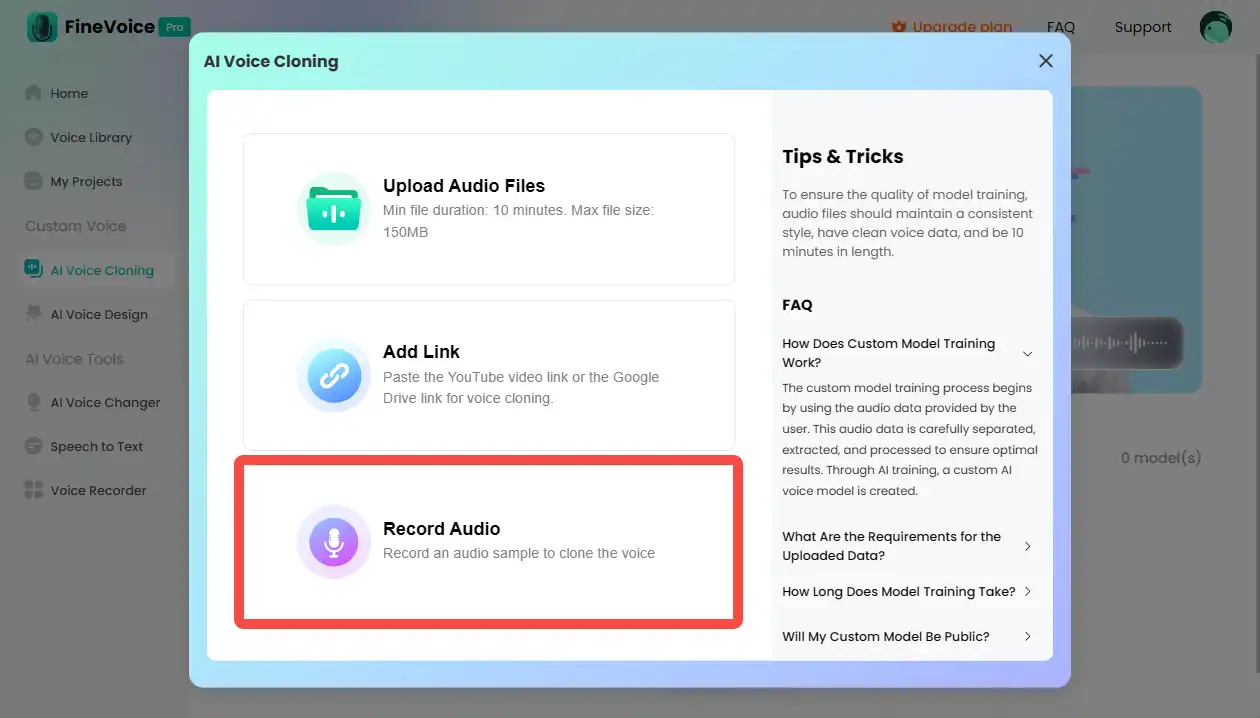
FineVoice supports three ways to upload audio files:
1. Upload audio files:
In the FineVoice interface, click the “Upload Audio Files” button and select a audio file from your local computer.
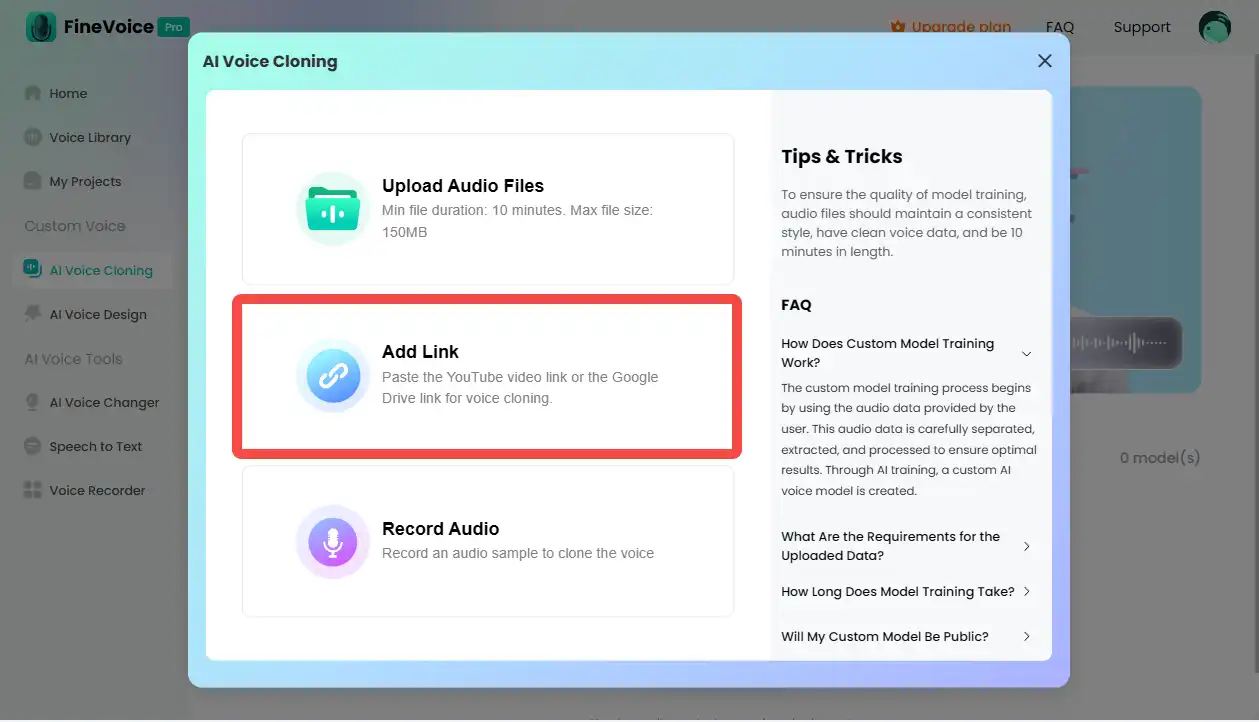
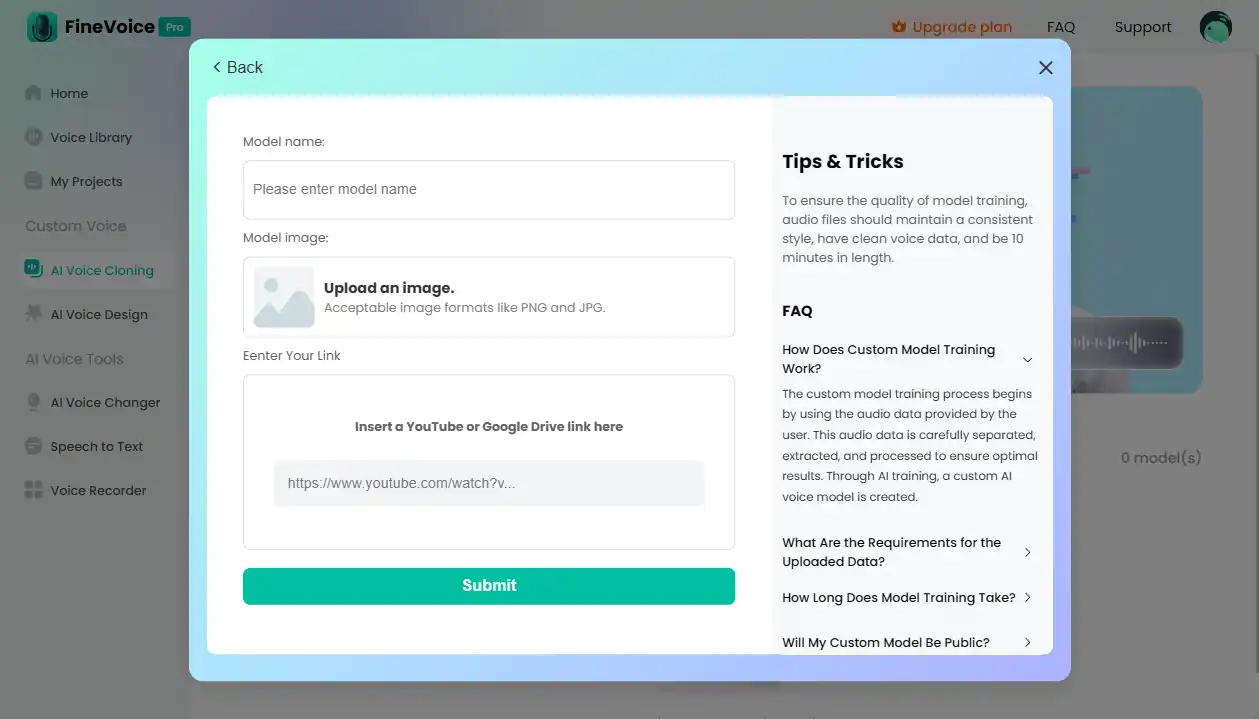
2. Enter a link:
Provide a link for the audio file, and the system will clone the audio file from the specified link.
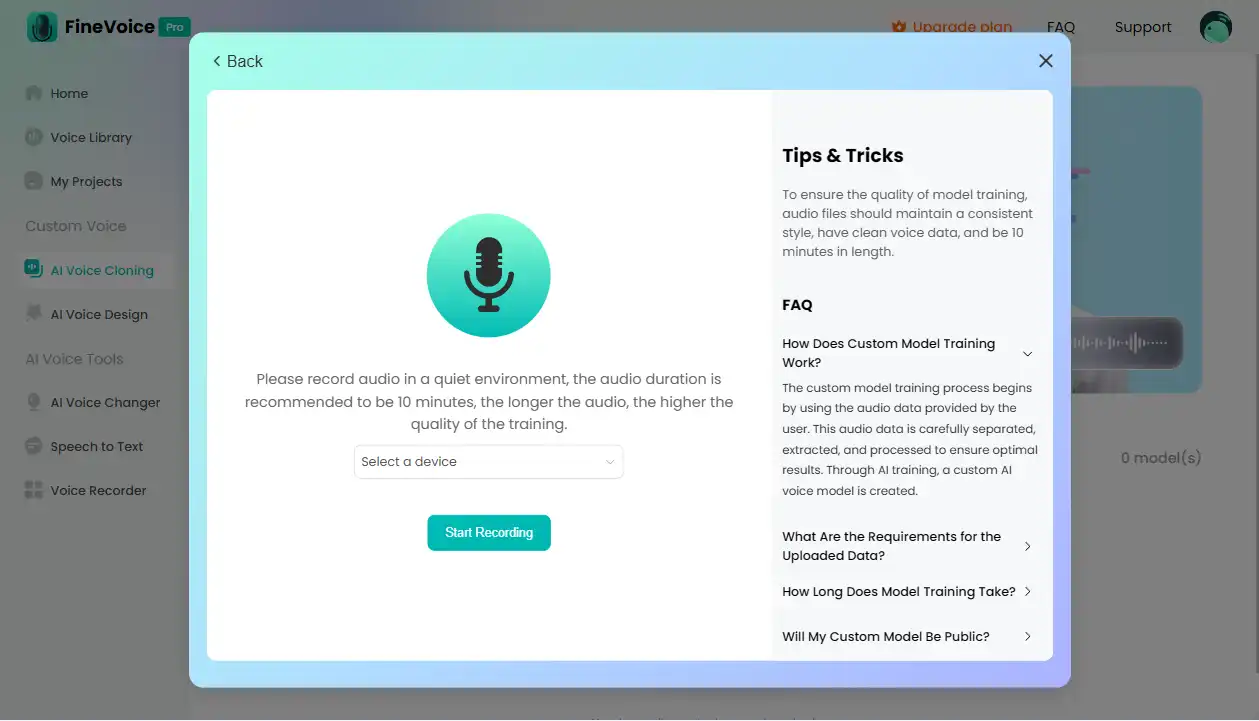
3. Record directly:
Use FineVoice’s recording feature to directly record audio content. Before recording, you need to allow FineVoice to access your microphone and select FineVoice Microphone as the input device.
Please ensure the audio file is clear, clean, and at least 10 minutes long.
Supported audio formats: MP3, WAV.
Step 2: AI Training
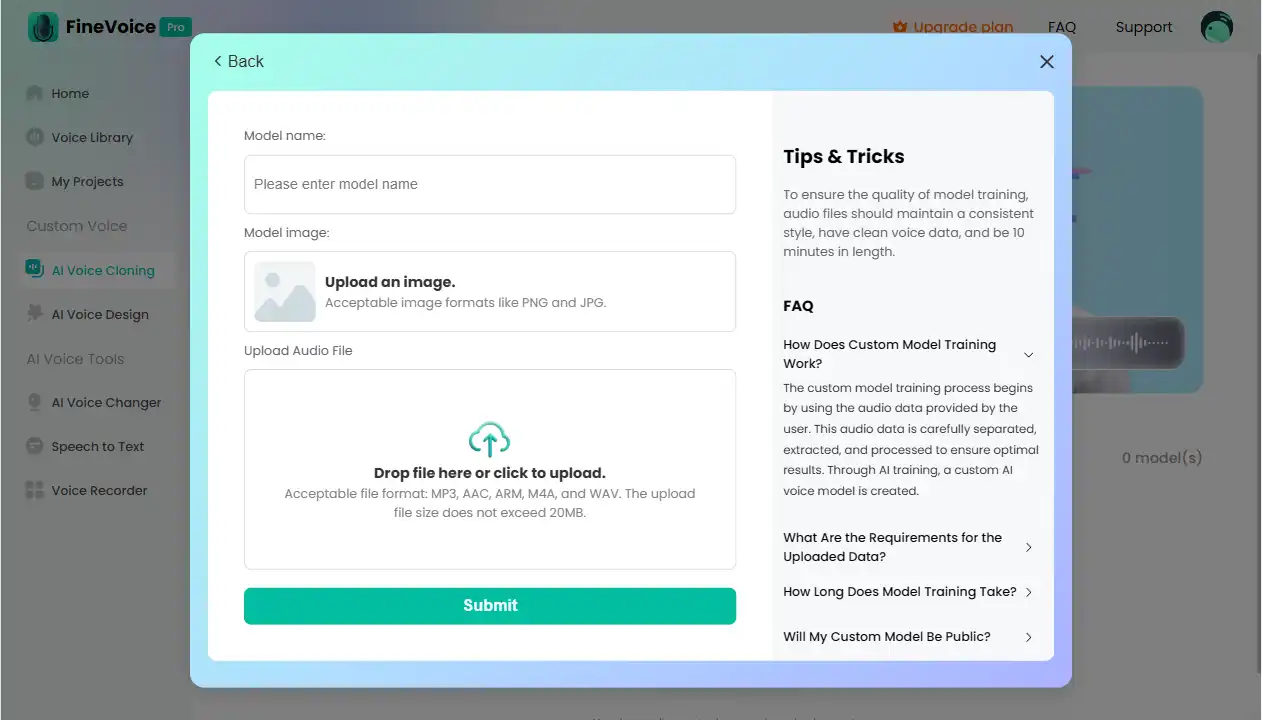
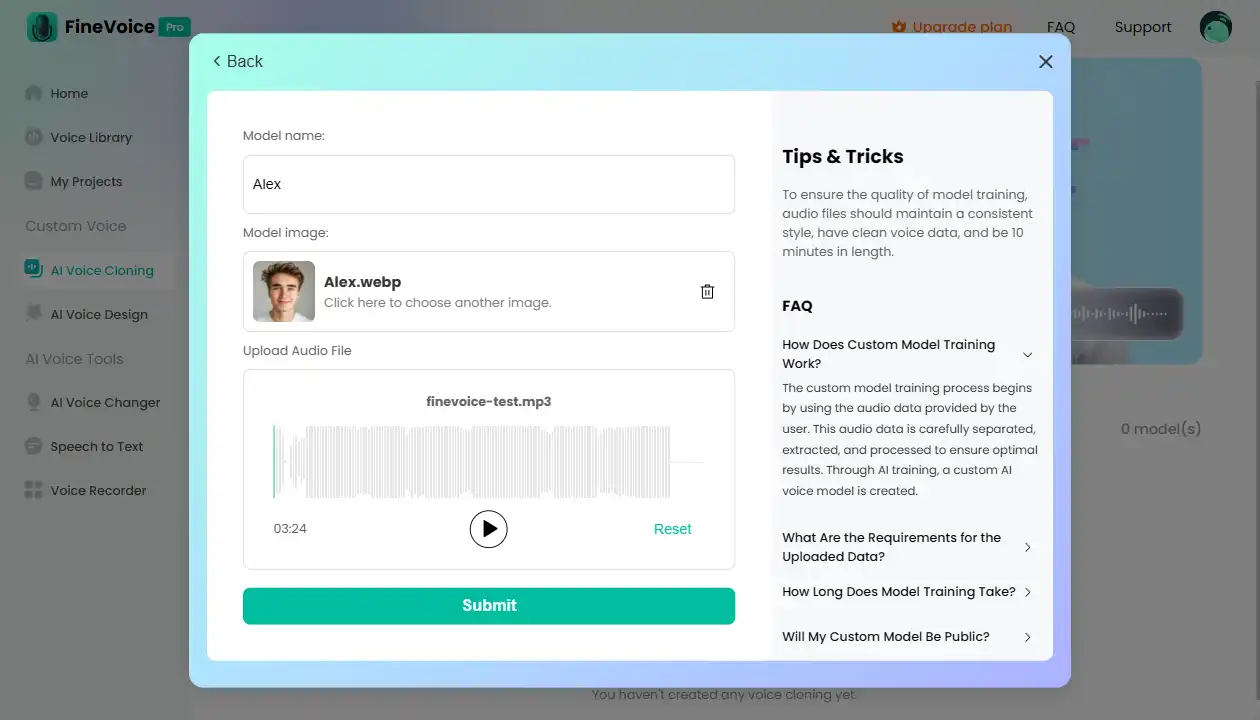
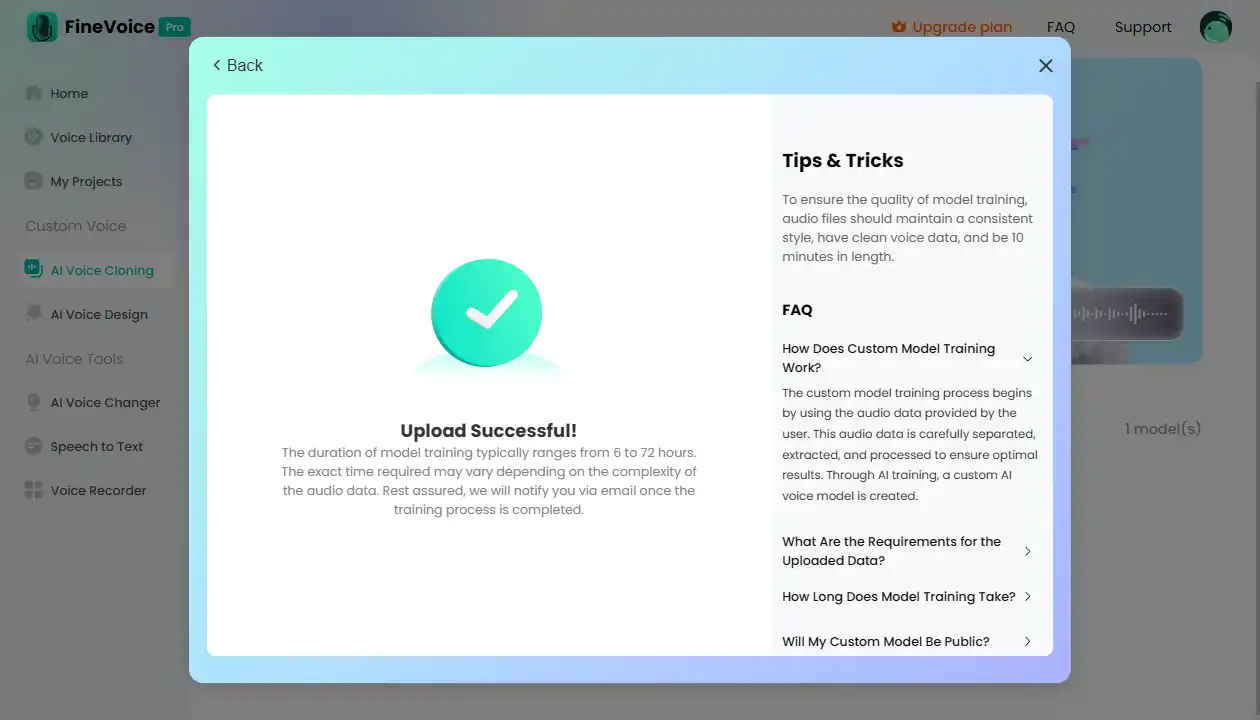
1. Confirm upload:
After uploading the audio file, the system will perform an initial check to confirm the audio quality and length meet the requirements.
2. Wait for training:
The system will start the AI training process, which typically takes 6 to 72 hours, depending on the quality and length of the audio file.
3. Notification:
Once the AI training is complete, you will receive an email notification informing you that the model is ready.
Step 3: Receive Notification
1. Check email:
Log in to your email account and check for the training completion notification from FineVoice.
2. View model:
The notification will include a link and instructions to access the model. Click to proceed.
Step 4: Apply Model
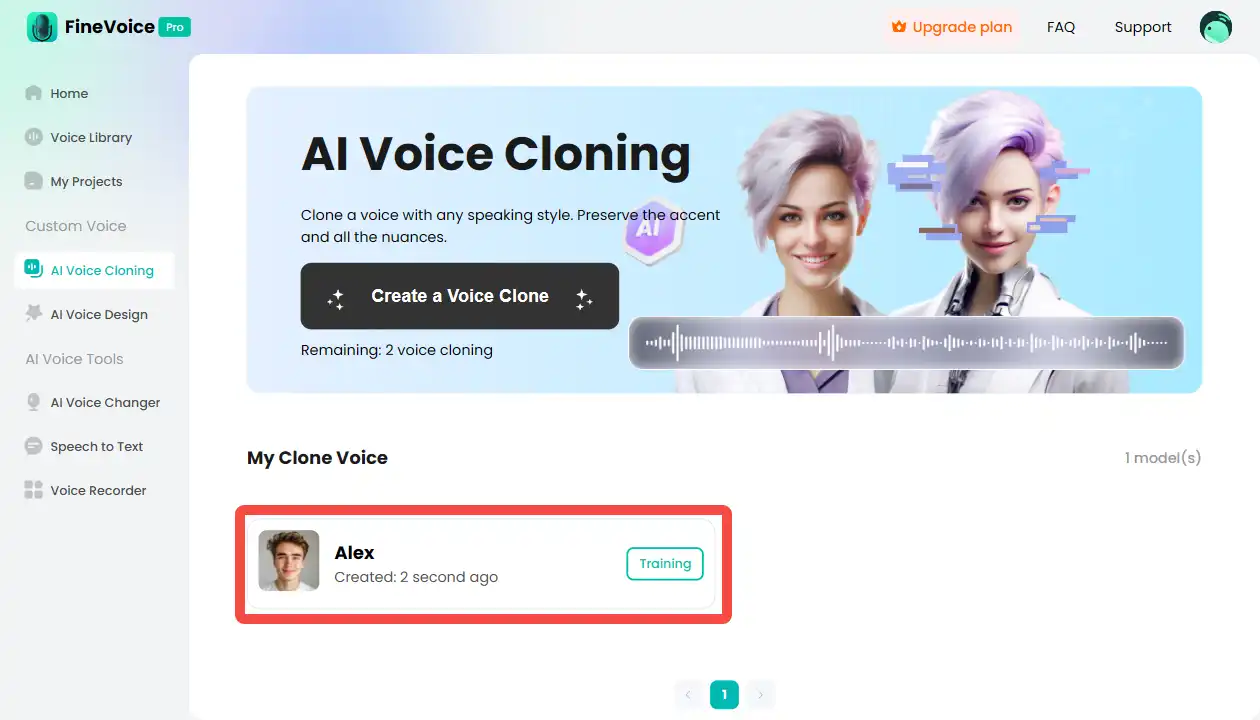
1. Select model:
In the FineVoice interface, select your cloned voice model.
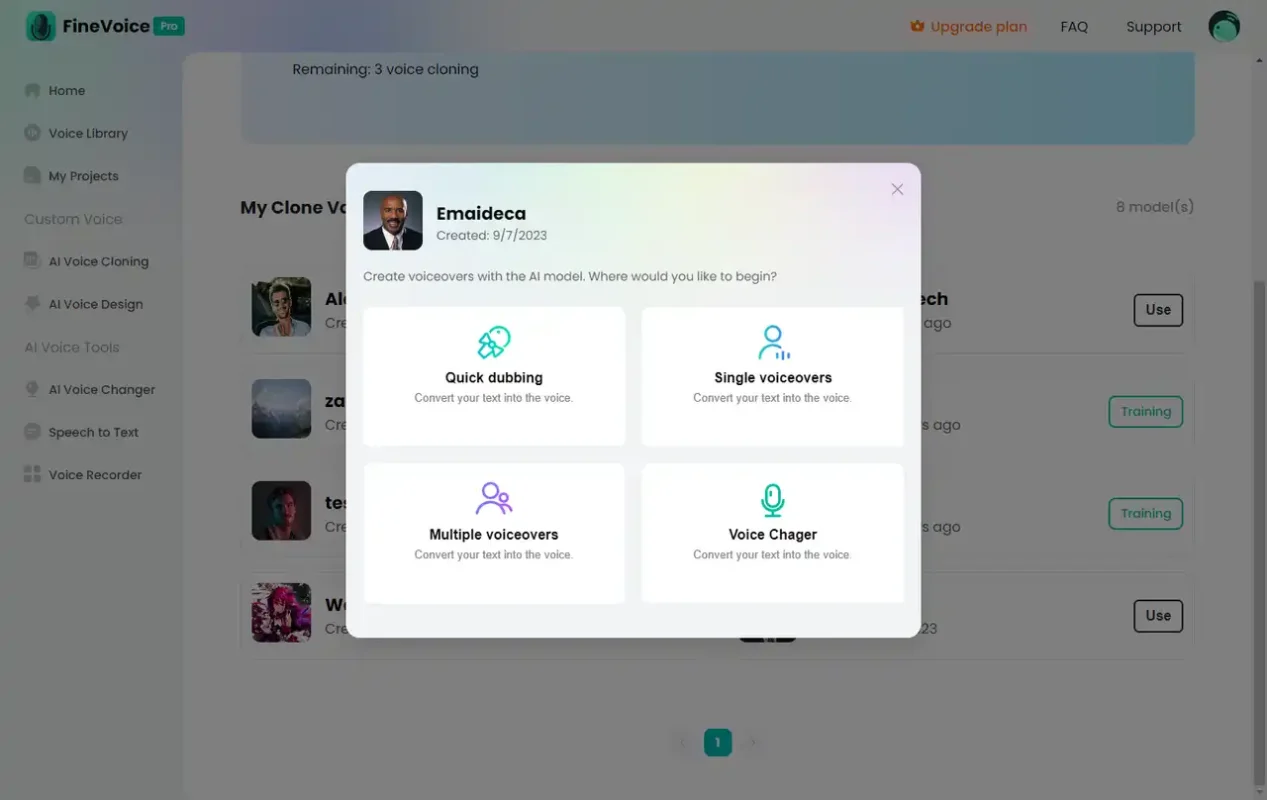
2. Apply model:
Use the model with the following features:
- TTS Voiceovers: Choose Quick Voiceover, Advanced Voiceover, or Multiple Voiceover and generate voice with your voice model.
- AI Voice Changer: Use the voice model with the AI Voice Changer to adjust voice effects.
Practical Application Scenarios
FineVoice’s AI Voice Cloning feature is suitable for various personalized voice application scenarios, such as:
- Brand Personalization: Create a unique voice model for a brand to enhance brand recognition.
- Personalized Assistant: Create a personalized voice for virtual assistants or customer service to improve user experience.
- Multimedia Content: Generate unique voices for videos, animations, and other projects to enhance their appeal.
Conclusion
FineVoice’s AI Voice Cloning feature helps users create personalized voice models through audio file uploads and AI training. Whether for brand customization or personalized applications, this feature can meet your needs. We hope this guide helps you better use FineVoice’s AI Voice Cloning feature to improve your work efficiency and the quality of your projects.
Can't find the answer to your question?
Contact us and we’ll get back to you as soon as we can.