FineVoice Quick Voiceover Guide
FineVoice Quick Voiceover Guide
FineVoice’s Quick Voiceover is a powerful feature based on TTS technology, helping users quickly generate high-quality voice content. Whether for short videos, advertisements, educational videos, or other projects, this feature makes it easy to complete. This guide will detail how to use FineVoice’s quick voiceover feature, as well as methods for adjusting various voice models and applying voice effects.
Overview
FineVoice’s quick voiceover feature allows users to generate voiceovers in just 3-4 simple steps: Input script → Select voice model → Adjust model parameters (optional) → Click convert.
Follow the below steps to create voiceover quickly:
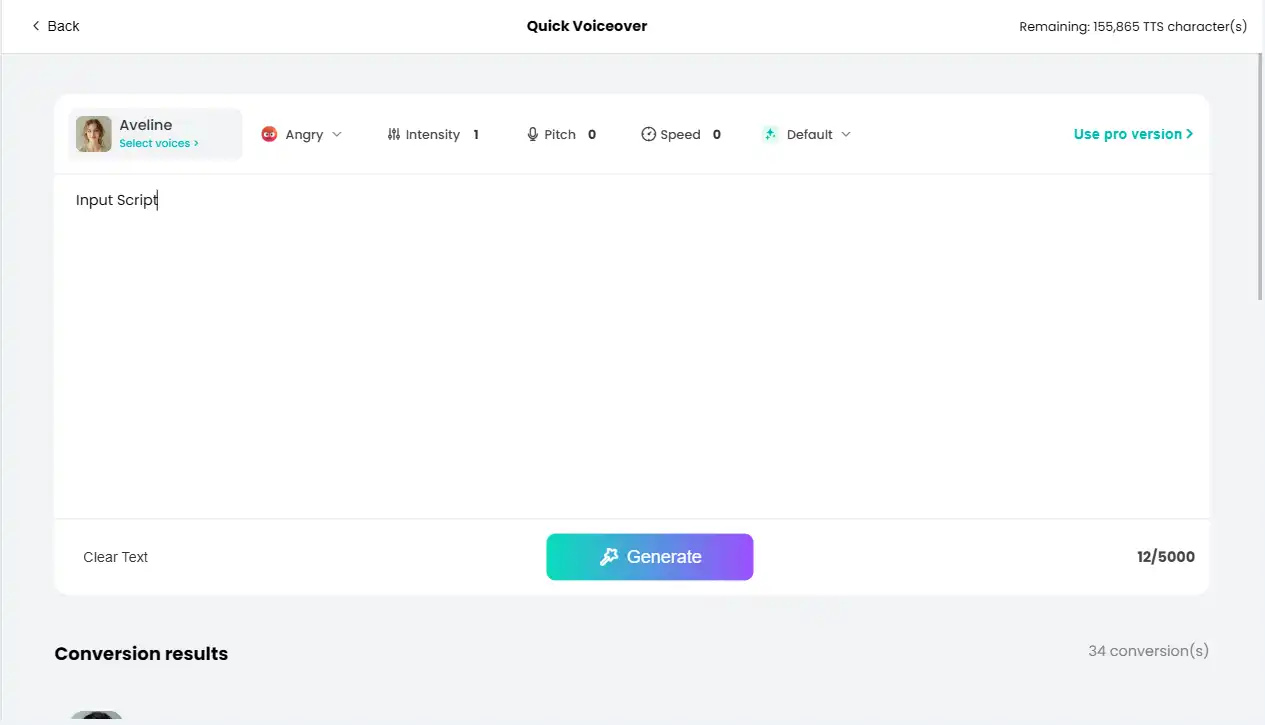
Step 1: Input Script
1. Log in to FineVoice: Ensure you are logged into your FineVoice account.
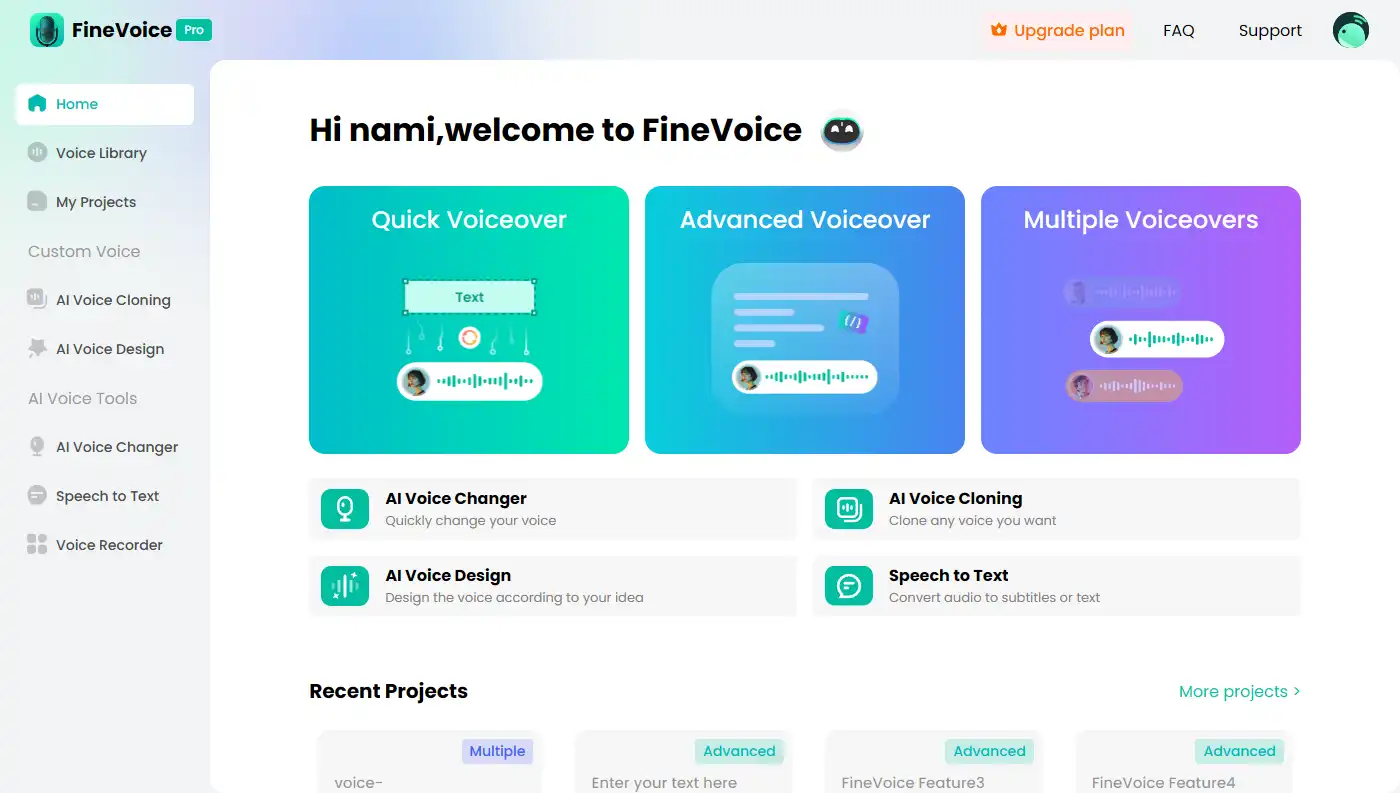
2. Select Quick Voiceover: In the Home interface, click the “Quick Voiceover” button.

3. Input Script: Enter or copy and paste the script content you need for voiceover into the text box.
Step 2: Select Voice Model
1. Open Model Selection Interface: Click the avatar to enter the voice model selection interface.
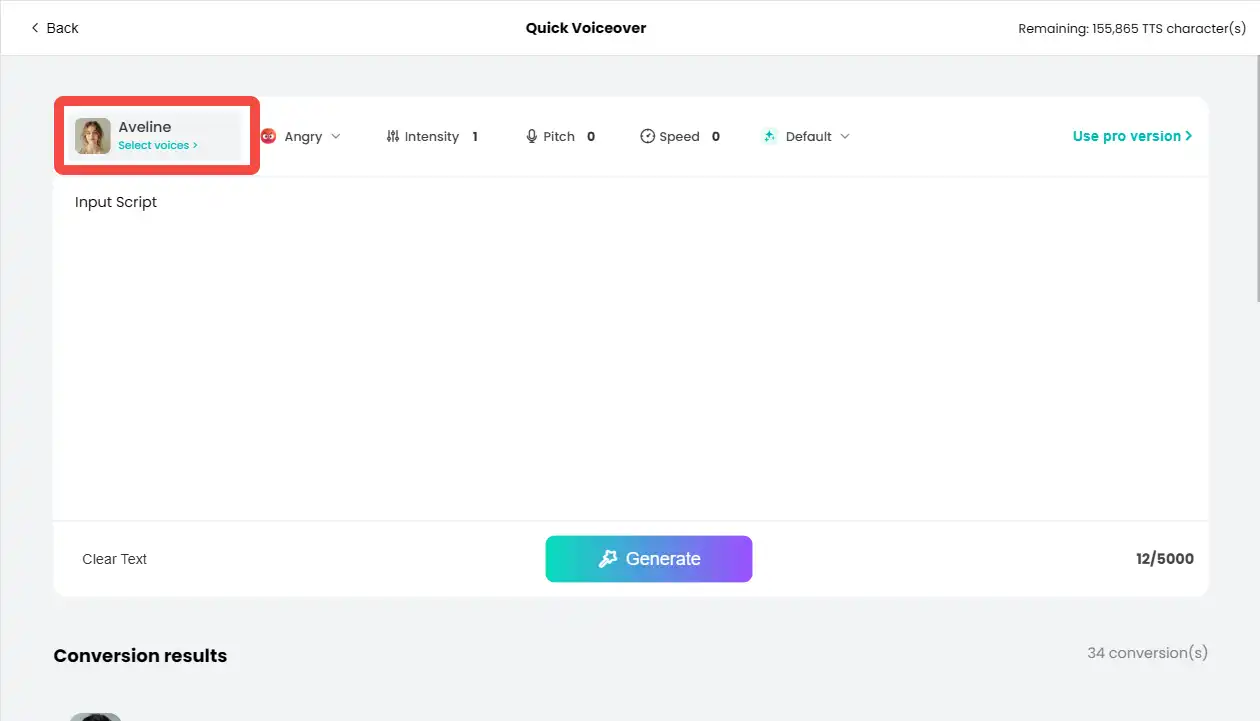
2. Browse and Select Model: Browse the various voice models provided by FineVoice and select the one that suits your needs. Each model can be previewed to help you find the most suitable voice.

Step 3: Adjust Model Parameters (Optional)
FineVoice offers a wealth of parameter adjustment options to help you customize the generated voice effect.
1. Style Switching and Adjustment:
- Choose Style: In the voice model options, select the style you like (e.g., Chat, Friendly, Cheerful).
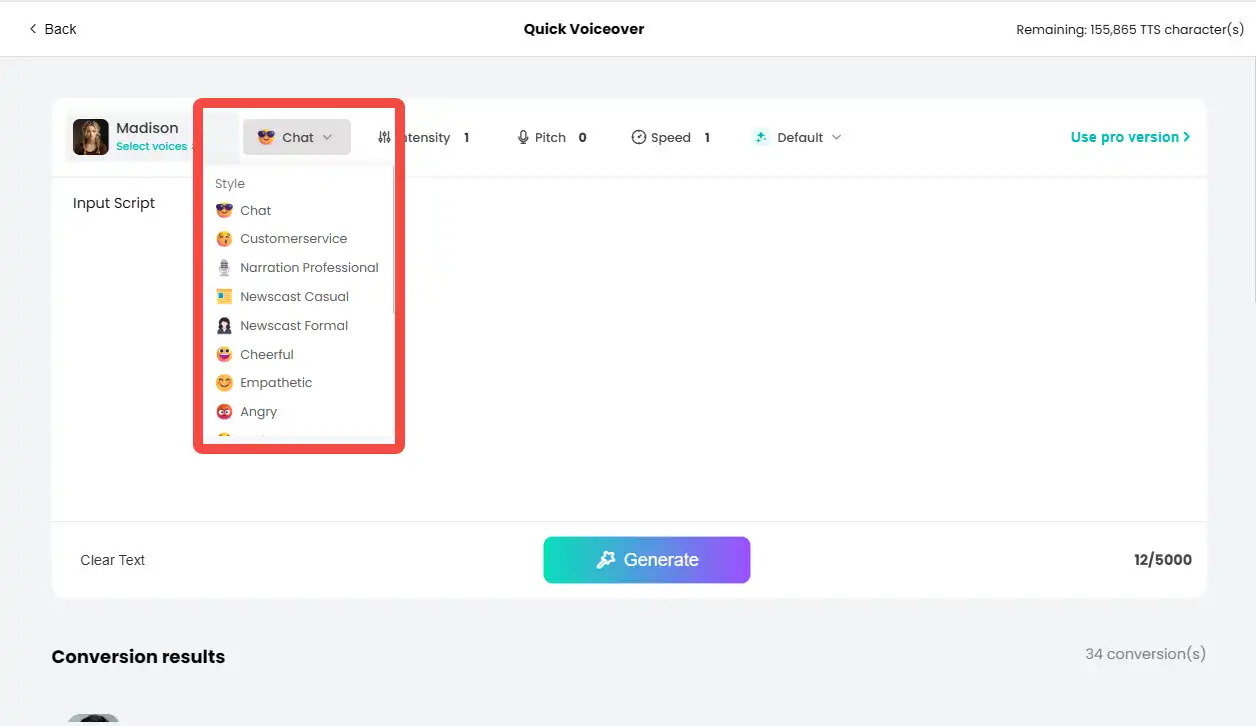
- Adjust Style Value: Use the slider to adjust the intensity of the style, fine-tuning the voice’s expressiveness.

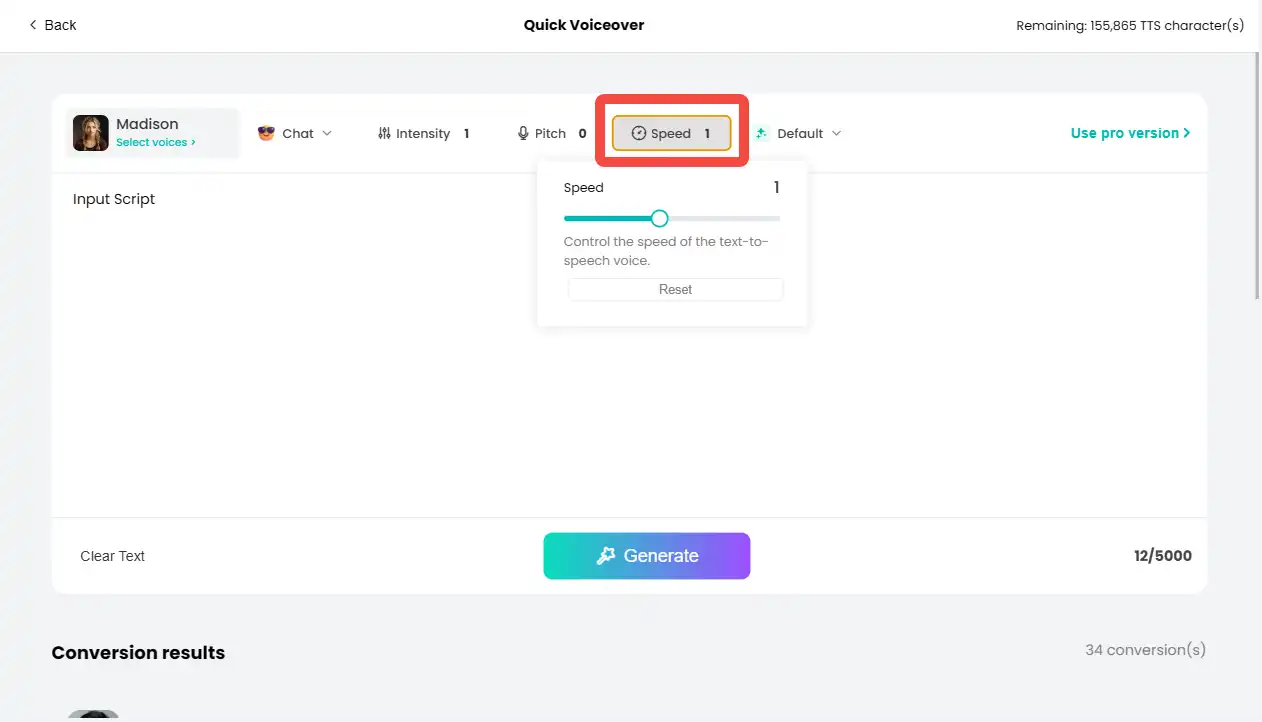
2. Adjust Pitch and Speed:
- Pitch: Adjust the pitch slider to change your voice from high to low or vice versa to better meet your needs.

- Speed: Adjust the speed slider to control the playback speed of the voice.
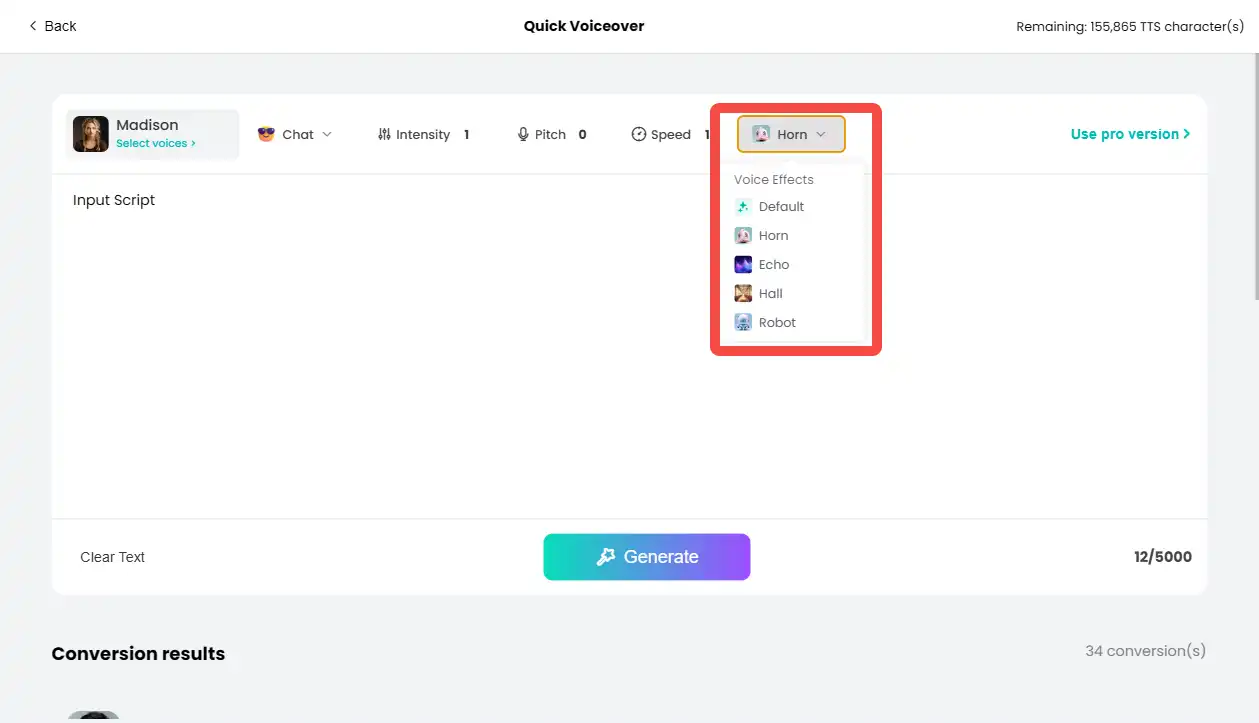
3. Add Voice Effects:
One of FineVoice’s highlights is the ability to add various voice effects to the original voice, giving the voice different styles.
Select Voice Effect: In the Voice effect options, choose the voice effect you want to add (e.g., echo, robot).
Step 4: Click Generate
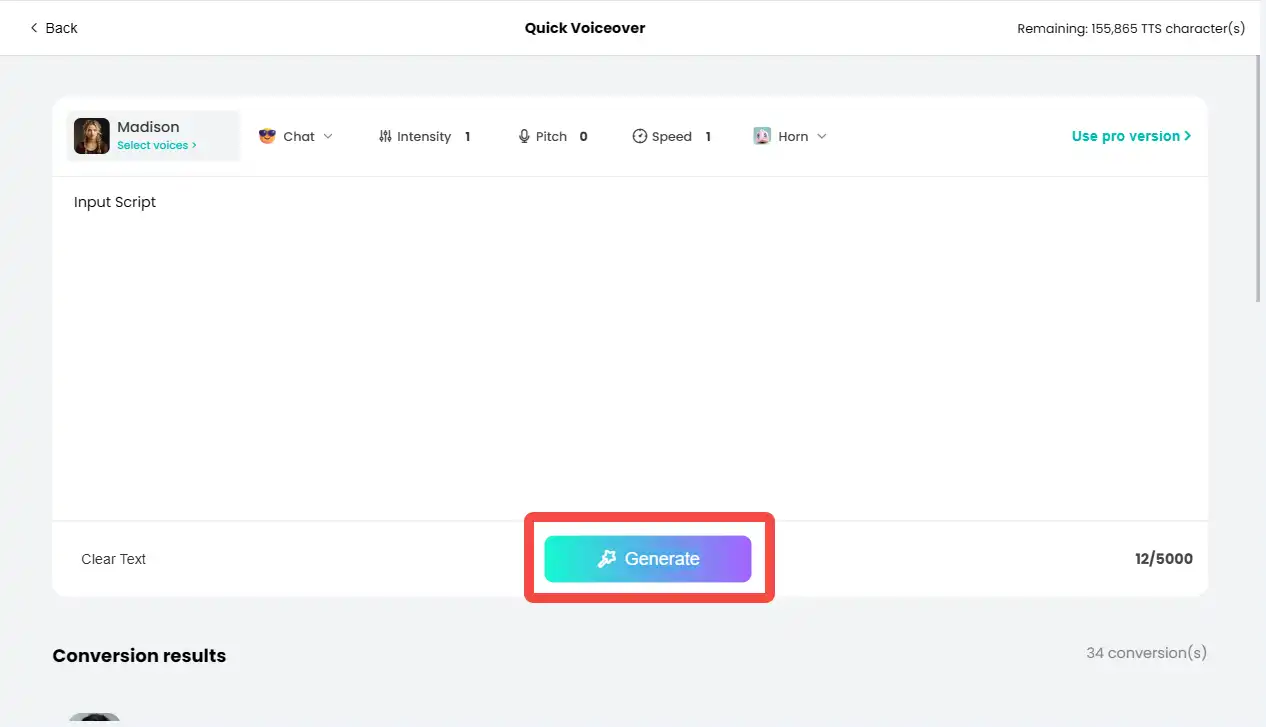
When you are satisfied with all the settings and adjustments, you can generate the final voice file.
1. Generate Voice: Click the “Generate” button, and the system will start processing the script and generating the voice.
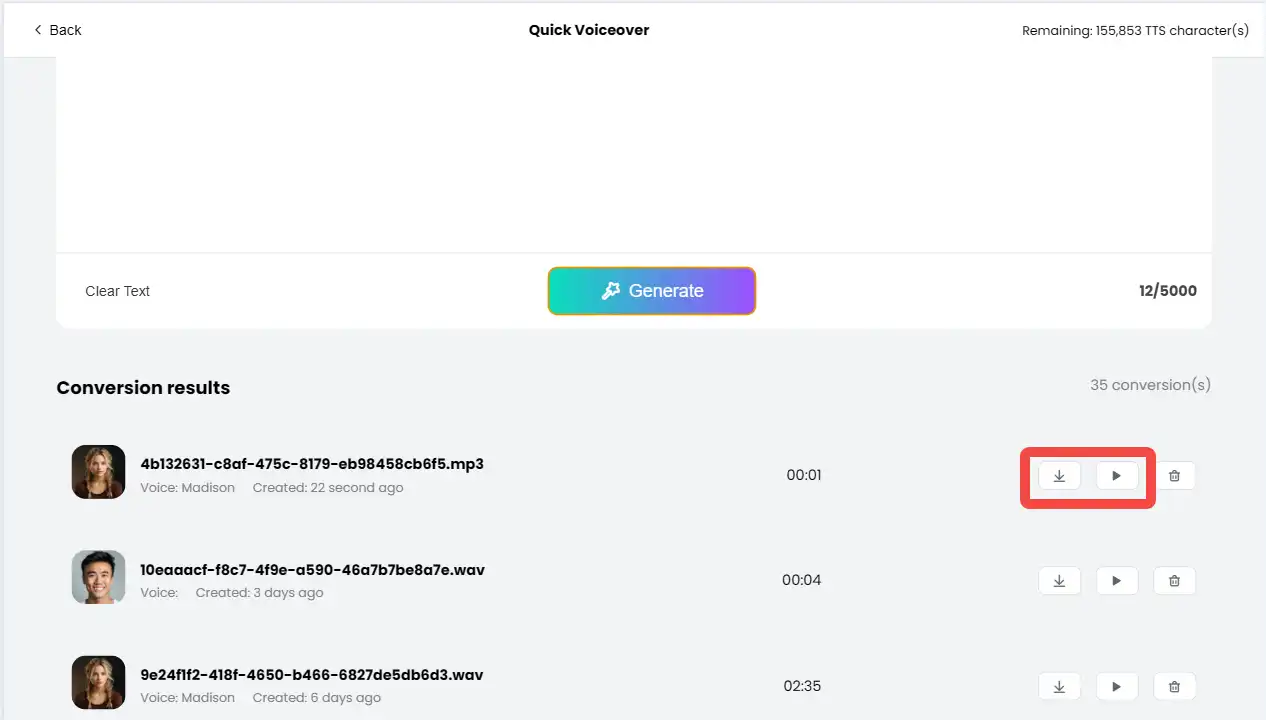
2. Preview and Download: Once generation is complete, you can preview the generated voice. If satisfied, click the “Download” button to save the audio file to your local computer.
Conclusion
FineVoice’s quick voiceover feature, with its simple steps and various adjustment options, helps users quickly generate high-quality voices that meet their needs. Whether for basic use or advanced adjustments, this feature can satisfy your requirements. We hope this guide helps you better use FineVoice’s quick voiceover feature and improves your work efficiency.
Can't find the answer to your question?
Contact us and we’ll get back to you as soon as we can.